

Easy Shamrock Garland Craft
Looking for a festive and easy way to celebrate St. Patrick’s Day with your preschooler? This shamrock garland craft is the perfect solution! Simple materials, straightforward steps, and plenty of room for creativity make this activity a hit for little hands and busy parents alike. Plus, it’s a charming way to add a touch of green to your home.

If you love hands-on projects, you might also enjoy this St. Patrick's Day Clover Wreath Craft! These festive St. Patrick’s Day bookmarks make great little take-homes or reading incentives — simple, themed, and perfect for early literacy!
Supplies Needed for Shamrock Garland Craft
Before you dive into this shamrock garland craft with your preschooler, let’s round up all of the materials. By having everything ready, you’re setting yourself up for a smooth, stress-free crafting session. Plus, this quick preparation helps kids stay focused and eager to create!
Essential Materials for Your Shamrock Garland
Here’s a list of everything you’ll need to complete your garland. You might even have most of these items already tucked away in your craft drawer.
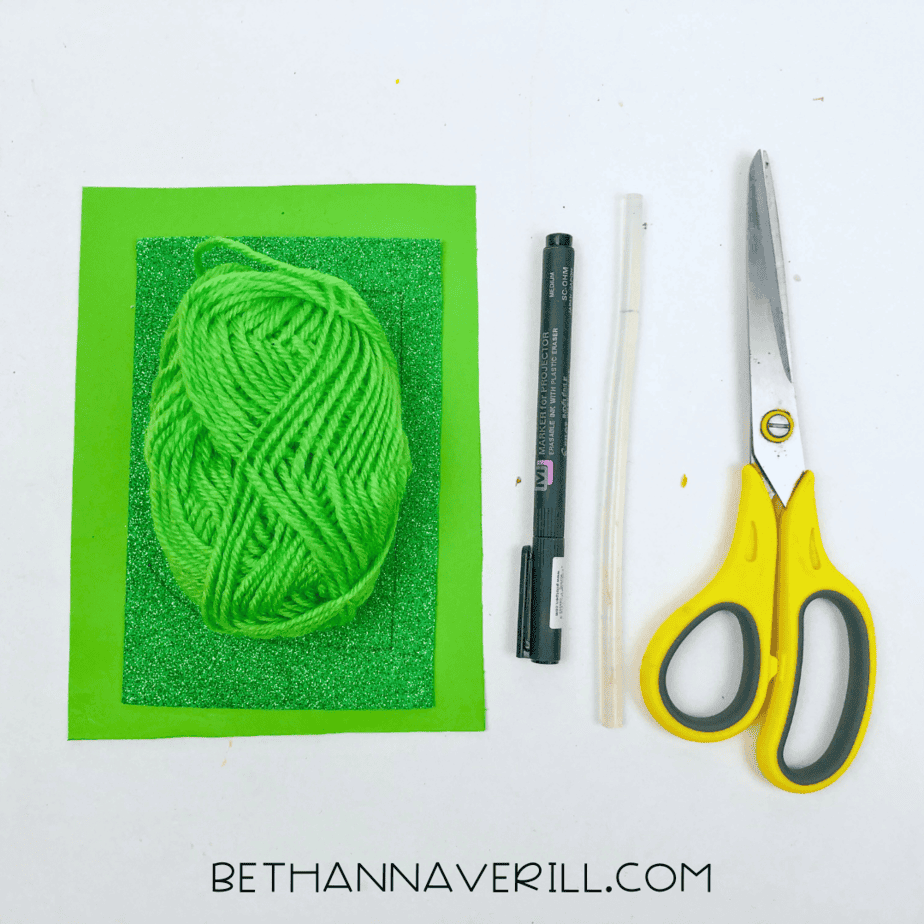
- Sparkly Green Construction Paper: This will give your garland that festive shine perfect for St. Patrick’s Day.
- Light Green Construction Paper: Adds contrast and depth to your shamrocks.
- Scissors: Kid-safe scissors work well if little hands are helping out.
- Glue: A sturdy adhesive is key to ensuring all parts of the garland stay in place.
- Green Yarn: This serves as the string to tie the whole thing together—literally!
- Tape (Optional): Handy for securing the yarn as you assemble everything.
Step-by-Step Instructions for Crafting the Garland
Creating your shamrock garland craft can be both fun and easy to follow, especially with these simple, clear steps. This process allows kids to fully participate while keeping safety in mind, making it a perfect hands-on activity for preschoolers. Let’s break it down step by step.
Shamrock Garland Craft

Celebrate St. Patrick's Day with this fun Shamrock Garland Craft! Easy, festive, and perfect for preschoolers to get creative while adding a green touch to your decor.
Materials
- Sparkly green construction paper
- Light green construction paper
- Glue
- Green yarn
- Tape (optional)
Tools
- Scissors
Instructions
- Gather your supplies: You will need sparkly green and light green construction paper, scissors, glue, green yarn, and tape (optional).
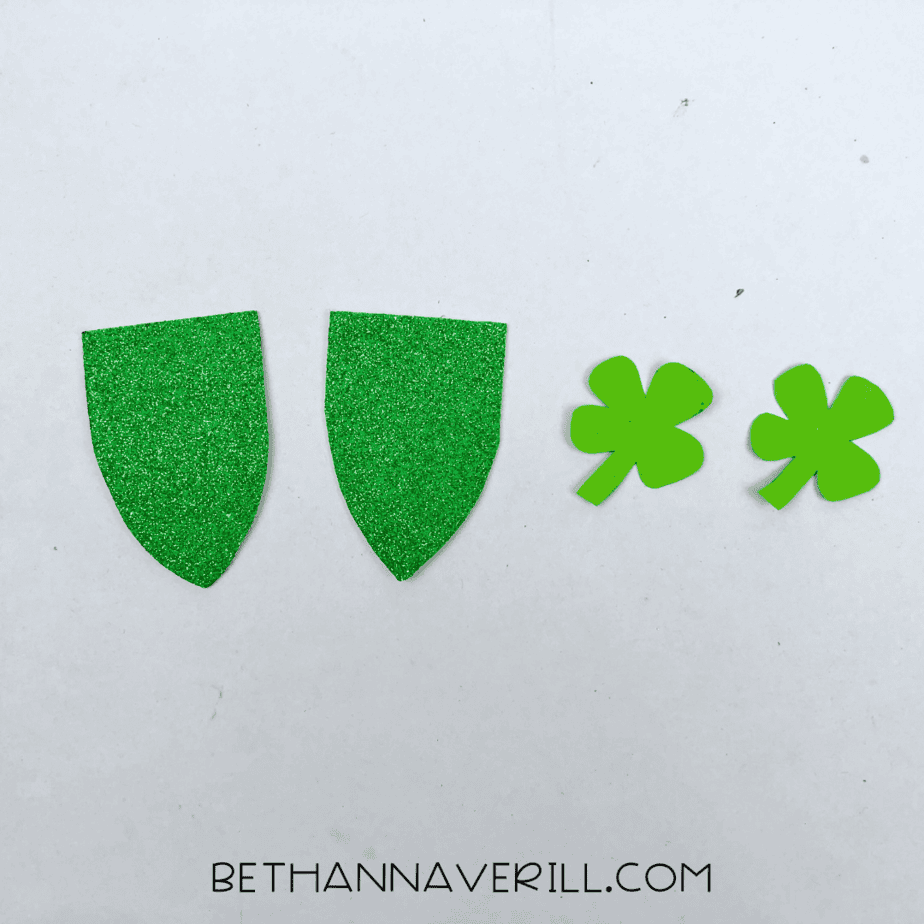
- Create banner pieces: From the sparkly green construction paper, cut out banner shapes. You can make as many as you'd like depending on how long you want the garland to be.
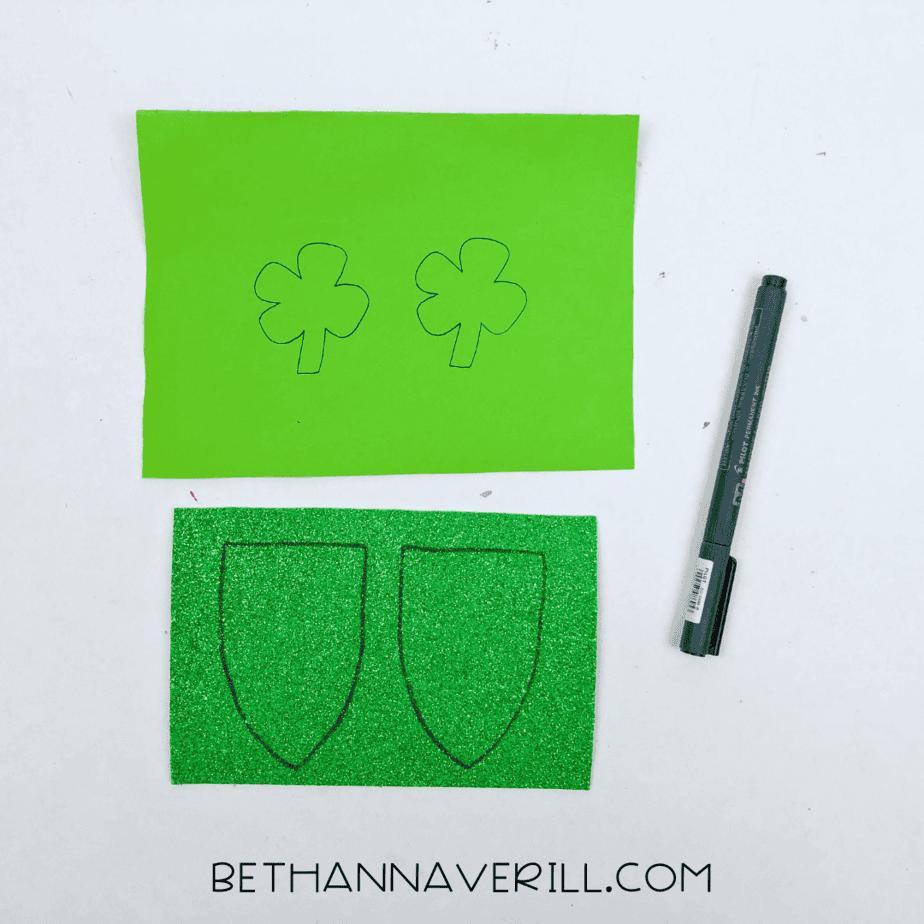
- Cut out shamrocks: From the light green construction paper, cut out shamrock shapes, one for each banner piece.
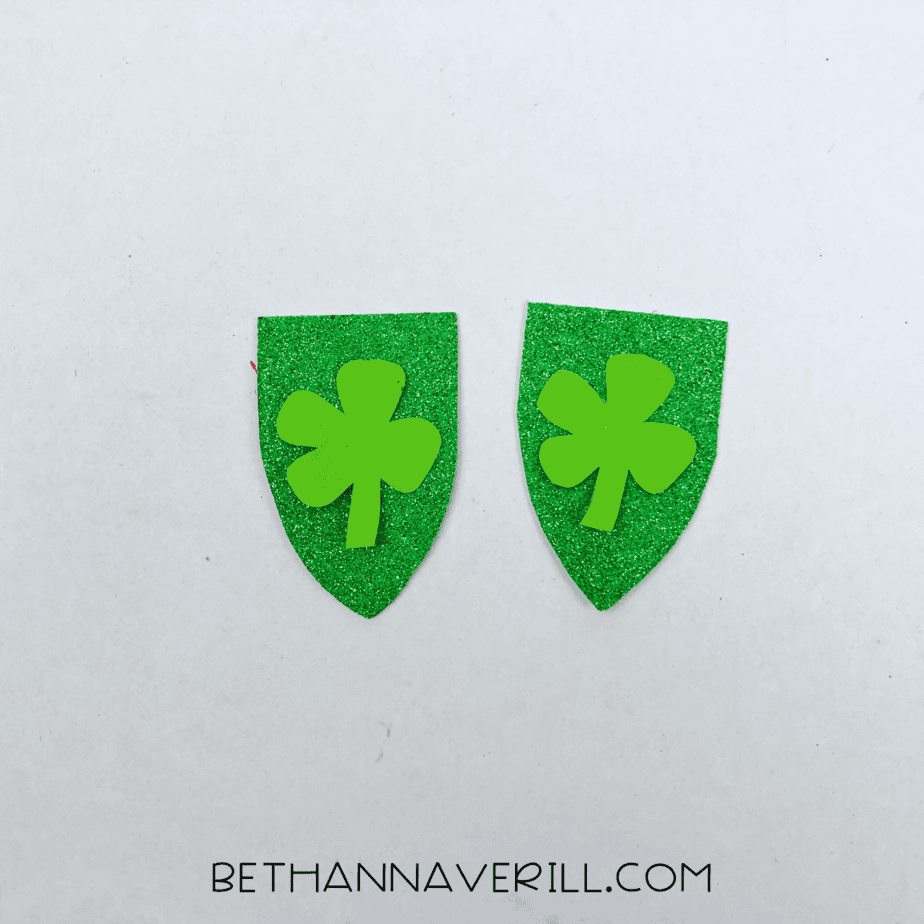
- Assemble the garland: Glue one shamrock onto the center of each banner shape.
- String the banner pieces: Use a piece of green yarn to string the banner pieces together. Attach the top of each banner to the yarn using glue or tape.
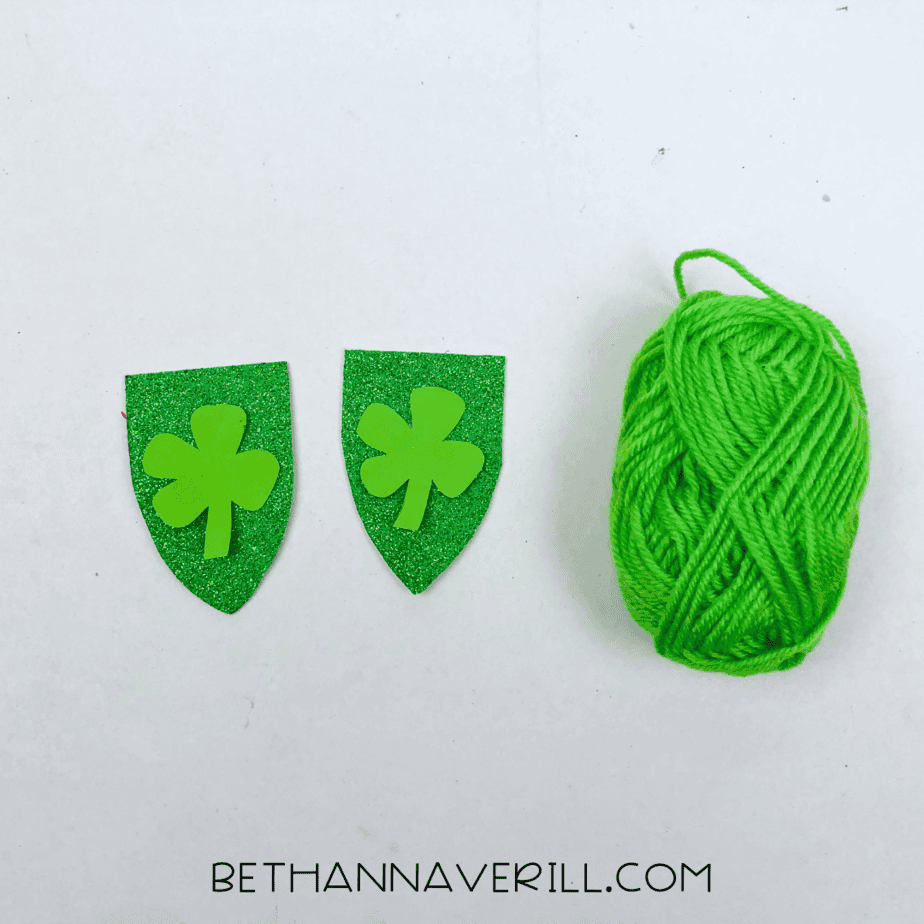
- Hang up on display: Once the garland is strung together, hang it up for a festive St. Patrick’s Day decoration!

Recommended Products
As an Amazon Associate and member of other affiliate programs, I earn from qualifying purchases.



Creative Variations to Personalize Your Garland
Make your shamrock garland extra special by personalizing it with creative touches that will keep your preschooler engaged. Here are a few fun ideas to get you started:
Add Texture with Layers: Layer different colors or materials, like sparkly paper on matte green for a cool 3D look. You can also use tissue paper or crumpled paper for extra texture and a fun tactile experience!
Incorporate Your Child’s Artwork: Have your little one draw or paint on green paper, then turn their art into shamrocks! It’s a great way to make them feel proud and involved.
Use Patterns and Prints: Mix up the traditional green with patterned paper—think polka dots, stripes, or St. Patrick’s Day designs. Easy for kids to help with, and it adds some fun flair!
Incorporate Meaningful Memories: Add a personal touch with old family photos, handprints, or notes of good luck. This way, your garland isn’t just festive—it’s full of memories too!
Sparkle it Up: A little glitter goes a long way! Use glitter glue or glittery paper to make your garland shimmer and shine.
Mix and Match Materials: Get creative with felt, burlap, or even upcycled materials like cardboard for added texture and durability. It’s a great way for kids to explore different materials and textures!
With these ideas, your shamrock garland will be as unique as your family’s celebration!
Tips for Displaying Your Shamrock Garland
Once your shamrock garland is all done, it’s time to show it off! Here are some fun ways to display your craft and bring extra festive charm to your space:
Hang It Across a Mantel: A classic and stunning spot to drape your garland! The green pops against the backdrop of a wood or white mantel. For easy hanging, use small adhesive hooks, and if you’ve added sparkle, the nearby light will make it shine!
Add It to Your Front Door: Make a festive first impression by hanging your garland on the door. Attach it with removable adhesive strips or loop it through a wreath for a St. Patrick’s Day twist. Guests will love the fun touch!
Wrap It Around Furniture: Give your furniture a little holiday flair by wrapping your garland around chairs, bedposts, or shelves. Just use some gentle tape to secure it and avoid any damage.
Transform Your Classroom: Teachers, brighten up your classroom with this craft! Hang it over windows, around your chalkboard, or even across student cubbies. Pair it with other St. Patrick’s Day decorations for a cheerful classroom vibe!
Use It as a Photo Backdrop: Create a memorable photo spot by hanging your garland on a blank wall. Add some green balloons or gold accents for the perfect St. Patrick’s Day photo booth.
Frame a Window or Doorway: Draping the garland around a window or doorway creates a magical effect with the sunlight streaming through. It’s a simple way to add charm to any room!
Highlight a Party Table: Hosting a St. Patrick’s Day party? Hang your garland below the edge of a table for a festive table skirt. Pair it with green and gold tableware for a cohesive look!
No matter how you choose to display your shamrock garland, it’s sure to bring a burst of festive cheer to your St. Patrick’s Day celebrations! Whether you're decorating your home, classroom, or hosting a party, this simple craft is an easy way to spread some green and spark creativity. So gather your materials, let your preschooler’s imagination run wild, and enjoy the fun of making lasting memories together! Happy crafting!
Looking to add rainbow crafts to your St. Patrick’s Day? Try this rainbow paper plate craft.
Please Share This Shamrock Garland Craft
Your shares are how this site grows and I am sincerely grateful. Know a friend who’d like this? Please share it on Facebook or save it to your favorite kids’ activity board on Pinterest.


