
Paper Plate Skull Craft
If you’re looking for a craft that’s equal parts spooky and simple, this paper plate skull craft is a winner. Using just a paper plate, some construction paper, and glue, kids can make a Halloween decoration that’s creepy-cute and classroom ready. It’s budget-friendly, quick to set up, and perfect for Halloween parties, art centers, or an at-home activity before trick-or-treating.

Materials Needed for a Paper Plate Skull Craft
Round up your craft table essentials:
- Paper plate
- White construction paper
- Black construction paper
- Scissors
- Glue stick or hot glue gun
- Black marker

How to Make a Paper Plate Skull Craft
Ready to get crafting? Find the instructions below!
Paper Plate Skull Craft

Make a spooky paper plate skull craft for kids using simple supplies. Perfect for Halloween fun, this easy DIY skull craft is great for classrooms, parties, or at-home projects.
Materials
- Paper plate
- White construction paper
- Black construction paper
- Glue stick or hot glue gun
- Black marker
Tools
- Scissors
Instructions
- Gather your supplies, including a paper plate, black and white construction paper, scissors, glue, and a marker.

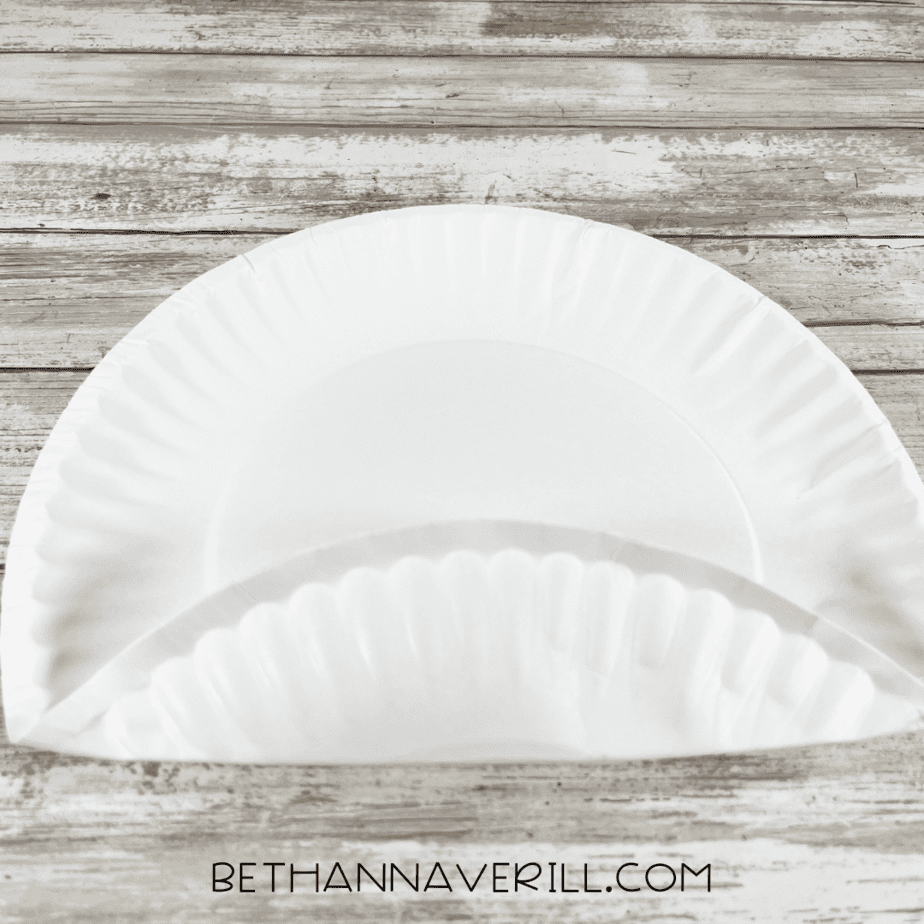
- Fold the paper plate in half and crease it, then unfold it to prepare for cutting.
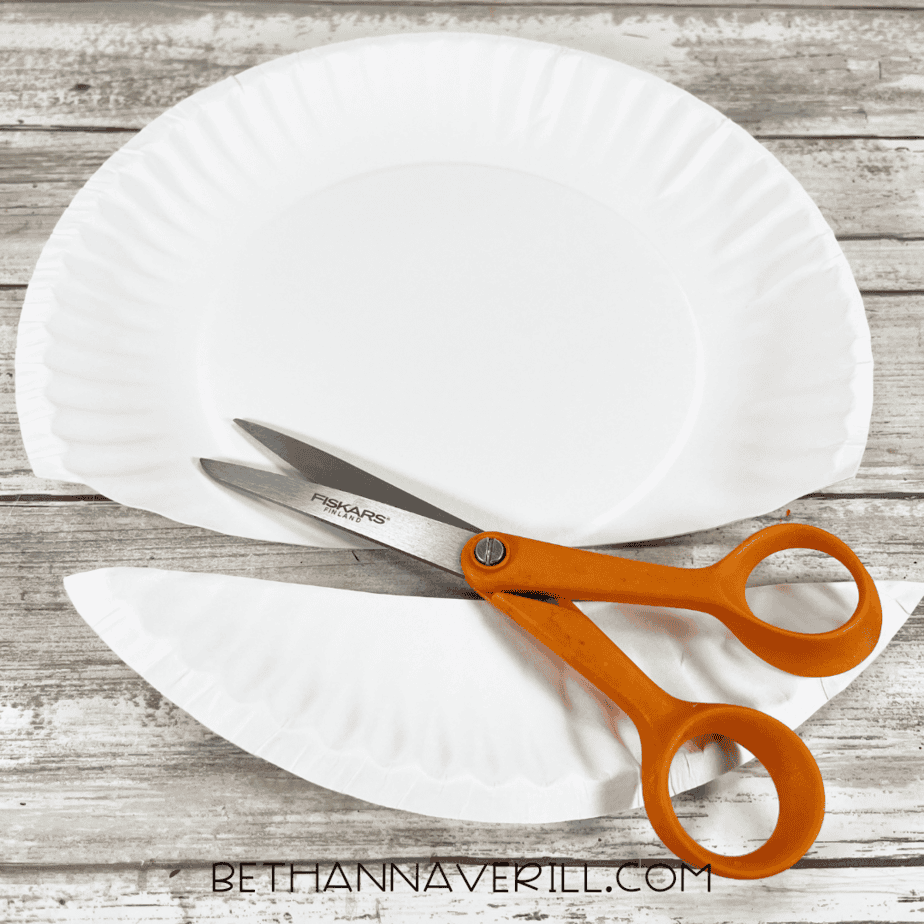
- Cut a curved section from the bottom of the plate to form the base of the skull.
- Draw and cut out large oval eye shapes and a triangular nose from black paper.

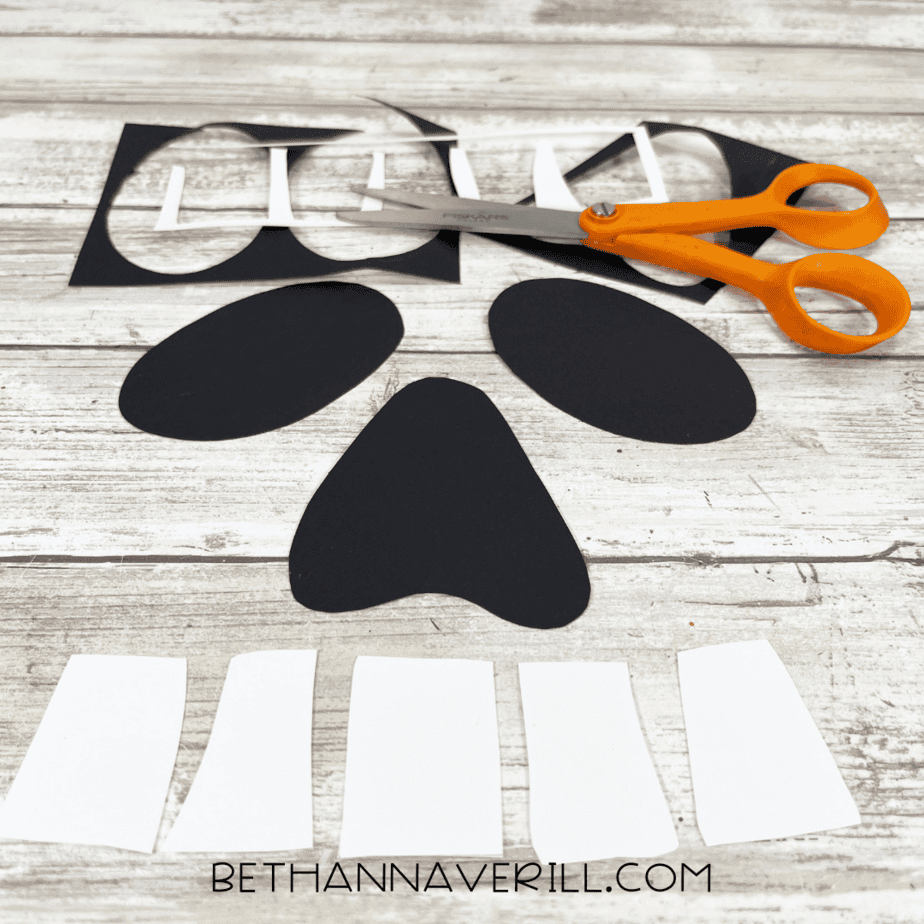
- Draw and cut out several rectangular teeth shapes from white paper.
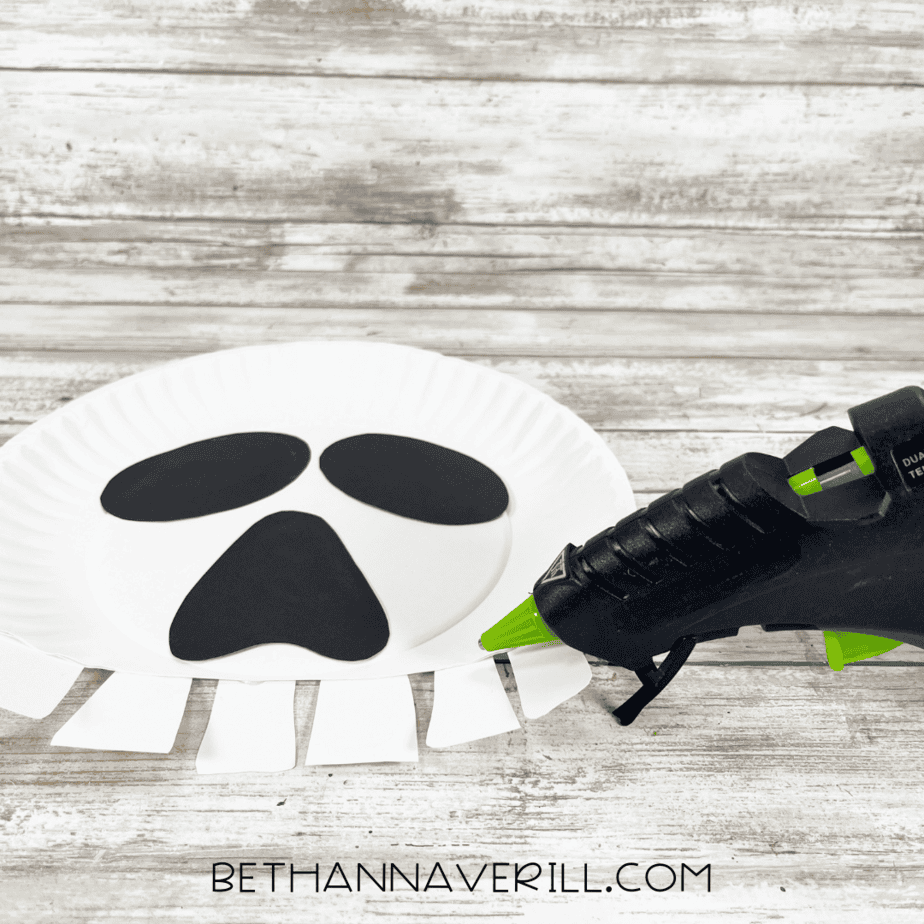
- Glue the eyes and nose onto the center of the plate to form the skull’s face.

- Attach the white rectangles along the bottom edge of the plate to create teeth.
- Let the glue dry completely, then display your finished skull craft.

Recommended Products
As an Amazon Associate and member of other affiliate programs, I earn from qualifying purchases.


Why Kids Will Love This Skull Craft
This craft is quick, playful, and flexible. You can keep it simple for preschoolers or let older kids add scary details like jagged teeth or cracked skull lines. Plus, it’s a great way to:
- Practice scissor skills – Cutting shapes helps fine motor control.
- Encourage creativity – Kids can personalize their skulls to be silly, spooky, or scary.
- Decorate for Halloween – Hang them on walls, bulletin boards, or doors for instant Halloween vibes.
Want more simple crafts like this? The Halloween Paper Plate Bundle has 15 different projects you can whip up with just scissors, glue, and giggles.
Get This Paper Plate Skull Craftivity Now!
Please Share This Paper Plate Skull Craft
If you enjoyed this Halloween activity, please share it! Pin it to your favorite Halloween crafts board or share with a teacher who’s planning classroom fun. Every share helps bring more spooky, creative projects your way.


