
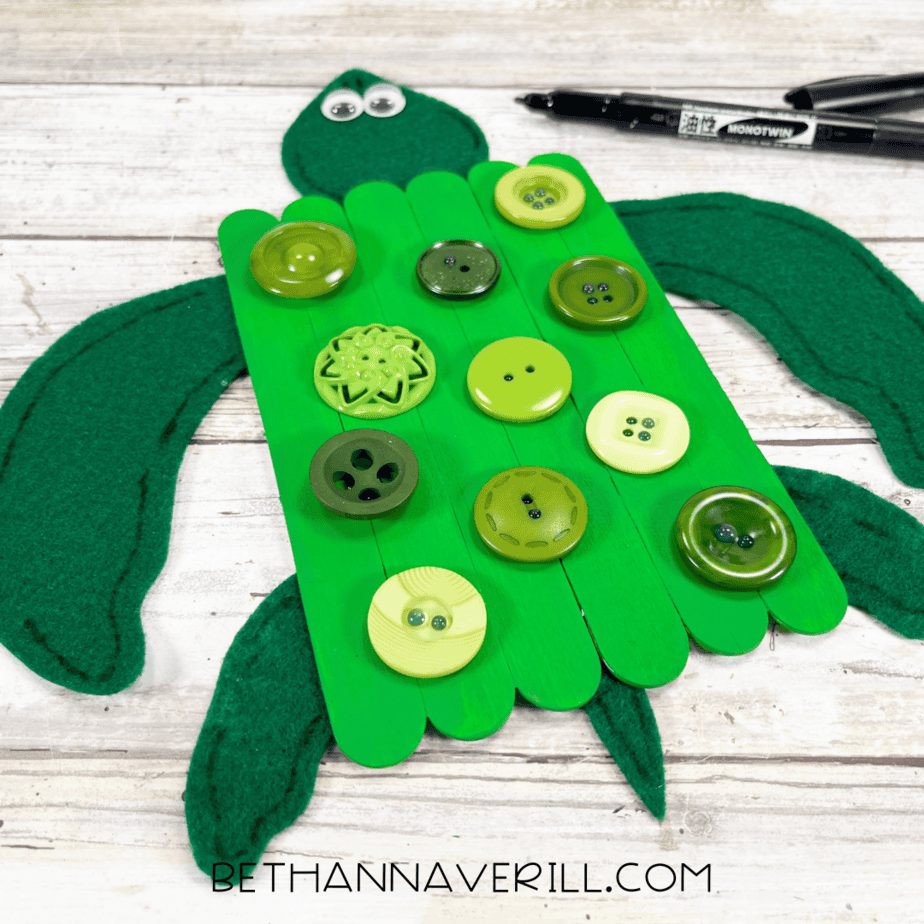
Turtle Craft Stick Project
Slow and steady wins the… crafting session? This bright green craft stick turtle might not win any races, but it will steal your heart with those wiggly eyes, button shell, and flappy little flippers.
This turtle craft stick project is a fun and easy craft that turns a handful of popsicle sticks into a turtle friend full of personality. Perfect for preschoolers learning about ocean animals…or just anyone in need of a slow-moving bestie.

What You'll Need for This Turtle Popsicle Stick Craft
- Jumbo craft sticks
- Googly eyes
- Bright green acrylic paint
- Dark green craft felt
- Assorted green buttons
- Black marker
- Glue gun and glue sticks
- Paintbrush
- Scissors
Before you start, just know: this turtle may take 30 minutes to make, but it will live on your fridge forever.
How to Make a Craft Stick Turtle
Ready to get crafting? Find the instructions below!
Turtle Craft Stick Project

This adorable popsicle stick turtle craft is the perfect ocean-themed activity for kids! Simple, hands-on fun with googly eyes, buttons, and felt flippers.
Materials
- Jumbo craft sticks
- Googly eyes
- Bright green acrylic paint
- Dark green craft felt
- Assorted green buttons
- Black marker
- Glue gun and glue sticks
Tools
- Paintbrush
- Scissors
Instructions
- Gather your supplies.

- Line up six jumbo craft sticks to make your turtle’s shell. Glue a trimmed stick across the back to hold them together. Cut a small craft stick in half and glue those pieces across the top to make it extra sturdy.

- Paint the front of the sticks with bright green paint. Let it dry, then paint a second coat if needed. (This turtle’s living its best vibrant life.)

- Print and cut out the turtle template, then trace the head, tail, and flippers onto dark green felt using a black marker.

- Cut out all the pieces. Try to cut inside the lines so your turtle doesn’t end up with jagged edges, unless you want it to look extra wild.

- Glue the head to the top, tail to the bottom, and flippers to the sides of the shell. You’re officially assembling your turtle like a crafting puzzle master.

- Add the googly eyes to the turtle’s head. (Try not to fall in love with it instantly.)

- Glue a handful of green buttons to the shell. Mix up the sizes and shades for that perfect bumpy, textured look.

- Use a black marker to outline the felt pieces. This adds definition and gives your turtle that bold cartoon vibe.
- Hang your finished masterpiece up on display!

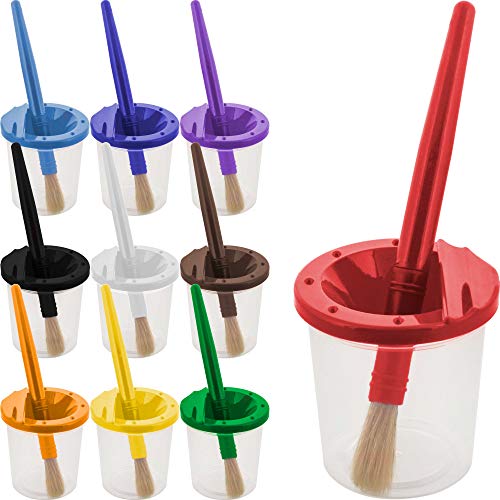
Recommended Products
As an Amazon Associate and member of other affiliate programs, I earn from qualifying purchases.


Make It More Than a Craft
Now that your turtle is complete, here’s how to extend the fun and learning:
1. Ocean animal unit: Pair this craft with a lesson on sea turtles! Talk about how they hatch, what they eat, and why they’re so important to ocean ecosystems.
2. Counting and sorting: Use the buttons as a sneaky math activity: sort by size, color, or even count how many are on the shell.
3. Name your turtle: Kids LOVE naming their crafts. (“Shelly,” “Speedy,” and “Sir Wobble” are all strong contenders.)
4. Storytime pairing: Read “Turtle, Turtle, Watch Out!” or “National Geographic Kids Sea Turtles” and let your little one proudly introduce their craft turtle as a supporting character.
Want more slow-and-steady fun? Check out our popsicle stick crafts for kids or explore our full collection of ocean-themed activities for more under-the-sea creativity.
Please Share This Turtle Craft Stick Project
Your shares are how this site grows and I am sincerely grateful. Know a friend who’d like this? Please share it on Facebook or save it to your favorite kids’ activity board on Pinterest.


