
Santa Belt Paper Plate Craft
Set the holiday mood with this Santa Belt Paper Plate Craft that kids will love! It’s simple, festive, and uses supplies you probably already have tucked away in your craft bin. Perfect for a Christmas classroom activity, a cozy snow-day project, or just a way to sprinkle a little North Pole magic into your afternoon.

Materials Needed for Your Santa Belt Paper Plate Craft
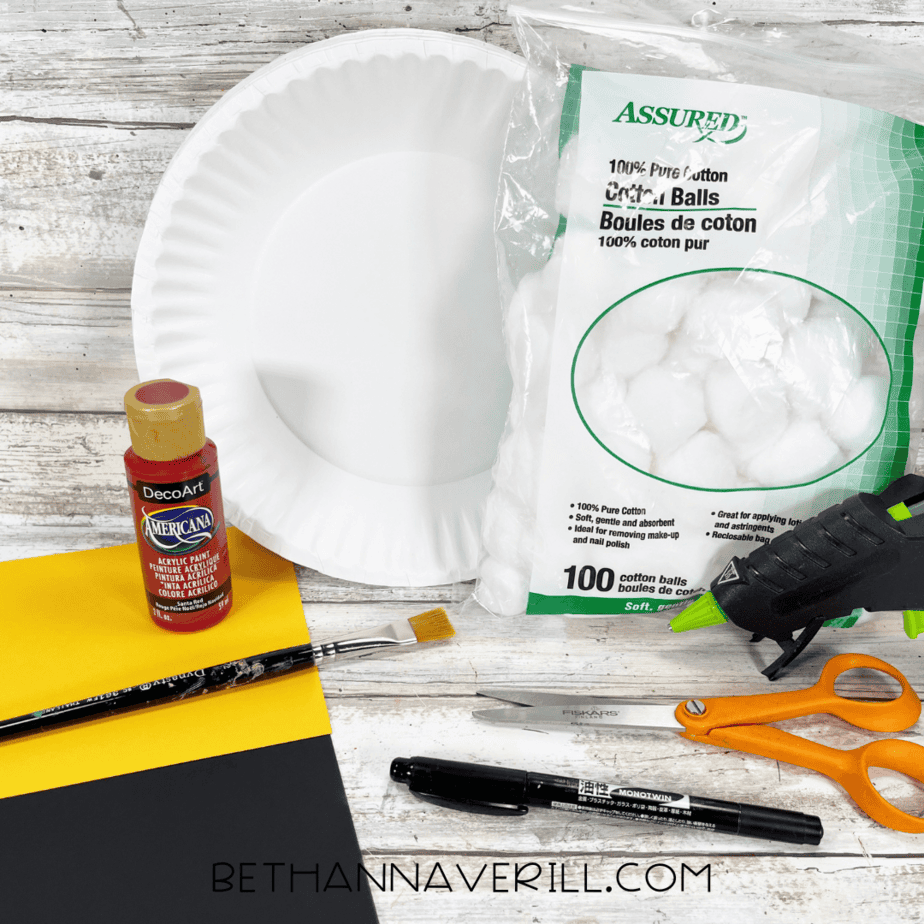
Before we get started, grab these supplies so your little crafter can jump right in:
- Paper plate
- Red acrylic paint
- Paintbrush
- Black construction paper
- Yellow construction paper
- Cotton balls
- Black marker
- Scissors
- Glue (hot glue gun or school glue)

Step-by-Step Instructions for a Santa Belt Craft
Ready to get crafting? Find the instructions below!
Santa Belt Paper Plate Craft

Make a festive Santa Belt Paper Plate Craft with kids this Christmas! A simple holiday craft using paint, cotton balls, and construction paper for a jolly Santa look.
Materials
- Paper plate
- Red acrylic paint
- Black construction paper
- Yellow construction paper
- Cotton balls
- Black marker
- Glue (hot glue gun or school glue)
Tools
- Paintbrush
- Scissors
Instructions
- Gather all your supplies: paper plate, red paint, cotton balls, black and yellow paper, scissors, glue, and marker.
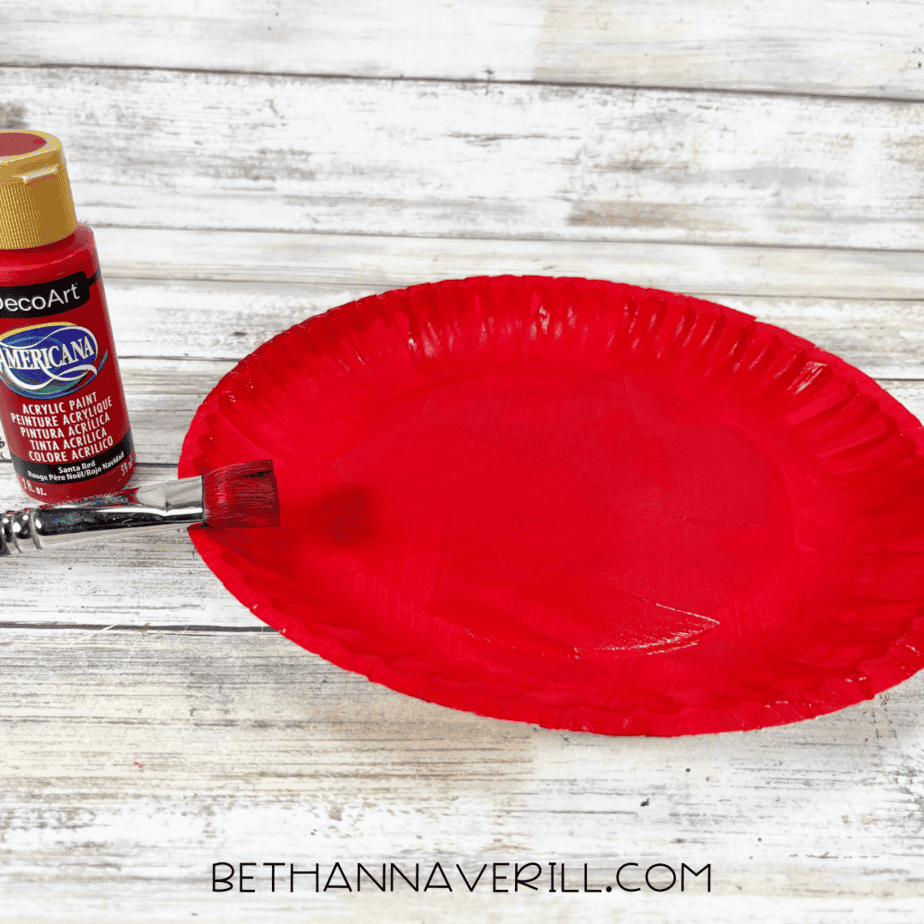
- Paint the front of the paper plate red and let it dry completely.
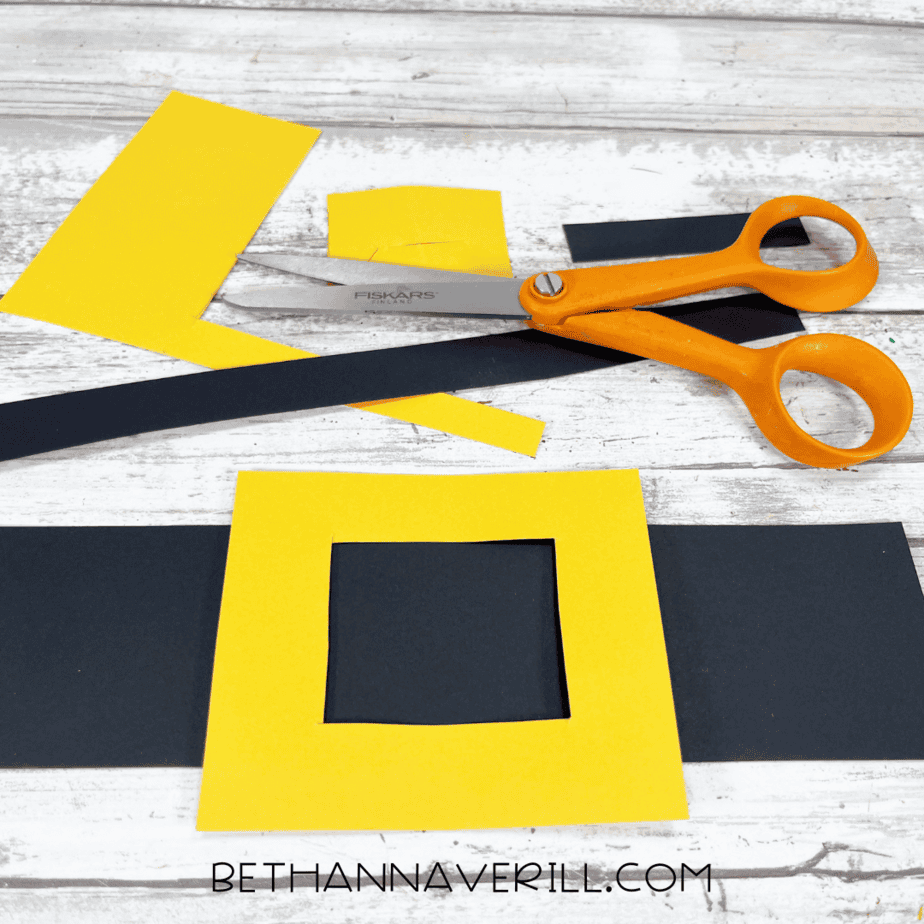
- Cut a strip of black construction paper to make Santa’s belt.
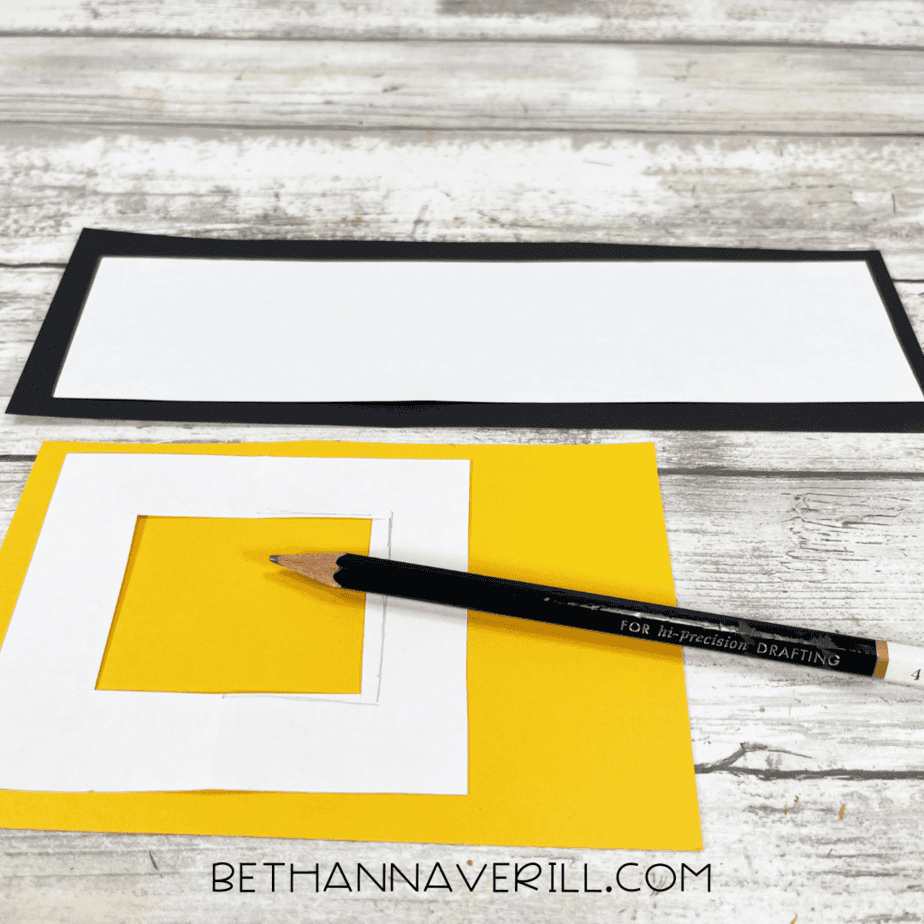
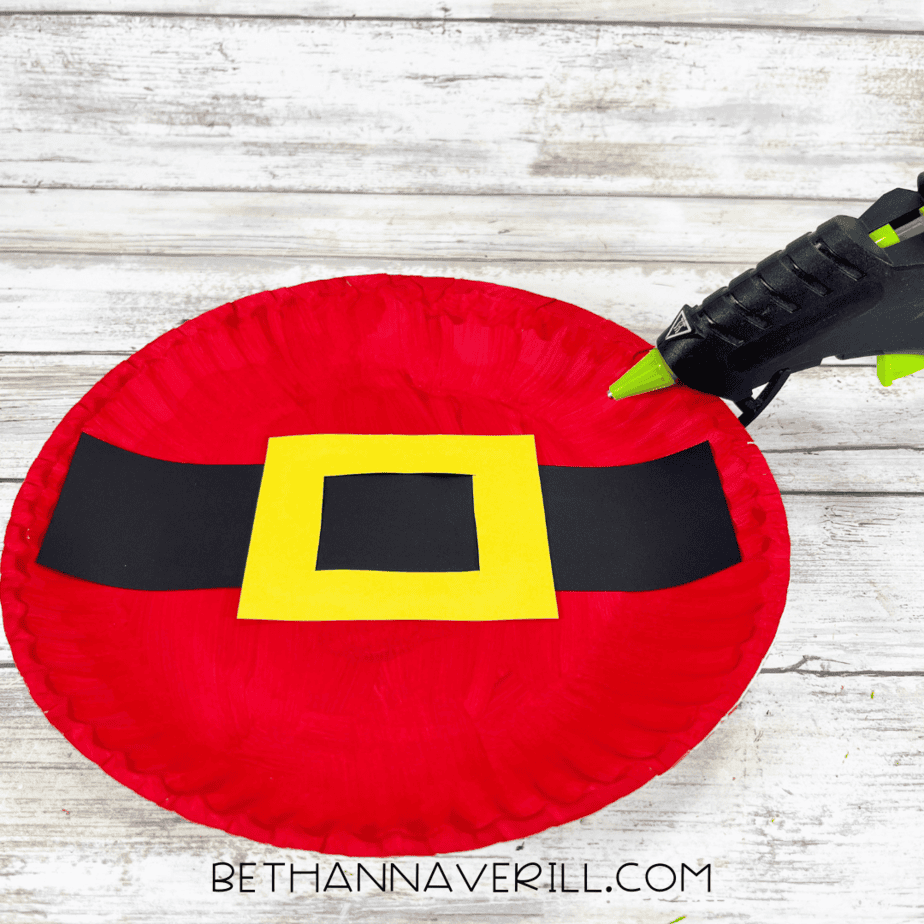
- From yellow construction paper, cut a square buckle shape and cut out the inside to create the belt buckle. Thread the black strip through the yellow buckle.
- Glue the belt across the center of the red paper plate.
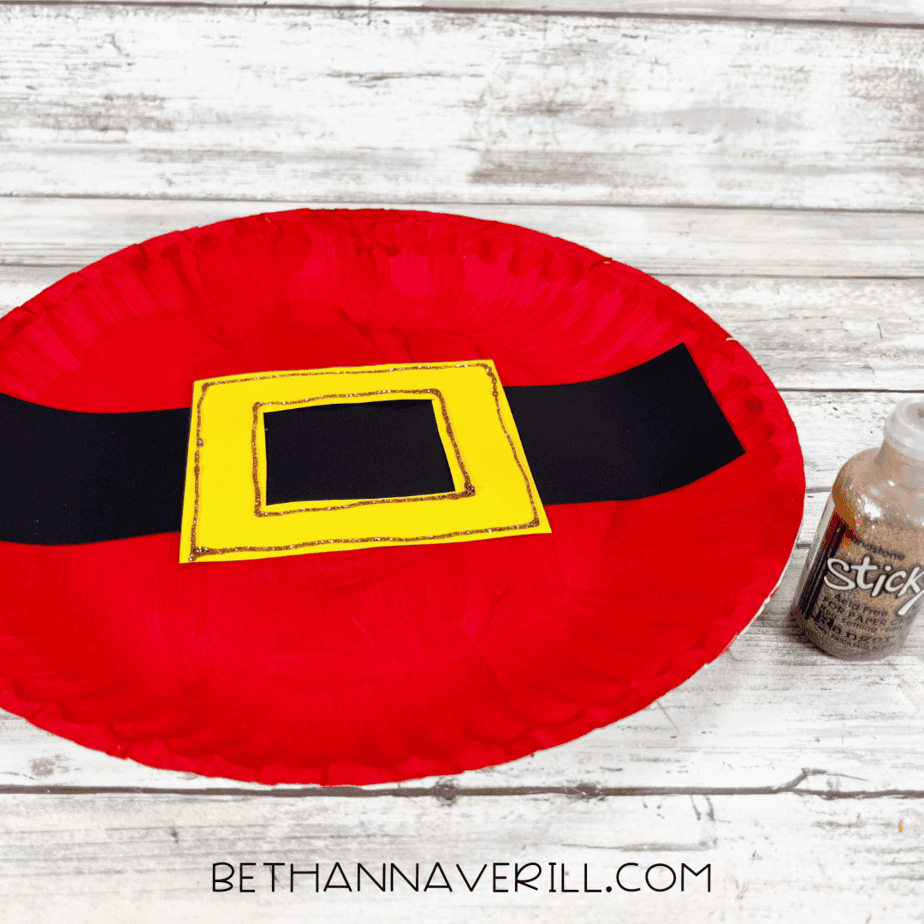
- Outline the buckle with a black marker or glitter glue for sparkle.
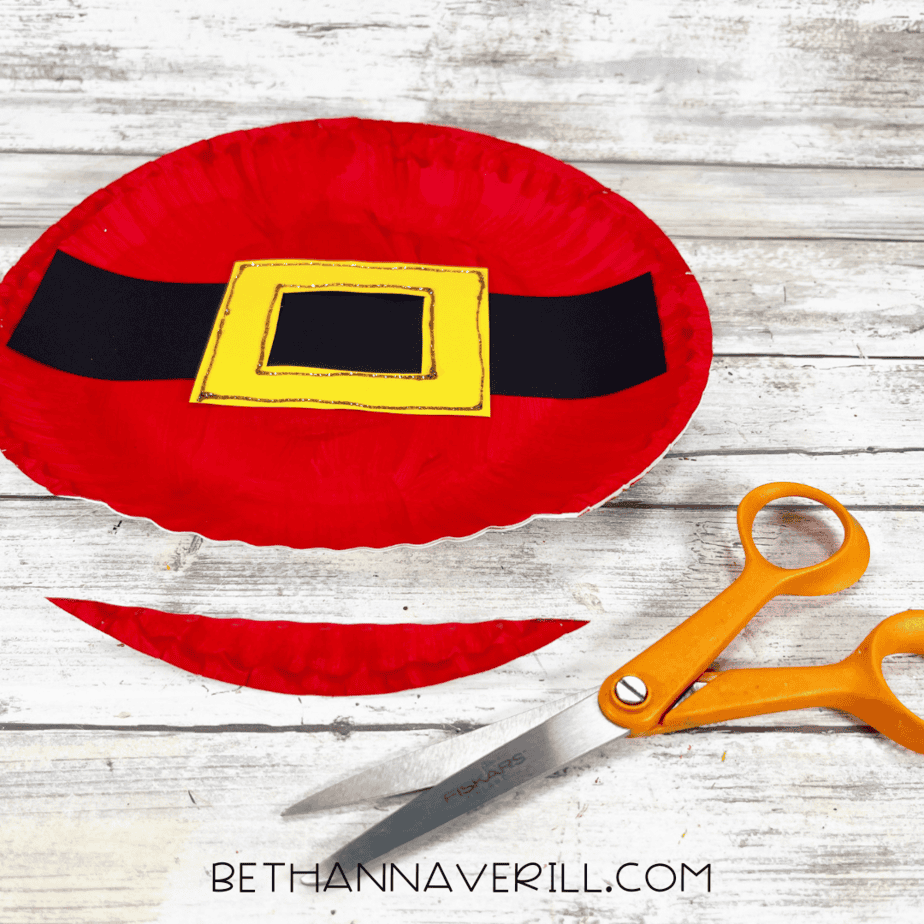
- Cut a small curved section from the bottom of the plate to create space for Santa’s trim.
- Glue cotton balls along the bottom edge of the plate for fluffy trim.
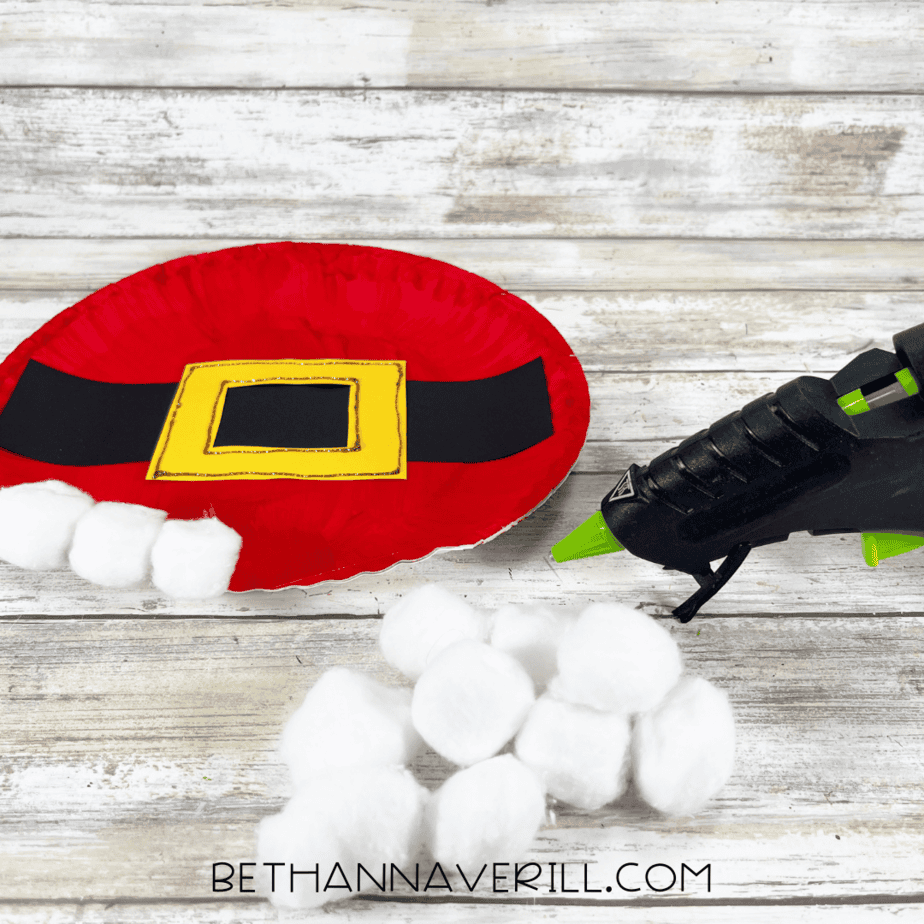
- Your Santa Belt Paper Plate Craft is ready to display!

Recommended Products
As an Amazon Associate and member of other affiliate programs, I earn from qualifying purchases.


Why Kids Will Love This Santa Craft
This project isn’t just fun, it’s loaded with seasonal charm:
- Fine motor practice — painting, cutting, and gluing build up hand strength and coordination.
- Holiday cheer — kids get to connect with Santa in a hands-on way, making the Christmas magic feel extra real.
- Creative spin — they can add glitter, sequins, or even draw buttons to make each Santa belt unique.
Whether hung on the wall, displayed on the fridge, or used as part of a Christmas craft bulletin board, this paper plate Santa Belt will bring smiles all season long.
Get This Paper Plate Santa Belt Craftivity Now!
Please Share This Santa Belt Paper Plate Craft
If you enjoyed this festive idea, I’d love it if you shared it with friends, teachers, or fellow parents. Pin it to your favorite Christmas crafts board or post it on Facebook — your support helps this little craft corner grow!


