
Paper Plate Christmas Ornament Craft
Nothing says Christmas like a tree full of ornaments, but who says ornaments have to stay on the tree? With this paper plate Christmas ornament craft, kids can paint, decorate, and design their very own oversized holiday ornaments to hang around the house. They’re festive, colorful, and way less breakable than the glass ones!
This is the kind of craft that’s quick to make, fun to decorate, and perfect for a classroom, holiday party, or cozy afternoon at home. Plus, you can whip up a whole set and turn them into a DIY garland that feels straight out of a Hallmark movie.

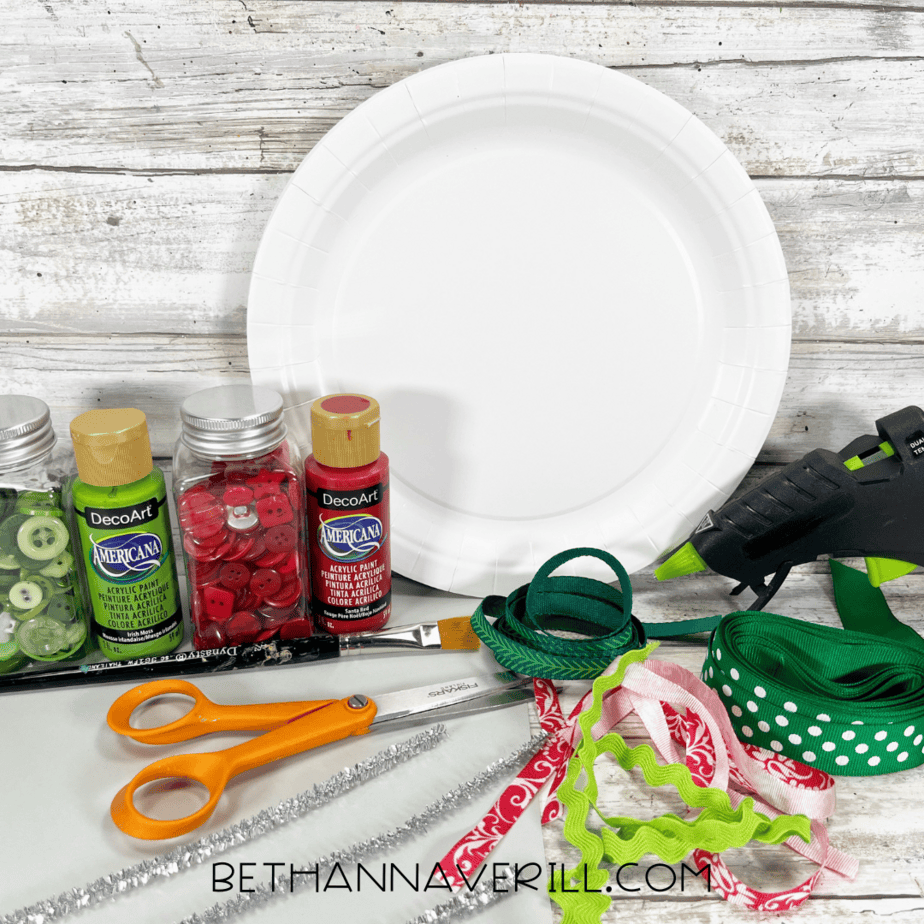
What You’ll Need for This Ornament Craft
Before the paint comes out, here’s what you’ll want on the table:
- Paper plate
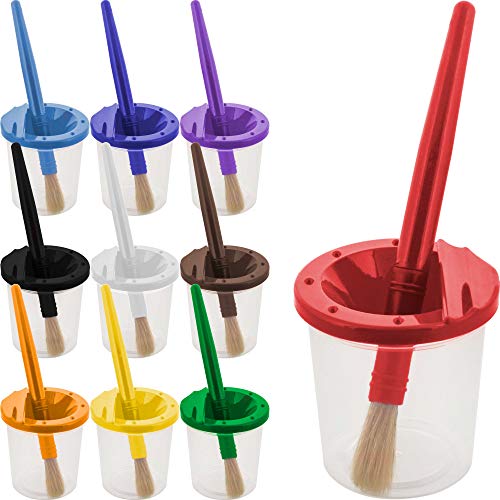
- Acrylic paint (green and red)
- Paintbrush
- Scissors
- Hot glue gun (or school glue for kids)
- Red and green buttons
- Assorted holiday ribbons (polka dot, rickrack, patterned)
- Silver pipe cleaners
- Cardstock or construction paper (for ornament tops)
- Pencil

Want to add a heart‑warming twist to your holiday craft time? After you’ve made your stockings, grab this Christmas light writing activity that connects the glow of the season with kindness, reflection, and social‑emotional learning for your preschoolers or kindergarteners.
How to Make a Paper Plate Ornament
Ready to get crafting? Find the instructions below!
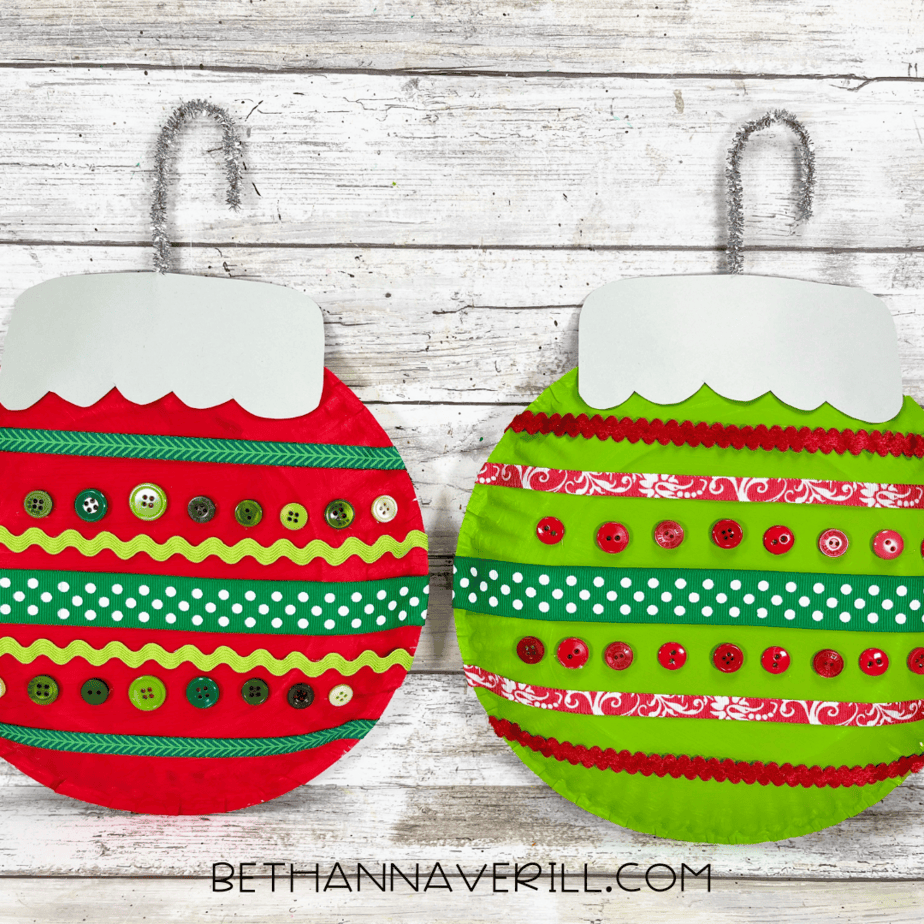
Christmas Ornament Paper Plate Craft

Turn a simple paper plate into a festive Christmas ornament craft with paint, ribbon, and buttons. A fun holiday activity kids will love!
Materials
- Paper plate
- Acrylic paint (green and red)
- Hot glue gun (or school glue for kids)
- Red and green buttons
- Assorted holiday ribbons (polka dot, rickrack, patterned)
- Silver pipe cleaners
- Cardstock or construction paper (for ornament tops)
- Pencil
Tools
- Paintbrush
- Scissors
Instructions
- Gather your supplies and set everything out on the table so little hands can grab what they need. This is the fun part—seeing all the colorful ribbons, buttons, and paints ready to go!
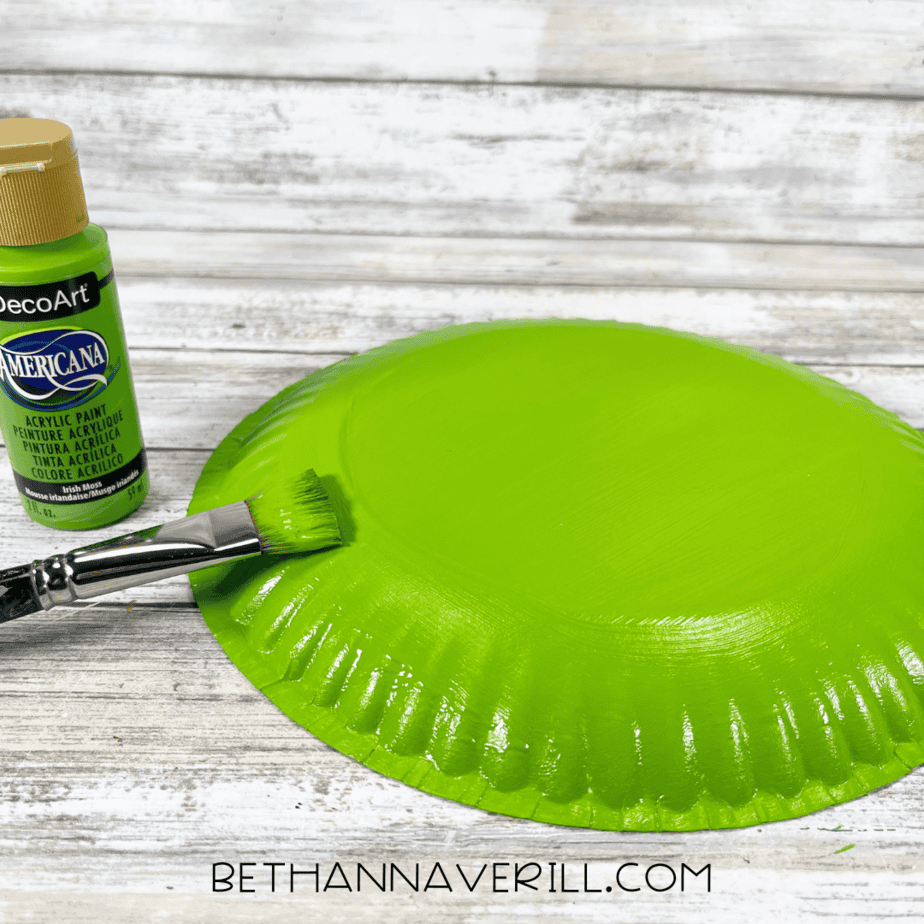
- Flip your paper plate upside down and paint the back completely with red or green paint. Let it dry fully so it doesn’t smudge when you add decorations.
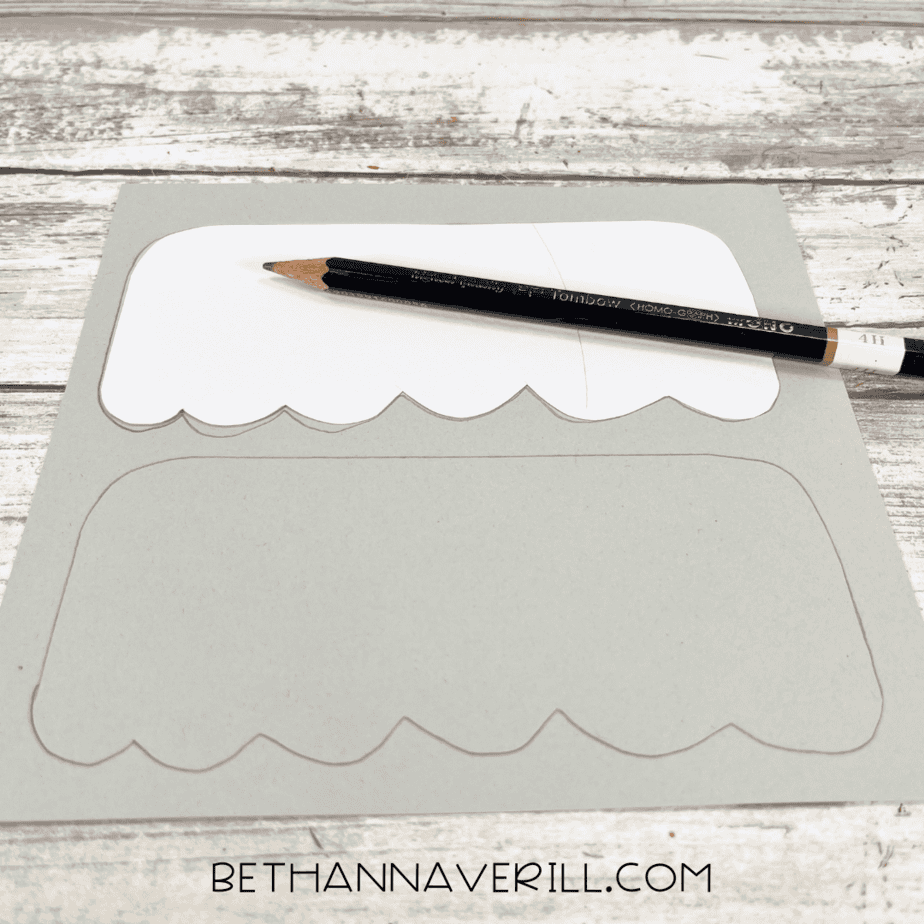
- While the paint is drying, use a pencil to trace the ornament top template onto cardstock or construction paper. This will become the cap that makes your plate look like a real ornament.
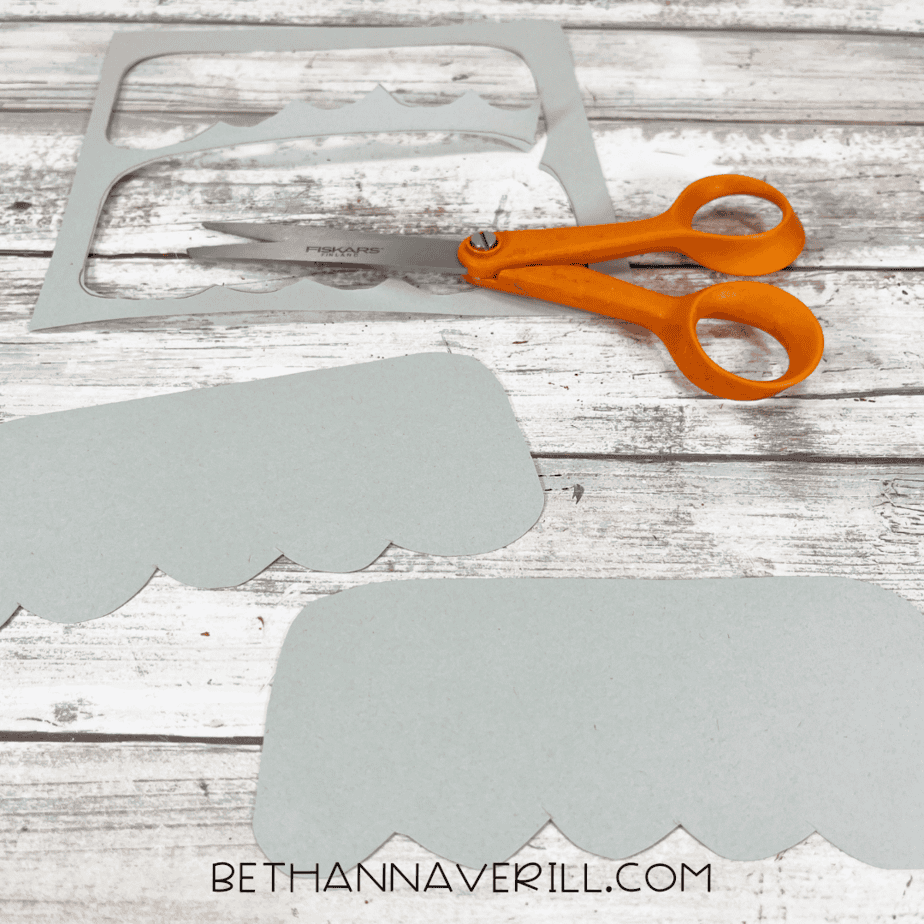
- Cut out the ornament top shapes carefully with scissors. These can be plain or you can decorate them with markers or glitter if you want extra sparkle.
- Once your painted plate is dry, it’s time to decorate. Start by gluing down strips of ribbon across the plate. Mix and match patterns for a festive look—polka dots, rickrack, or swirly red ribbons work perfectly.
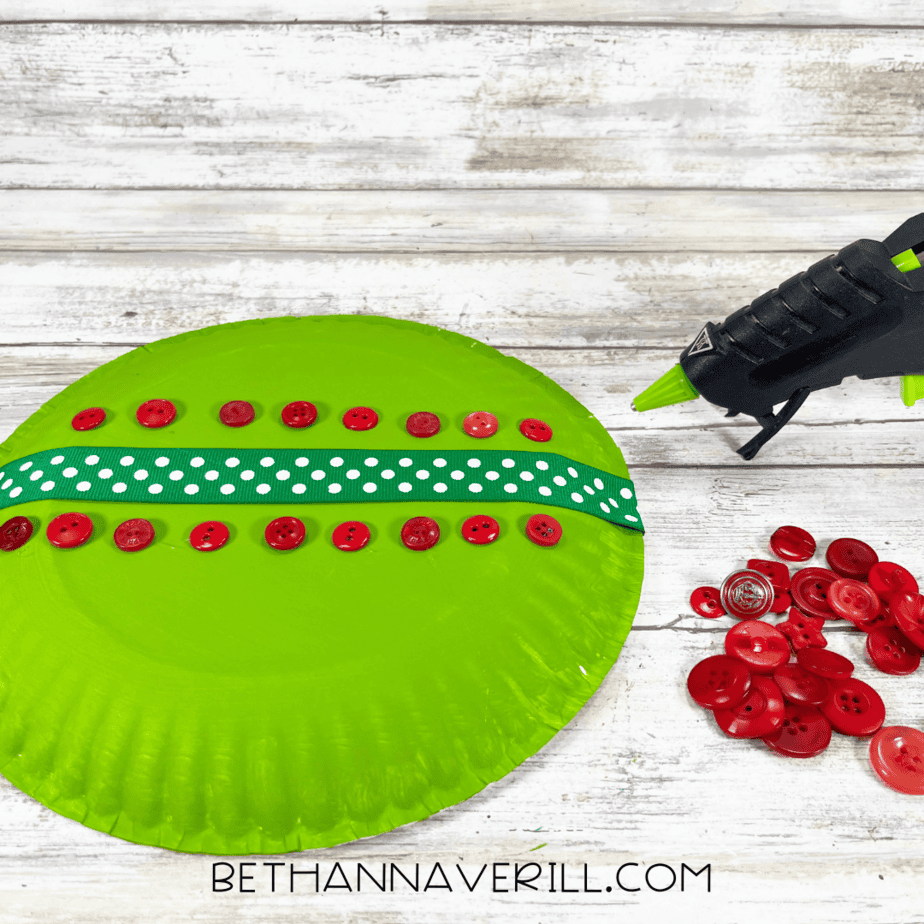
- Add buttons between the ribbons. You can line them up neatly or scatter them for a playful look. Make sure they’re glued down securely.

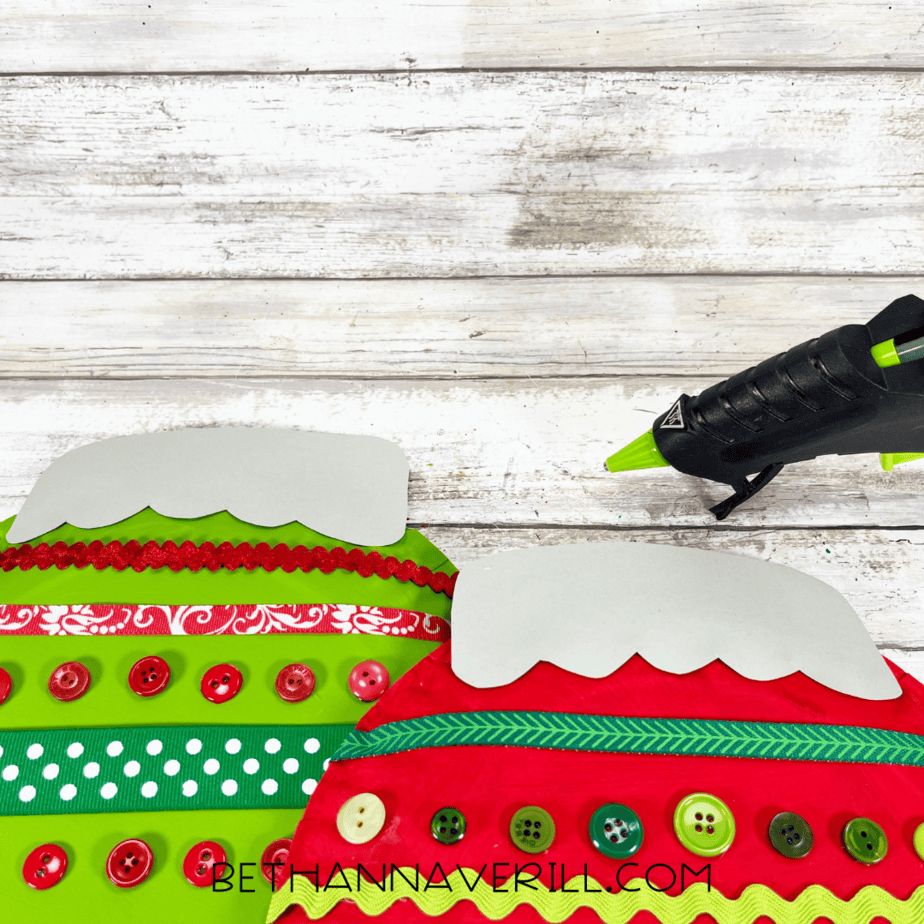
- Glue the cardstock ornament top onto the flat edge of your plate so it looks just like a real Christmas ornament.
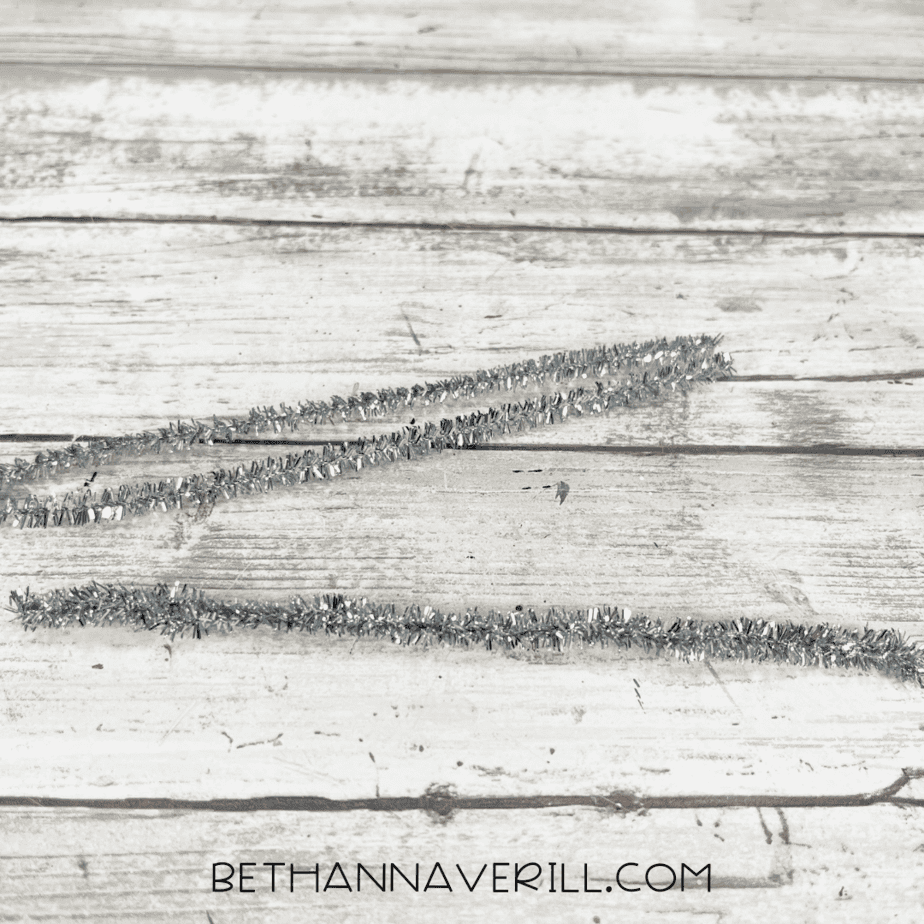
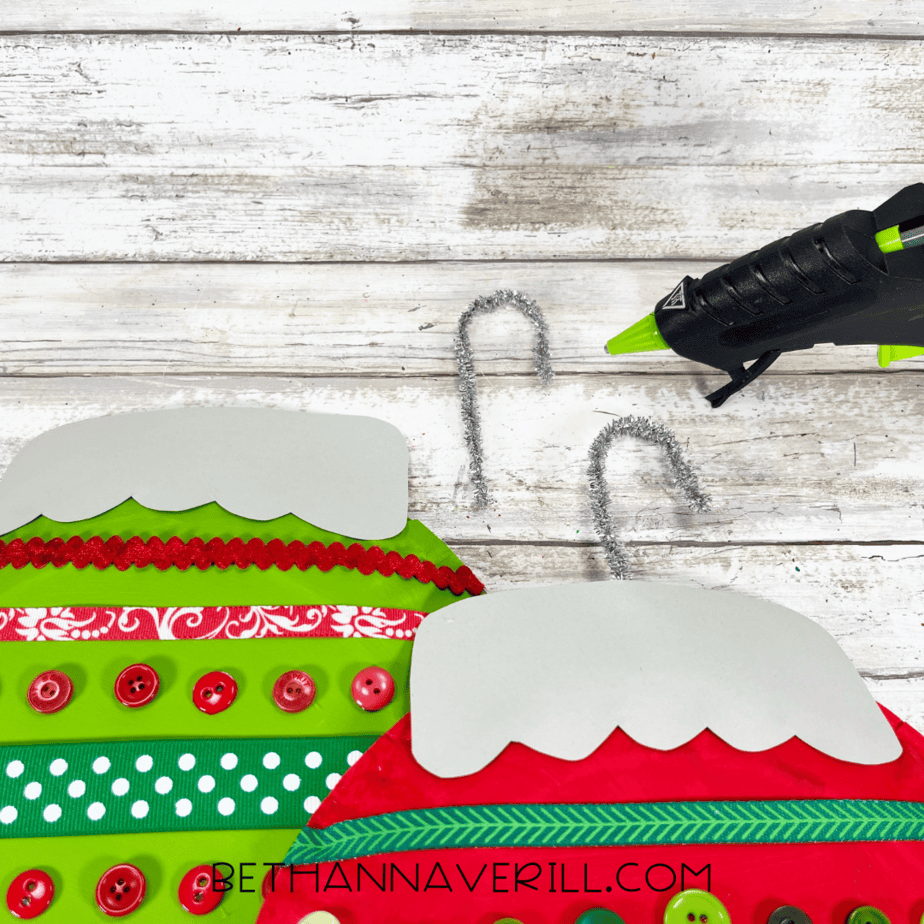
- Bend a silver pipe cleaner into a hook shape and glue it to the back of the ornament top. This gives your craft the look of a hanger, just like the ornaments you’d put on your tree.
- Once everything is dry, your paper plate ornament is ready to display! Hang it on the wall, your door, or string up a whole collection to make a DIY garland.
Recommended Products
As an Amazon Associate and member of other affiliate programs, I earn from qualifying purchases.


Why This Craft Will Be a Holiday Hit
Beyond the fun of painting and gluing, this ornament craft brings a few bonuses:
- Classroom-ready – Quick to prep and easy for kids to customize.
- Decor that lasts – Unlike real ornaments, these won’t shatter if they take a tumble.
- Creative freedom – Kids can mix ribbons, buttons, and colors to make each ornament unique.
- Group project – Perfect for holiday parties or classrooms—imagine a whole wall lined with paper plate ornaments!
And there you have it, your very own paper plate Christmas ornament, full of color and charm. Whether you hang one or a whole collection, these oversized ornaments will bring holiday cheer wherever they go.
Get This Paper Plate Christmas Ornament Craftivity Now!
Please Share This Paper Plate Ornament Craft
Your shares help this site grow, and I’m so grateful. If you know someone who’d love this festive craft, please share it on Facebook or pin it to your favorite Christmas board on Pinterest.


