
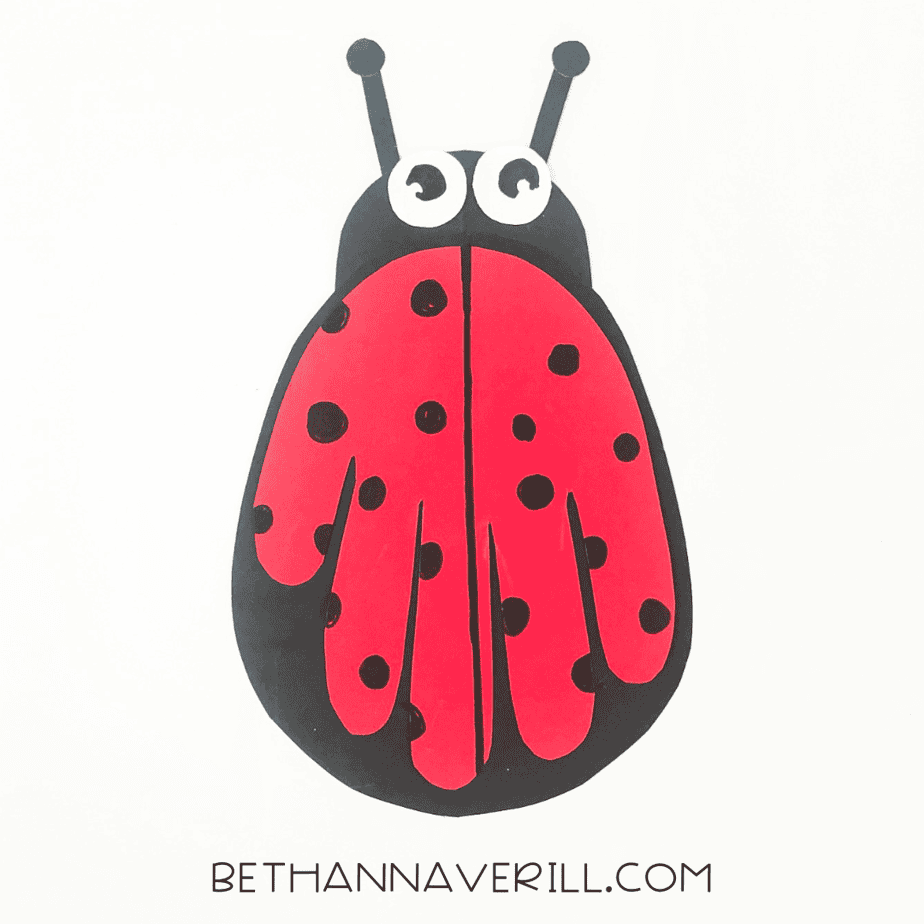
Ladybug Handprint Craft
Spring is in the air, the bugs are back, and if your kid is anything like mine, they’re either squealing with excitement… or asking 47 questions about every single bug they see. Either way, this ladybug handprint craft is the perfect way to celebrate all things creepy-crawly (but make it cute).
It’s simple, colorful, and only requires paper, scissors, glue, and a little bit of that preschool magic. Plus it sneaks in a bit of fine motor practice while your little one thinks they’re just making a cute ladybug. Win-win!

What You'll Need for This Handprint Ladybug Craft
- Red, black, and white construction paper
- Scissors
- Glue stick
- Black marker
No paint. No glitter. No weird craft supplies hiding at the bottom of the bin. Just the basics.
How to Make a Ladybug Handprint Craft
Ready to get crafting? Find the instructions below!
Ladybug Handprint Craft

This adorable ladybug handprint craft is perfect for spring or bug-themed units! It’s a fun preschool activity that strengthens scissor skills and creativity with just paper and glue.
Materials
- Red construction paper
- Black construction paper
- White construction paper
- Glue stick
- Black marker
- Pencil
Tools
- Scissors
Instructions
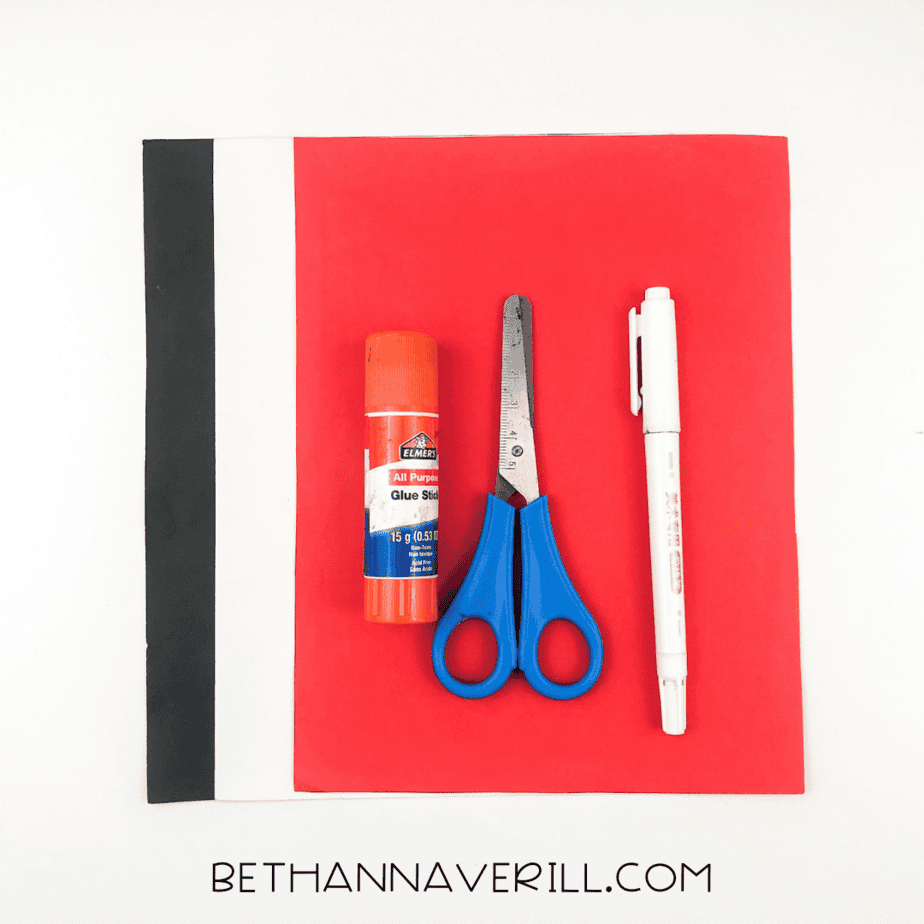
- Gather your materials: red, black, and white construction paper, scissors, a glue stick, pencil, and a black marker.
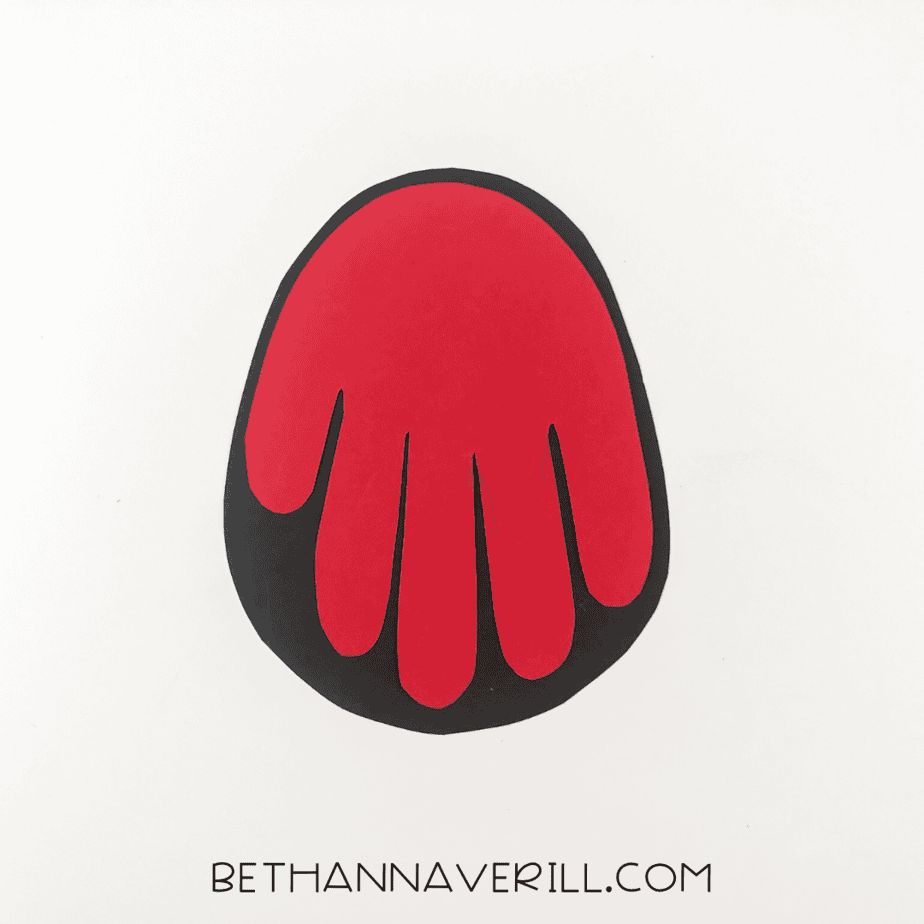
- Trace and cut out a handprint from red construction paper. This will become the ladybug’s wings.
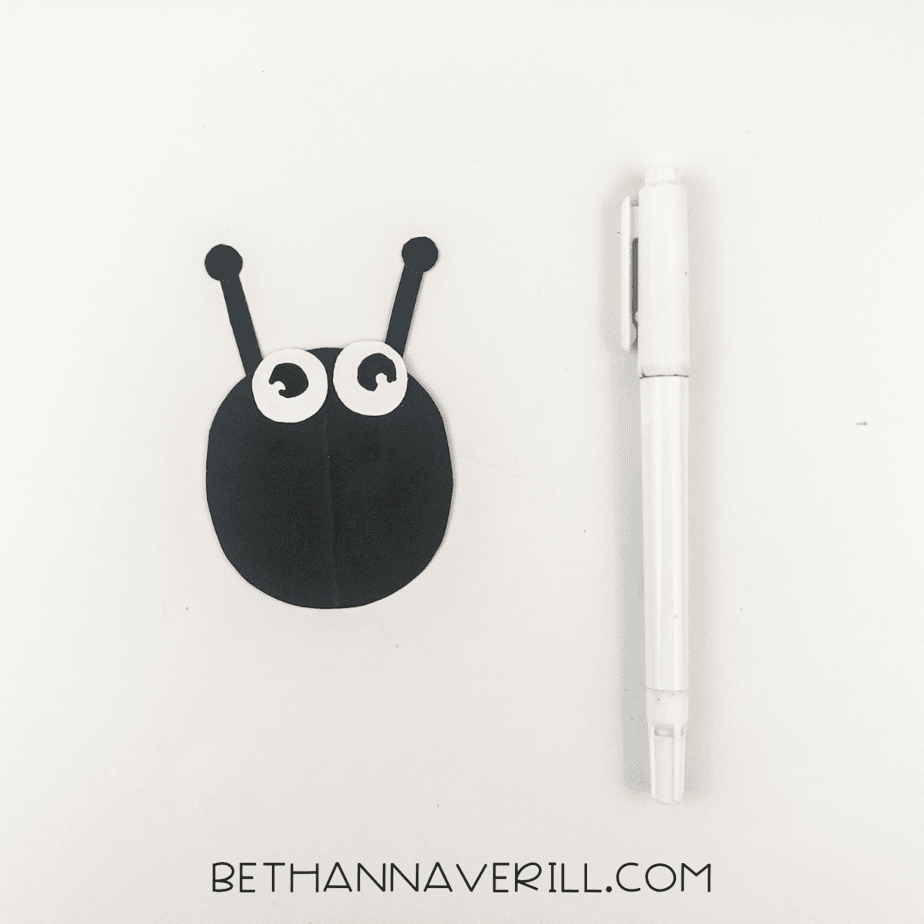
- Cut out a large rounded black body and a smaller black circle for the head.
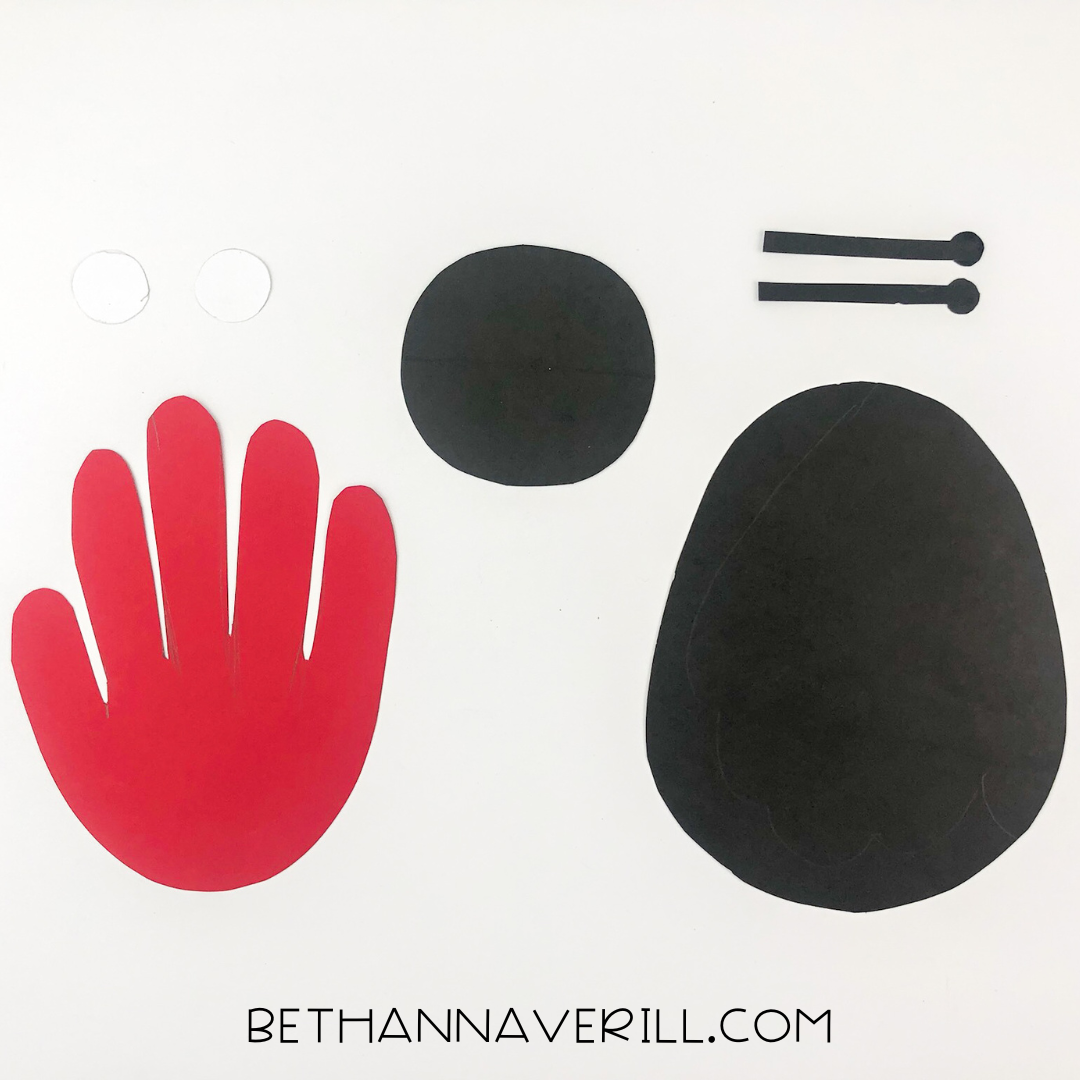
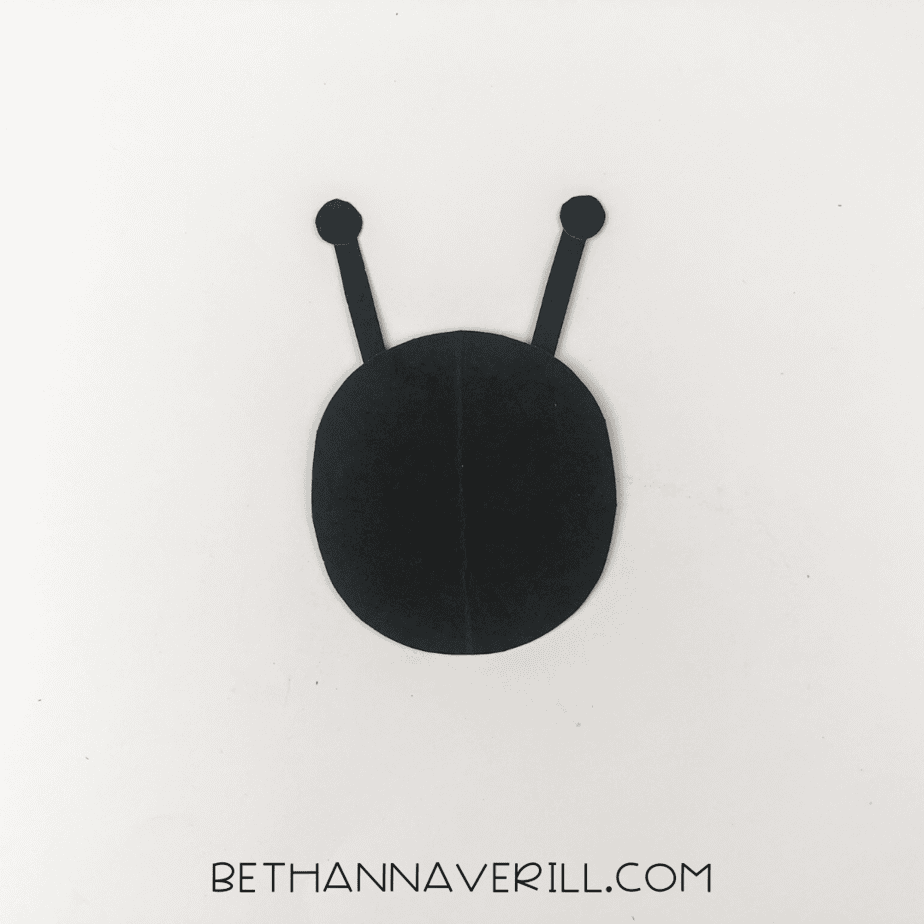
- Cut out two black antennae and glue them to the top of the black circle head.
- Cut two small white circles for the eyes and glue them onto the head.
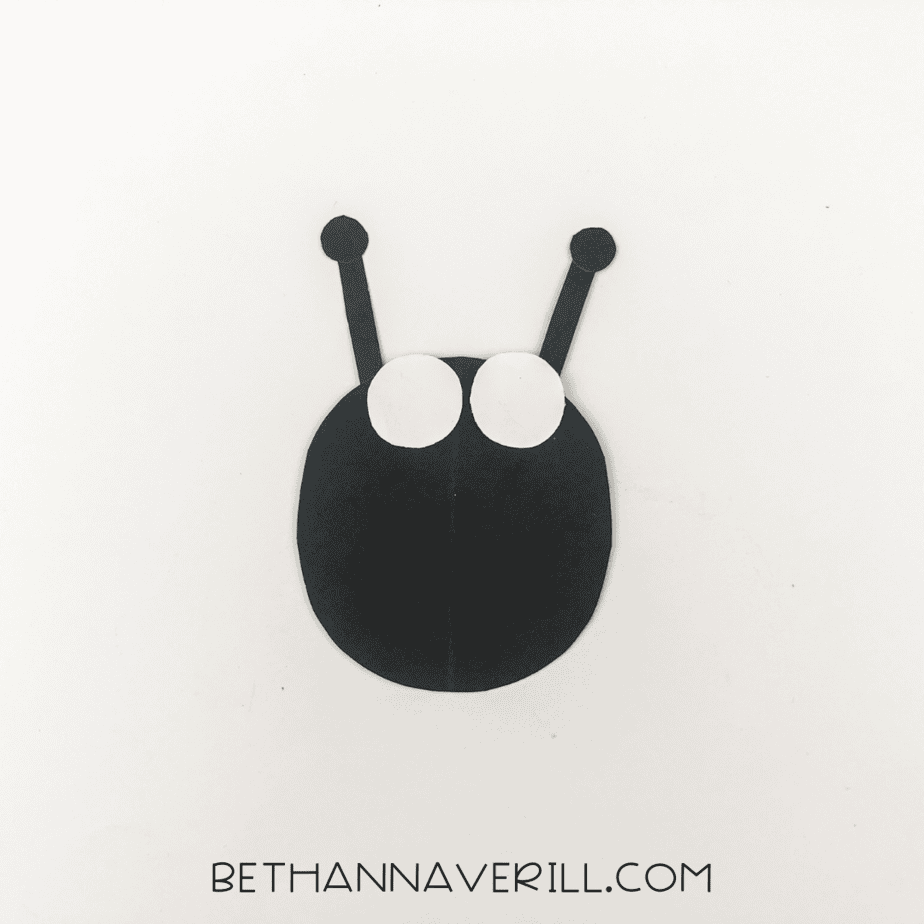
- Use a black marker to draw pupils inside the white circles to finish the eyes.
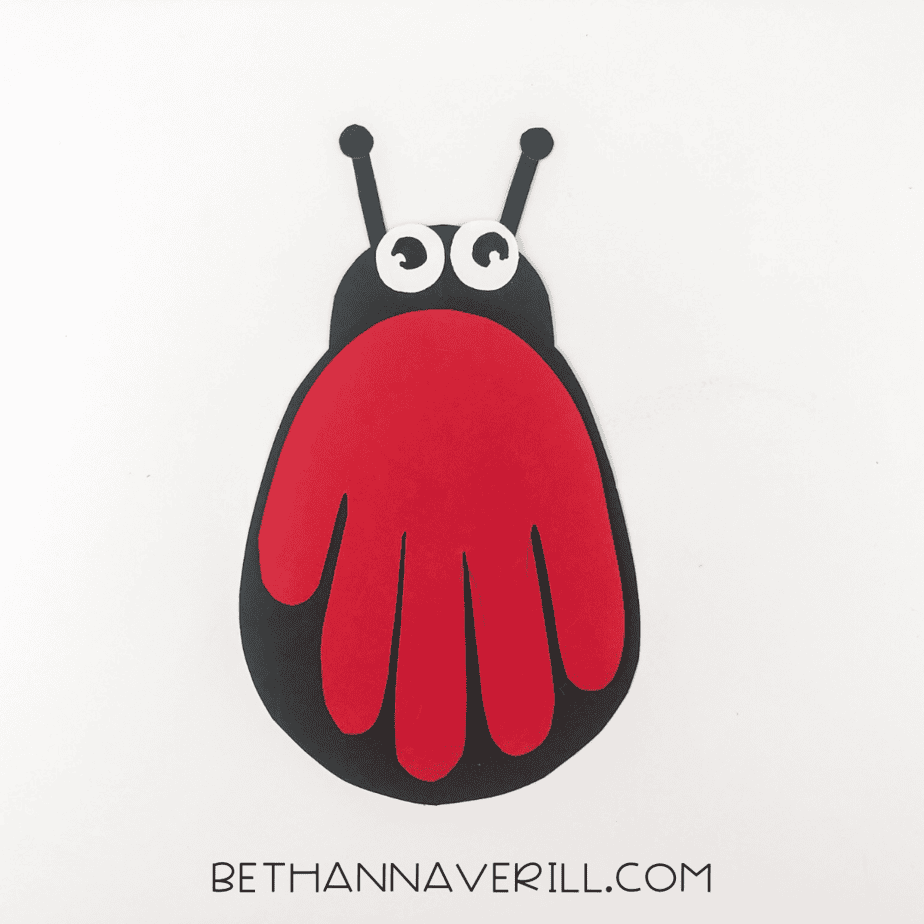
- Glue the red handprint on top of the black body, with fingers pointing downward.
- Glue the head with antennae to the top of the black body, slightly behind the handprint.
- Use a black marker to draw a line down the center of the red handprint to separate the wings.
- Add black spots to the red handprint using the black marker to create the ladybug’s signature look.
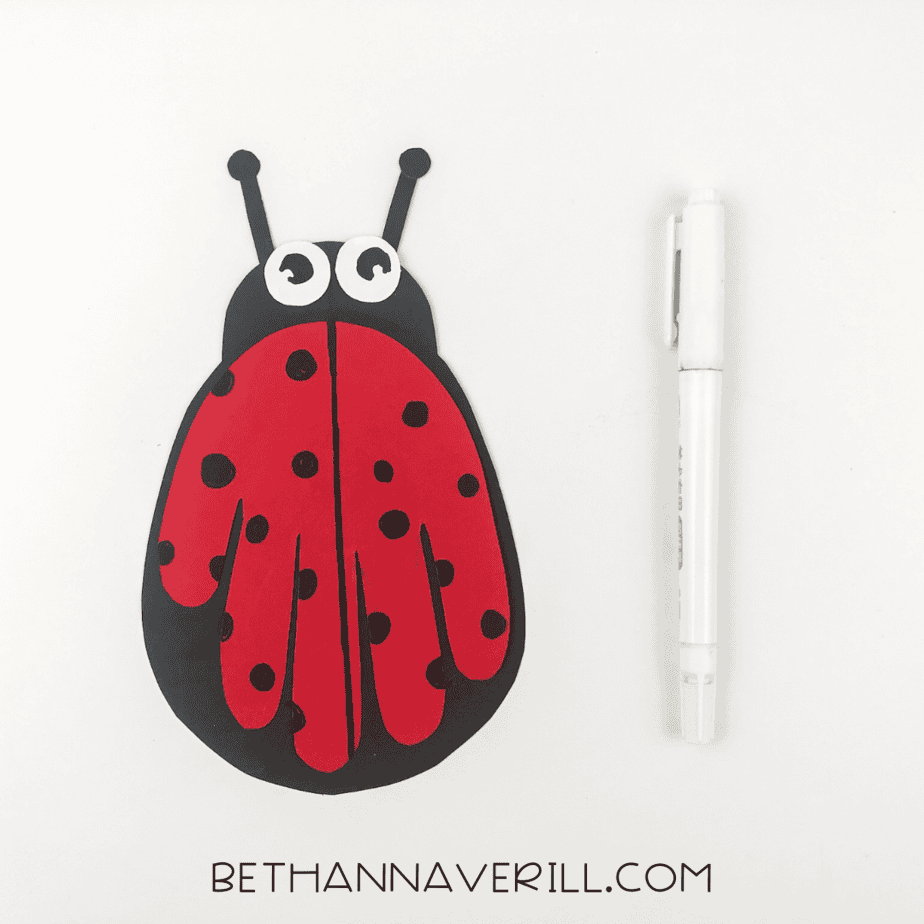
- Let it dry, then display your cute little ladybug!
Recommended Products
As an Amazon Associate and member of other affiliate programs, I earn from qualifying purchases.


Why This Craft Is More Than Just Cute
Sure, it’s an adorable buggy buddy, but this activity also packs a punch when it comes to skill-building. Your preschooler is practicing tracing, cutting, gluing, designing, and following multi-step directions, all wrapped up in one cheerful spring craft.
And let’s be honest handprint crafts are time capsules. One day, you’ll stumble across this wide-eyed ladybug and remember exactly how tiny those fingers once were. Cue the sentimental sniffles.
Want to Keep the Ladybug Fun Going?
If your little entomologist is obsessed with all things buggy and crawly, we’ve got you covered. Explore more hands-on buggy adventures with our full collection of bug activities for preschoolers that let your child’s creativity take center stage (and make you feel like the coolest grown-up ever).
Or go all in with even more handprint crafts that blend learning, play, and just the right amount of messy fun.
Please Share This Ladybug Handprint Craft
Your shares are how this site grows and I am sincerely grateful. Know a friend who’d like this? Please share it on Facebook or save it to your favorite kids’ activity board on Pinterest.


