
Hippo Paper Plate Craft
Need a quick win that doesn’t involve screen time or snacks? This hippo paper plate craft is the perfect mix of silly and simple. With a splash of paint and a few paper scraps, your preschooler can turn a plain plate into a big-grinned hippo buddy (that kinda looks like the one from Doc McStuffins if we’re being honest).
It’s low-prep, low-mess, and it just so happens to sneak in a little fine motor skill practice while you're both covered in glue.

What You’ll Need to Make a Paper Plate Hippo Craft
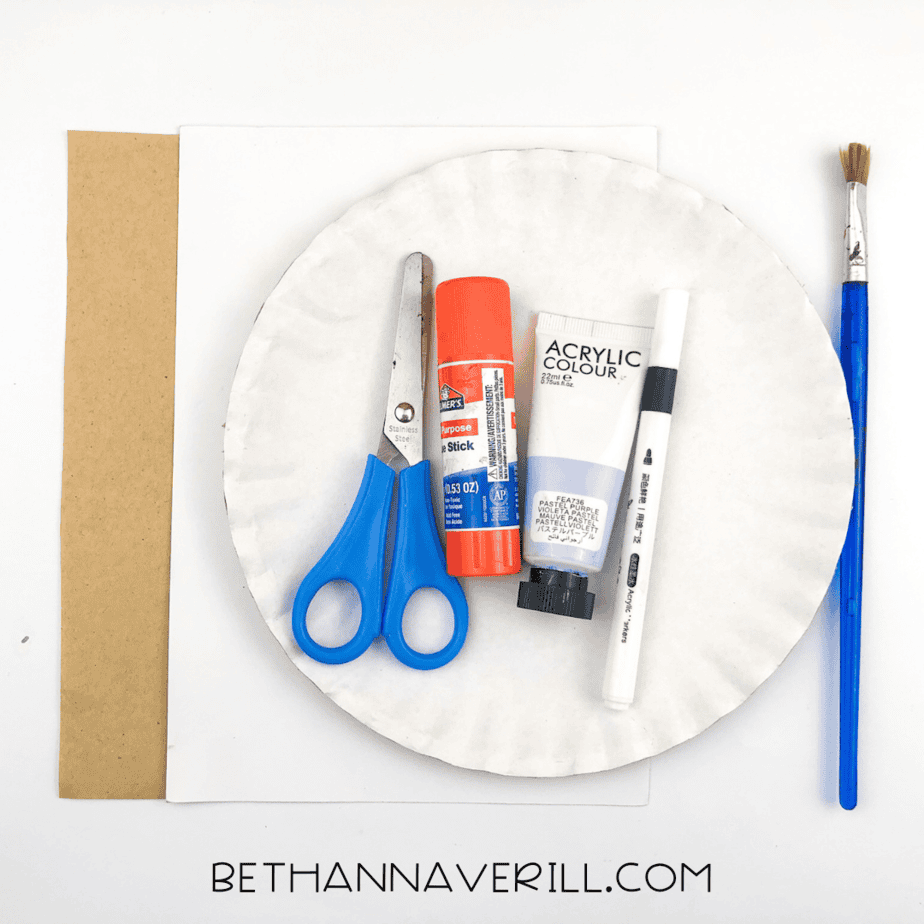
This isn’t a craft that requires a last-minute store run. You probably already have most of this stuff in your junk drawer or art bin:
- One paper plate
- Periwinkle paint
- Paintbrush
- Brown construction paper
- White paper
- Scissors (kid scissors if they’re helping)
- Glue stick or school glue
- Black marker
- Template
Optional but fun:
- Googly eyes
- Bits of felt or stickers if your kiddo’s feeling extra
No periwinkle? Let them pick the color. Neon green hippo? Let’s go. This is a “use what you’ve got and make it weird” kind of craft.
How to Make a Hippo Paper Plate Craft (Step-by-Step)
Ready to get crafting? Find the instructions below!
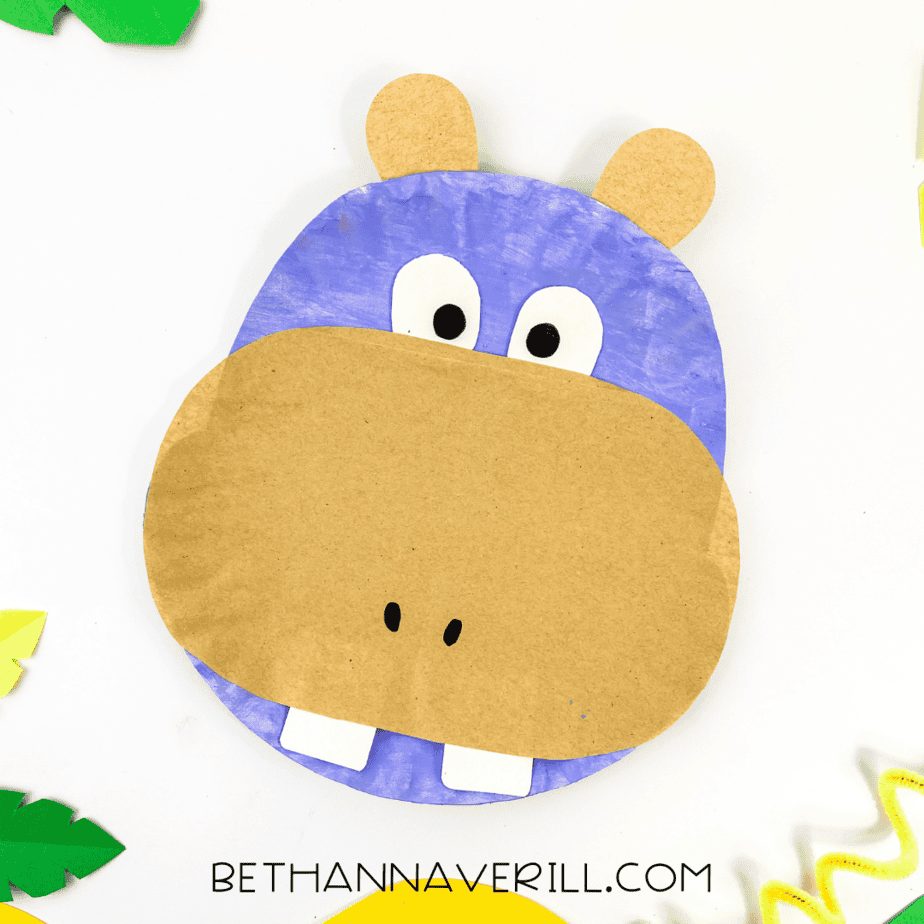
Hippo Paper Plate Craft

This cheerful hippo paper plate craft is a great way to engage kids in learning about river habitats or African animals. With painting, cutting, and gluing steps, it’s perfect for building fine motor skills and reinforcing direction-following.
Materials
- Paper plate
- Periwinkle paint
- Brown and white construction paper
- Glue stick
- Black marker
- Template
Tools
- Scissors
- Paintbrush
Instructions
- Gather your supplies.
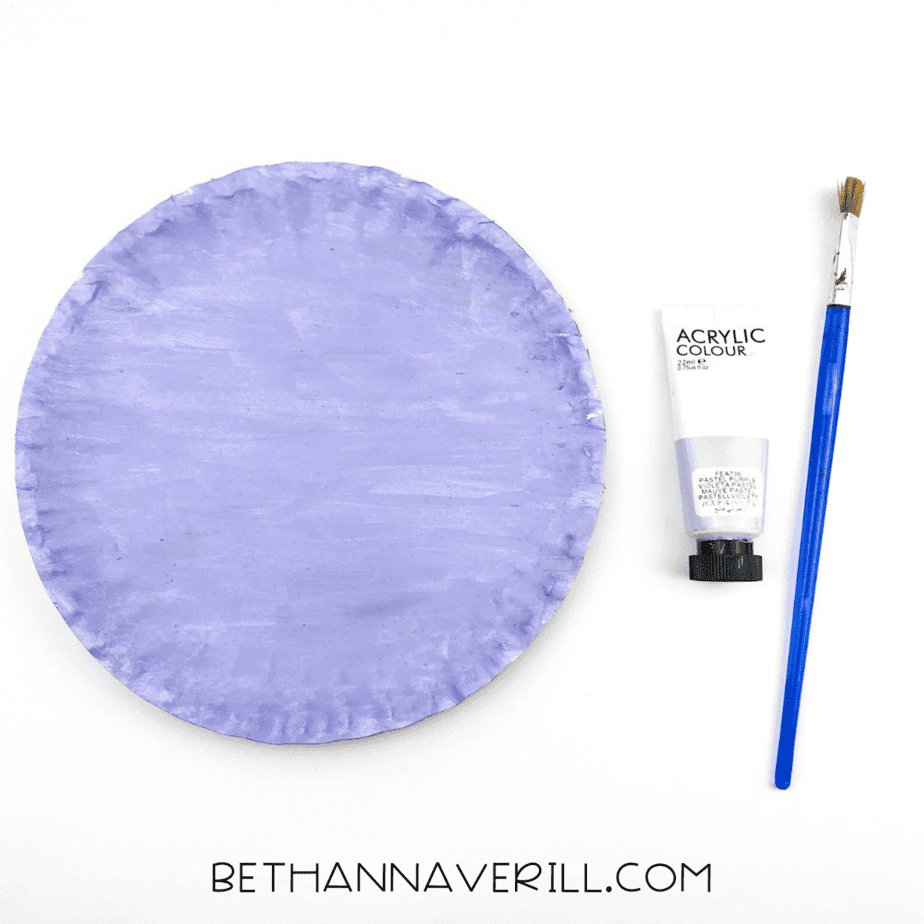
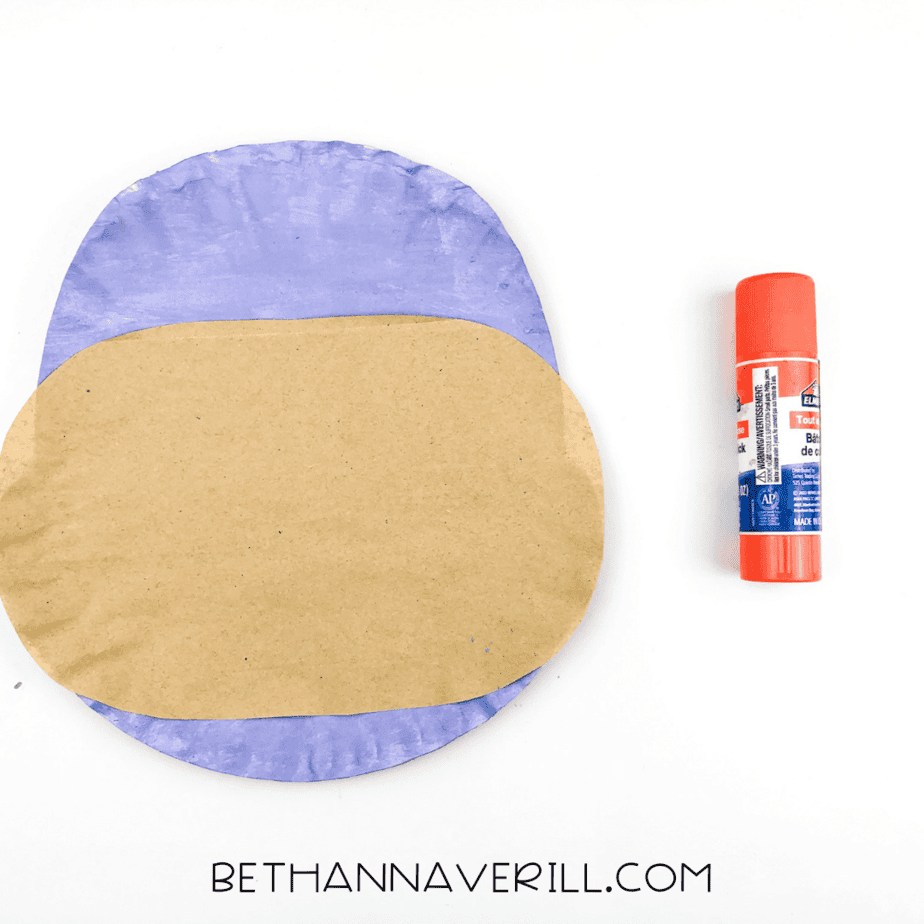
- Paint the entire front of the paper plate purple and let it dry completely.
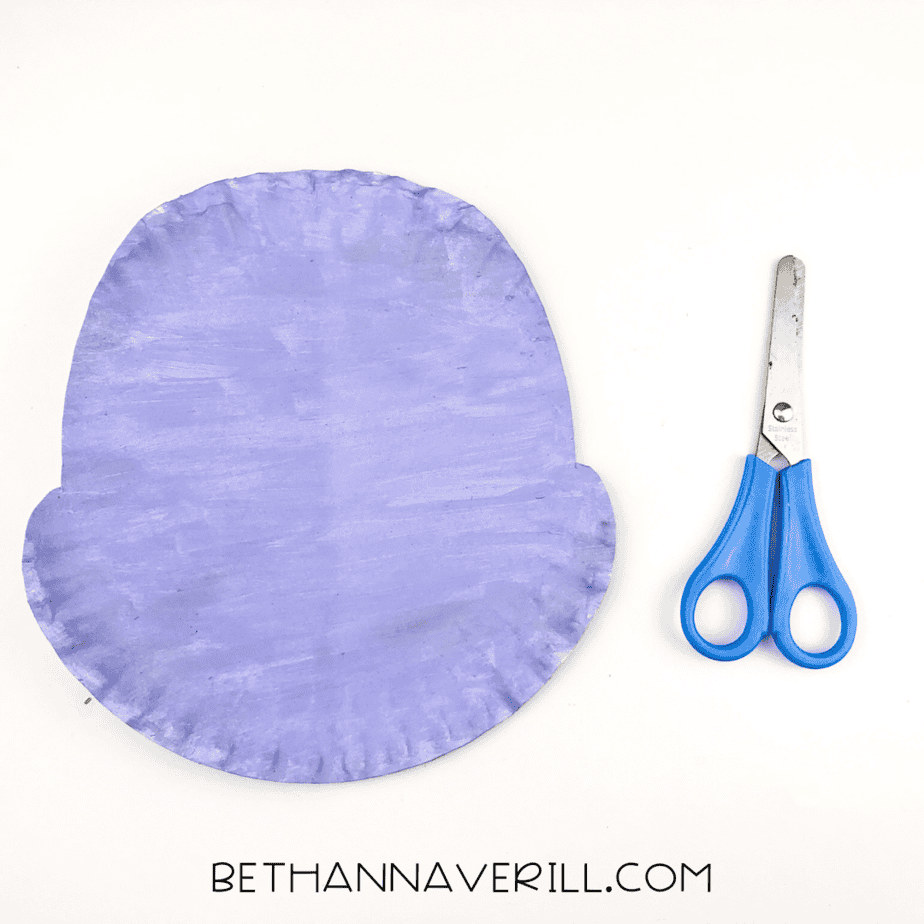
- Cut the painted plate into a rounded hippo head shape with slight bumps on the sides for cheeks.
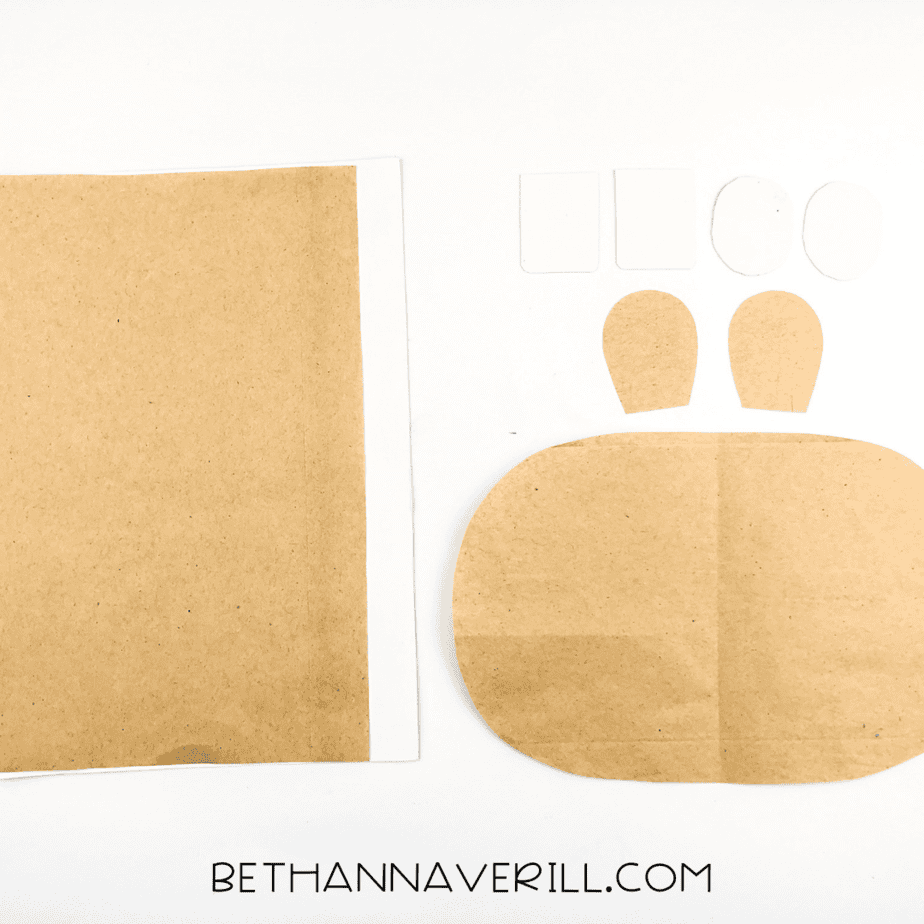
- Cut out the rest of your hippo parts from brown and white paper: two ears, a large oval for the muzzle, two white teeth, and two white eyes.
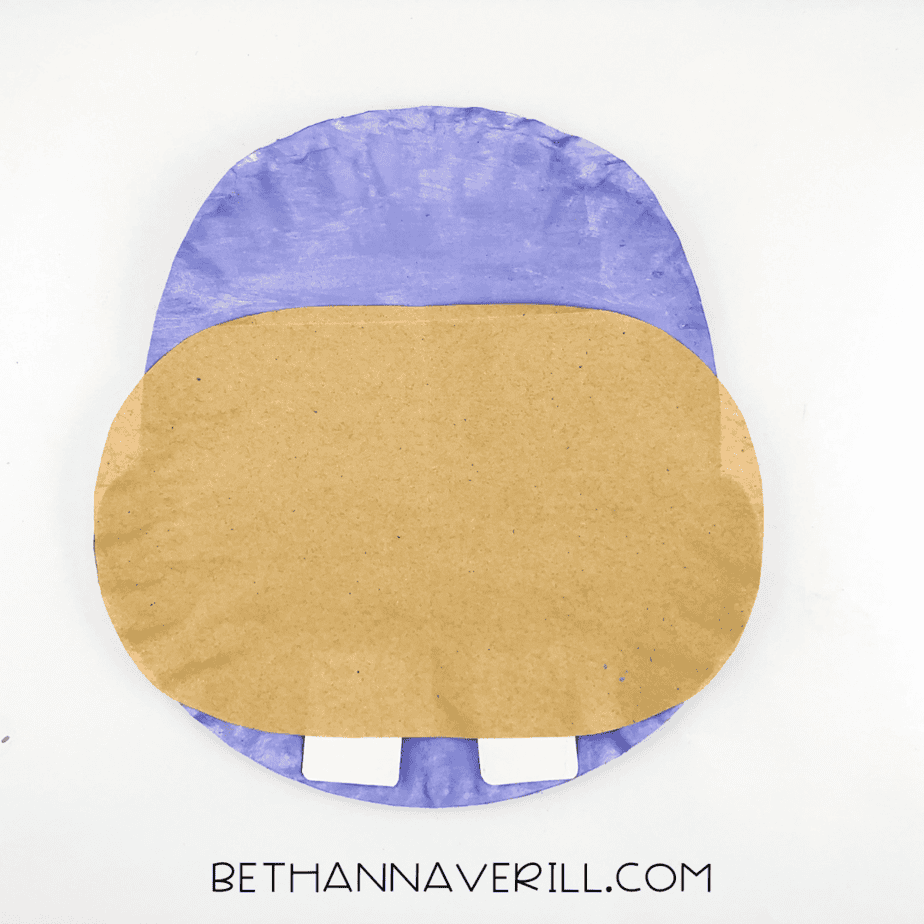
- Glue the muzzle to the bottom half of the paper plate.
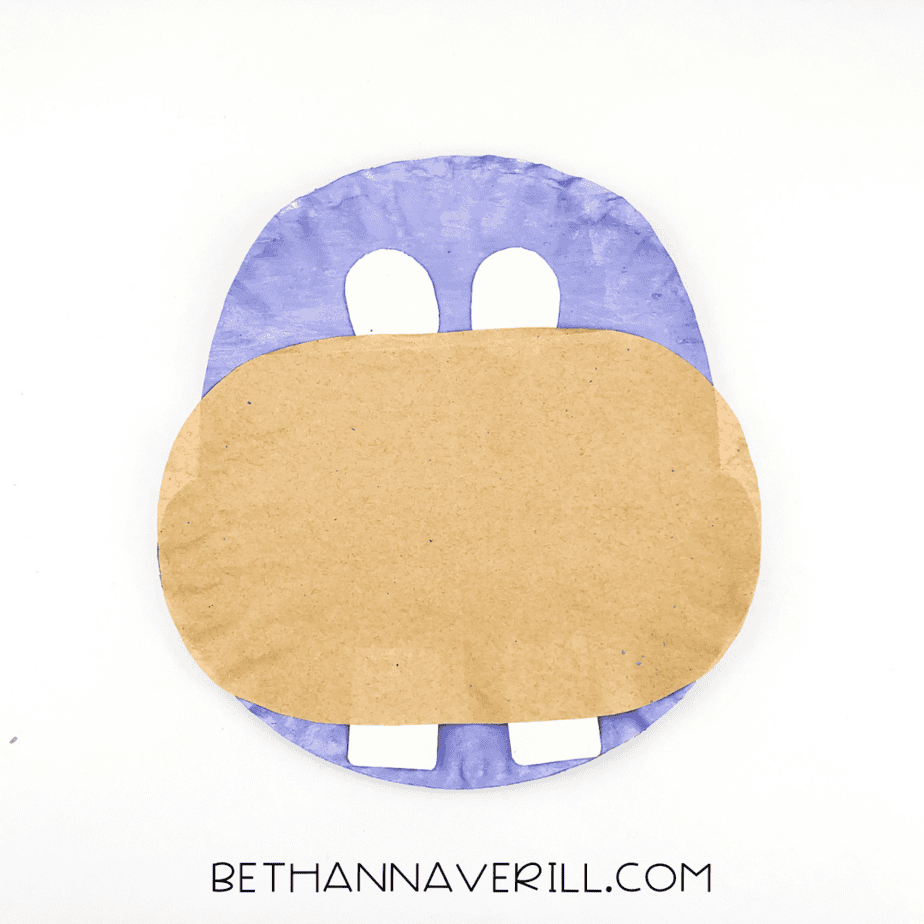
- Tuck the white teeth just under the bottom of the muzzle and glue them down.
- Glue the white eyes above the muzzle.
- Attach the two brown ears to the top of the hippo’s head.
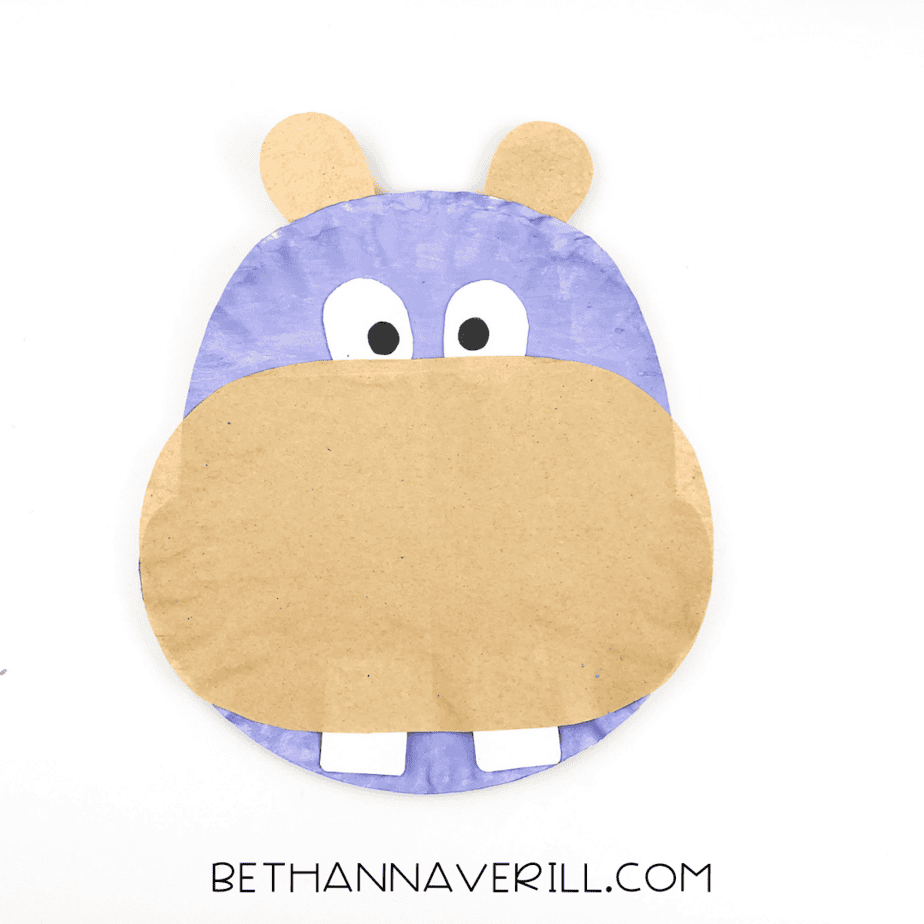
- Use a black marker to draw pupils inside the eyes and two little nostrils on the muzzle.
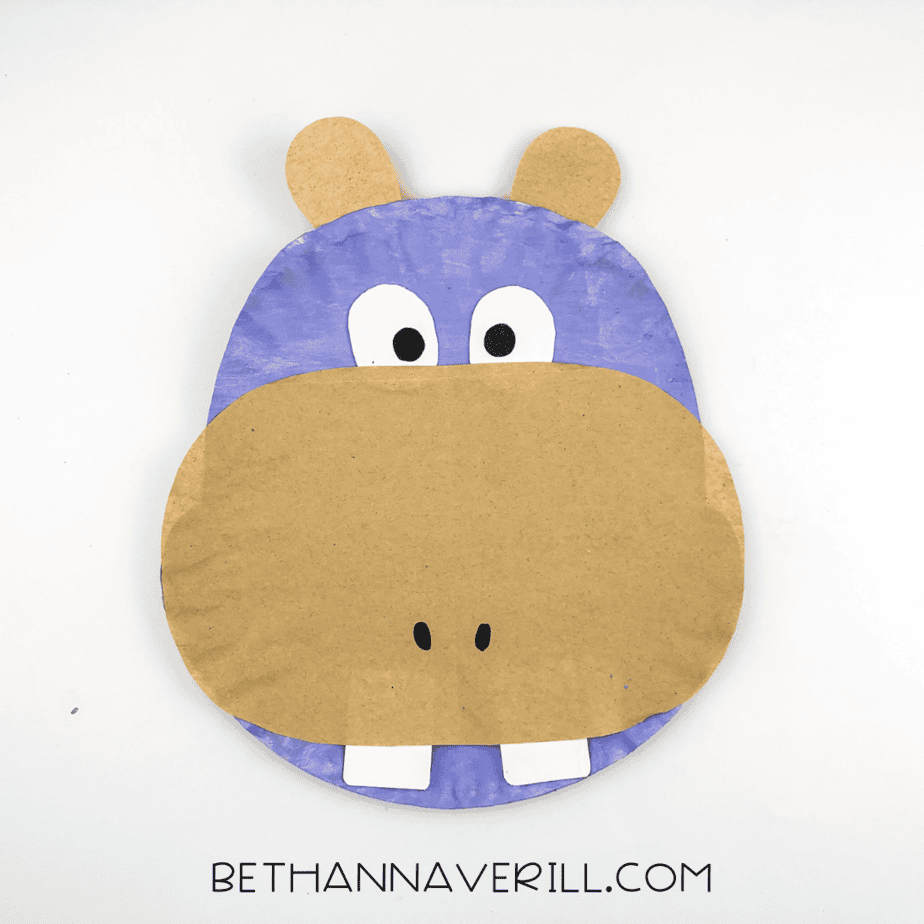
- That’s it—your hippo is done and ready to show off its big silly grin!
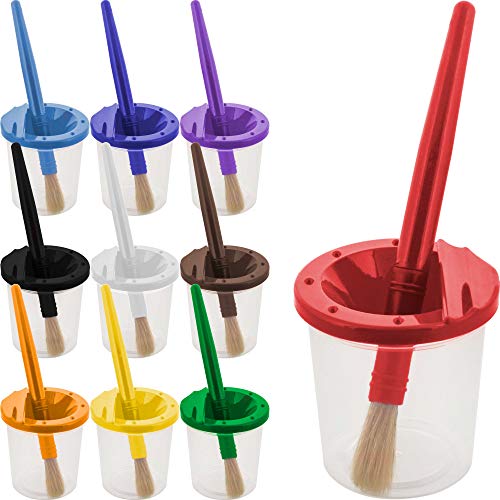
Recommended Products
As an Amazon Associate and member of other affiliate programs, I earn from qualifying purchases.


Bring on the Hippo Personality
Now it’s time to make this hippo your kid’s own. Grab a black marker and dot the eyes (wonky pupils are highly encouraged). Add some big, round nostrils on that snout and maybe a goofy grin while you're at it.
Feeling fancy? Let your kid deck out their hippo with stickers, glitter, a bowtie, whatever feels right. One of ours ended up with rainbow ears and a name tag that said “Toothbrush.” Zero notes. A+ creativity.
Once it’s dry, hang that masterpiece on the fridge or tape it to a bedroom door like it’s important artwork (because it is).
Hippo Facts to Drop While You Craft
Craft time = prime time for weird animal facts. Blow their little minds with these:
- Hippos spend most of their day chilling in the water to stay cool.
- They can run faster than a human (don’t challenge one).
- Baby hippos ride on their mom’s back like a personal floatie.
- A group of hippos is called a bloat. Yes, really.
- Despite their goofy looks, they’re actually super territorial. So maybe give this one a glitter crown to mellow her out.
And just like that, you turned a plain ol’ paper plate into a grinning hippo with major personality. Not bad for an afternoon that started with “I’m bored” and ended with gluey fingers and giggles.
Want more wins like this? Check out the rest of our paper plate crafts and keep the mess-contained magic going. Because let’s be honest, glue sticks and googly eyes are basically preschool gold.
Please Share This Hippo Paper Plate Craft
Your shares are how this site grows and I am sincerely grateful. Know a friend who’d like this? Please share it on Facebook or save it to your favorite kids’ activity board on Pinterest.


