
Easy Paper Chick Craft
Ready to hatch some fun? This super cute paper chick craft is here to brighten your day! Whether you’re crafting with kiddos or flying solo, this easy and budget-friendly DIY is perfect for Easter or whenever you need a little creativity boost.
With just a few supplies and simple steps, you’ll have your very own adorable chick in no time. It’s as much fun to make as it is to show off, so grab your scissors and let the crafty fun begin! Get ready to bring some serious cheer to your space!

For more ideas, check out this paper plate duck craft for preschoolers for another charming project.
Materials You'll Need
Before you dive into creating your adorable paper chick, let's make sure you’ve got all the goods ready to go! Having everything prepped will keep the crafting fun rolling without any unexpected pauses. Here’s a quick checklist of what you’ll need to bring your little paper chick to life!
Construction Paper
Time to pick your colors:
- Yellow: The star of the show! This will be your chick’s body, so go for a bright, cheerful yellow to make it pop.
- White: Perfect for the wings, but feel free to switch it up with another color if you're feeling adventurous!
- Red & Orange: Red will be used for those fun little top feathers, and orange will bring the beak and feet to life!
Pro tip: If you’re crafting with a bunch of kiddos, pre-cutting the pieces can save a lot of time and make things easier for little hands.
Need more ideas for paper crafts? Check out our Handprint Chick Craft for another adorable project!
Googly Eyes
No chick is complete without some goofy, googly eyes! These add instant personality to your craft. If you’re fresh out of googly eyes, no worries—you can always draw cute eyes with a marker.
Scissors & Glue
You’ll need scissors to cut out all the parts. If you’re crafting with littles, safety scissors are the way to go! For glue, a good glue stick or school glue will hold everything together nicely.
Optional Extras
Feeling fancy? Add these for some extra flair:
- Markers or crayons for doodling details like feather lines or fun patterns.
- Glitter to give your chick a bit of sparkle. (Because who doesn’t love glitter?)
- Pipe cleaners to give your chick 3D legs or a cute little feather top!
Once you’ve gathered everything, set up your materials on a clean, flat surface, and you’re ready to get started. With everything prepped, you’re all set to make your paper chick masterpiece! Let the crafting begin!
Step-by-Step Guide to Make Paper Chick Craft
Ready to create your easy paper chick craft? This guide will walk you through each step in detail, making it fun and simple for all skill levels. Let’s roll up our sleeves and start crafting!
Chick Paper Craft

This cute Paper Chick Craft is a fun and simple project perfect for Easter or any creative day! With just a few materials, you can easily make an adorable chick to display. Follow the steps below, and let the crafting fun begin!
Materials
- Yellow construction paper
- White construction paper
- Red construction paper
- Orange construction paper
- Googly eyes
- Glue
Tools
- Scissors
Instructions
- Gather your supplies: Make sure you have all your materials ready: yellow, white, red, and orange construction paper, googly eyes, scissors, and glue.

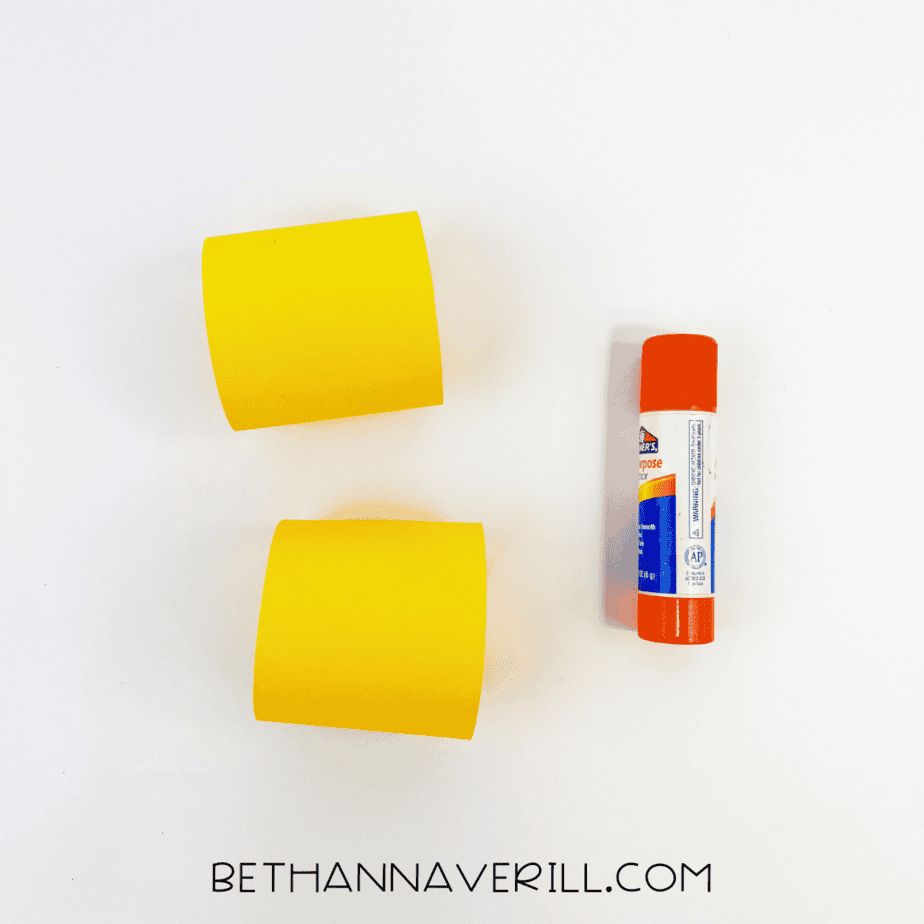
- Create the chick's body: Cut two strips from yellow construction paper, roll each strip, and glue the ends together to form two loops.

- Make the wings: From white construction paper, cut out two wings and glue them to one of the yellow loops.

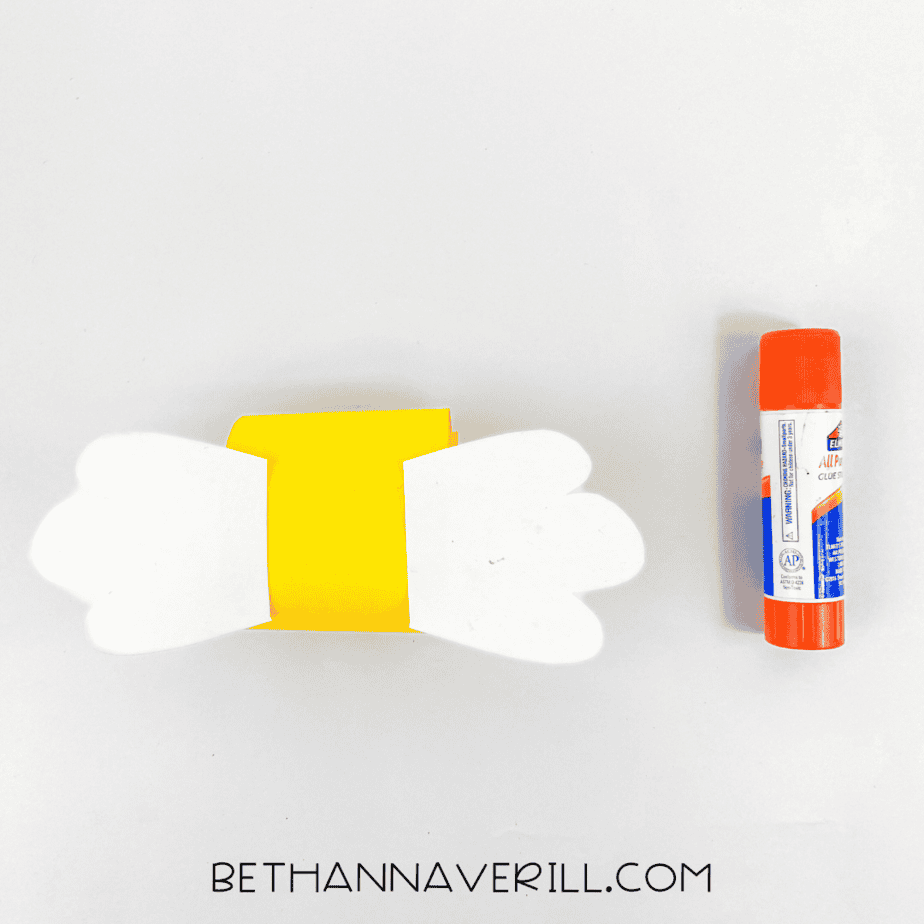
- Assemble the chick: Glue the second yellow loop on top of the first one, so the wings are sandwiched between them.

- Add details: Cut the top feathers from red construction paper, and cut the beak and feet from orange construction paper. Glue these onto the chick.


- Add the eyes: Attach the googly eyes to the chick’s face.
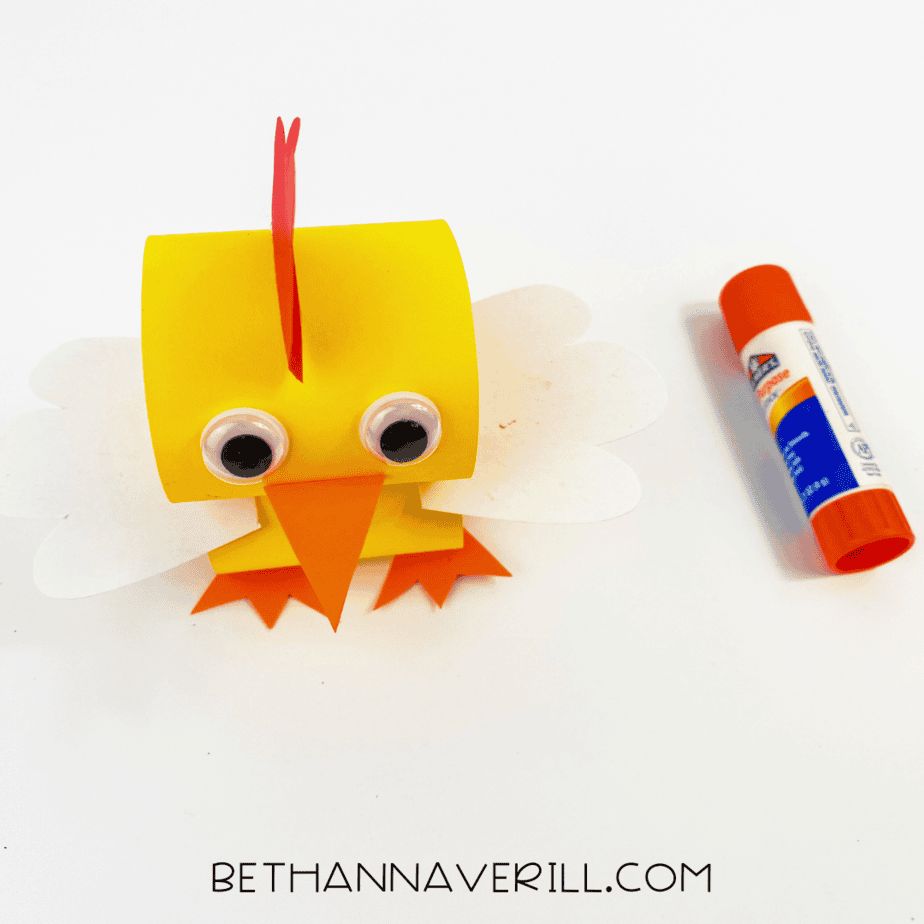
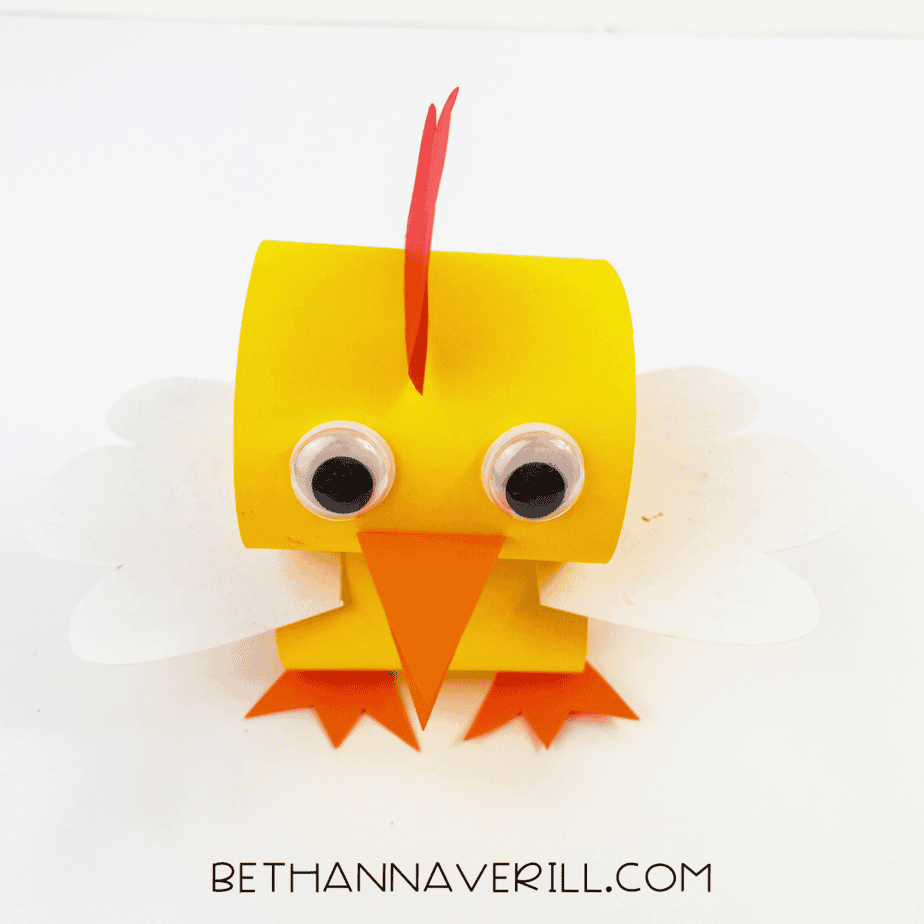
- Display: Show off your adorable paper chick craft!
Recommended Products
As an Amazon Associate and member of other affiliate programs, I earn from qualifying purchases.


Fun Ways to Use Your Paper Chick Craft
Now that you’ve created your adorable paper chick, let’s think of some fun and creative ways to put it to use! Here are a few playful ideas to make the most of your new little friend:
1. Make a Chick Family: Why stop at one? Use different sizes of construction paper to create a whole family of chicks! You can make a mama chick, baby chicks, and even a grandpa chick with glasses. Line them up on a shelf or windowsill for a cute spring display.
3. Create a Chick Parade: If you're doing this craft with a group, why not line up all the paper chicks and make a parade? You can add tiny accessories like paper hats or scarves to each chick for some extra fun.
4. Use It as a Place Card: Hosting a family dinner or a springtime party? Write names on your paper chicks and use them as place cards for a playful, personalized table setting.
5. Craft Storytime: Let your chick be the star of a story! Create a short adventure where your paper chick explores a garden, meets other animals, or finds a hidden treasure. Let kids tell their own versions of the chick’s adventures.
With these simple ideas, you can give your paper chick craft an extra life beyond the crafting table! So, get creative and let your paper chick bring some extra joy to your day!
Happy crafting!
Please Share This Paper Chick Craft
Your shares are how this site grows and I am sincerely grateful. Know a friend who’d like this? Please share it on Facebook or save it to your favorite kids’ activity board on Pinterest.


