
Crayon Slime Recipe for Kids
Have you ever looked at a broken crayon and thought,
“You know what? I should definitely turn this into slime.”
No? Just me?
Well buckle up, because crayon slime is here, and it’s as weird, fun, and color-splattered as it sounds.
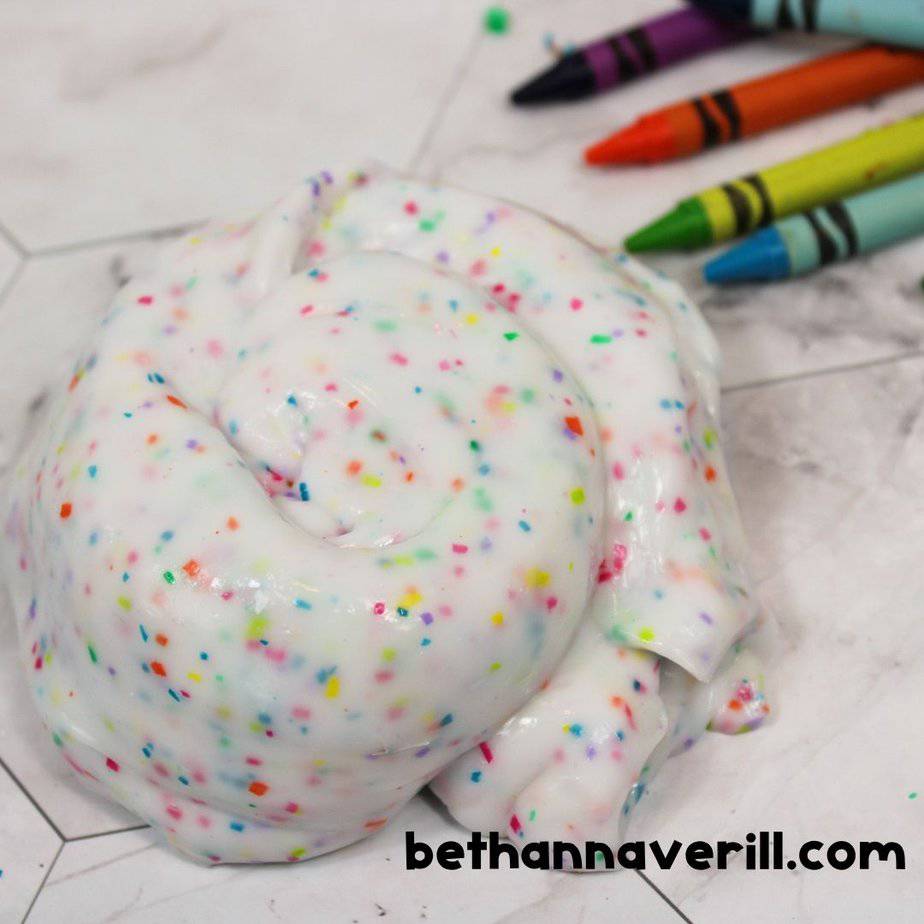
This activity is part craft, part science, and 100% sensory goodness. You’ll shave crayons into your slime base, creating a confetti-like texture that’s colorful, crunchy-ish, and so much fun to squish.
It’s messy in the best way. It’s art class meets mad scientist. And you know your kids are going to be obsessed.
Crayon slime is perfect for an art unit, a rainbow-themed week, or just pretending your kids are quietly crafting at an art table in a Pinterest-perfect classroom . . . instead of standing on chairs and shaving crayons directly onto the floor.
It’s messy, creative, and exactly the kind of sensory play that keeps little hands busy (and maybe buys you a second cup of coffee).

🎨 Loving that crayon texture? If you’re into bold color explosions, don’t miss the Spring Glitter Slime or magical Unicorn Slime both are full of sparkle and sensory delight!
Why Crayon Slime Is So Much Fun
If you’ve made regular slime before, you know the joy of stretch and squish. But this version adds a little something extra:
- 🖍️ Colorful texture that looks like artsy sprinkles
- ✂️ Fine motor fun — shaving crayons is a legit pre-writing workout
- 🎨 A mix of craft + sensory exploration (without needing a million supplies)
- 👏 A solid use for broken crayon bits and mystery leftovers from the crayon bin
Plus, there’s something very satisfying about stirring shredded crayons into goo. Just trust the process.
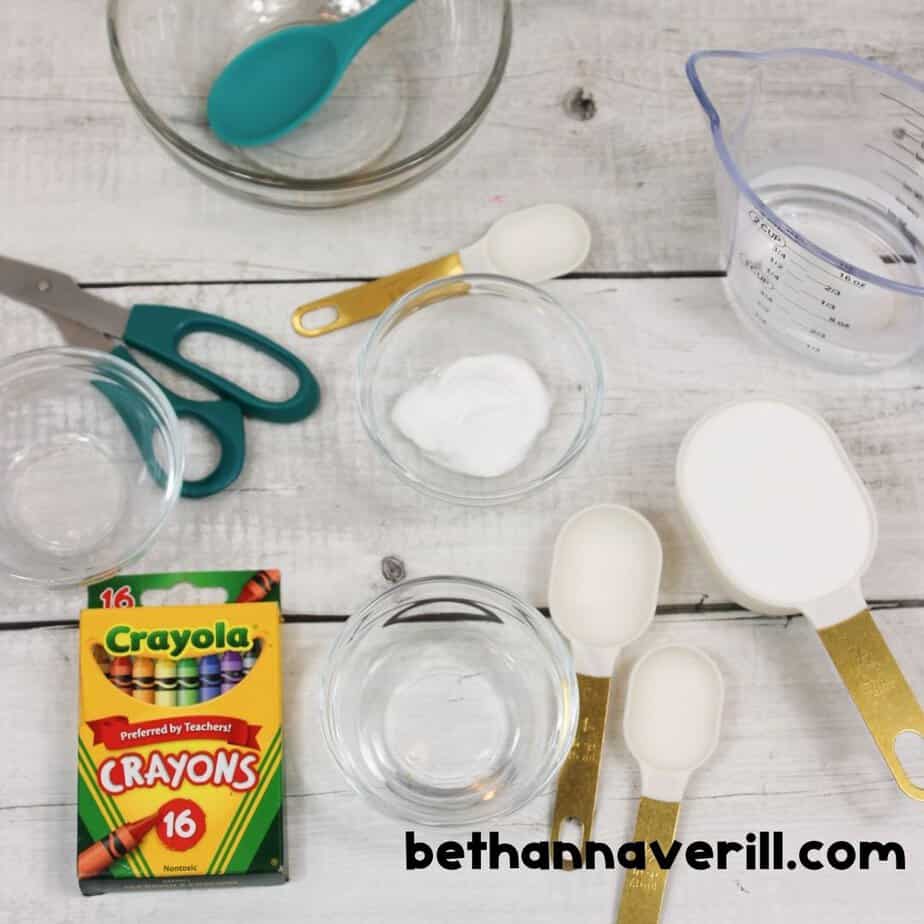
What You’ll Need for Crayon Slime
Nothing fancy . . . just your usual slime ingredients and some crayons and something to shave them with.
Crayon Slime
Mix up a batch of bright and colorful sensory fun in a few minutes! This easy crayon slime recipe uses simple ingredients and some school supplies for a unique sensory play.
Materials
- ½ C Elmer's Glue
- ½ C Warm Water
- 1 tsp Baking Soda
- 1 1/2 Tbsp Contact Solution (contact solution should contain Boric Acid)
- Crayons
Tools
- Medium Sized Bowl
- Spoon
- Scissors
- Small Bowl
Instructions
- Gather all the supplies needed.
- Remove the wrapper from the crayons.
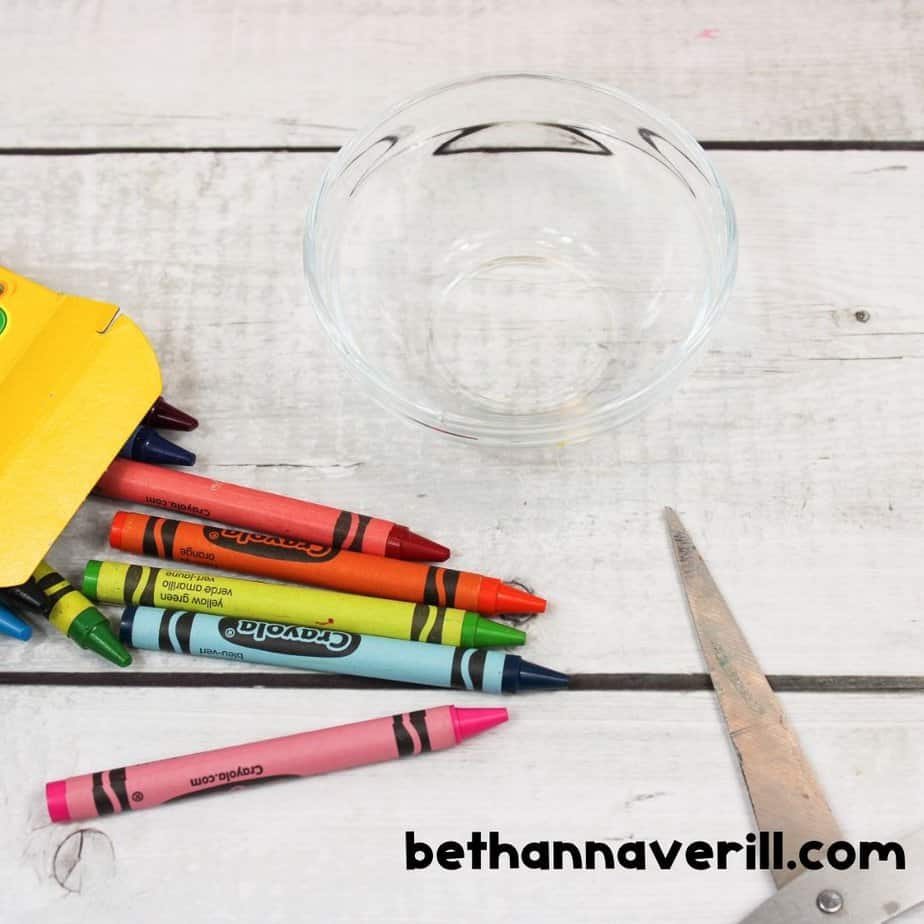
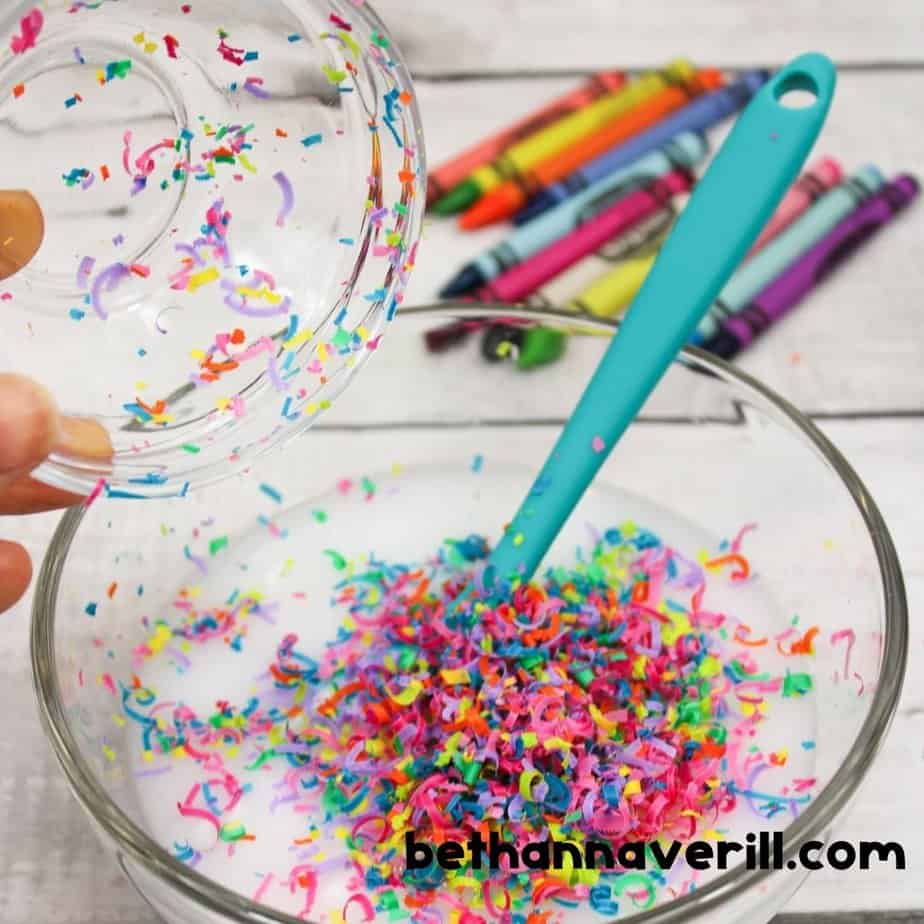
- With the scissor blade, carefully shave the crayons into the small bowl.
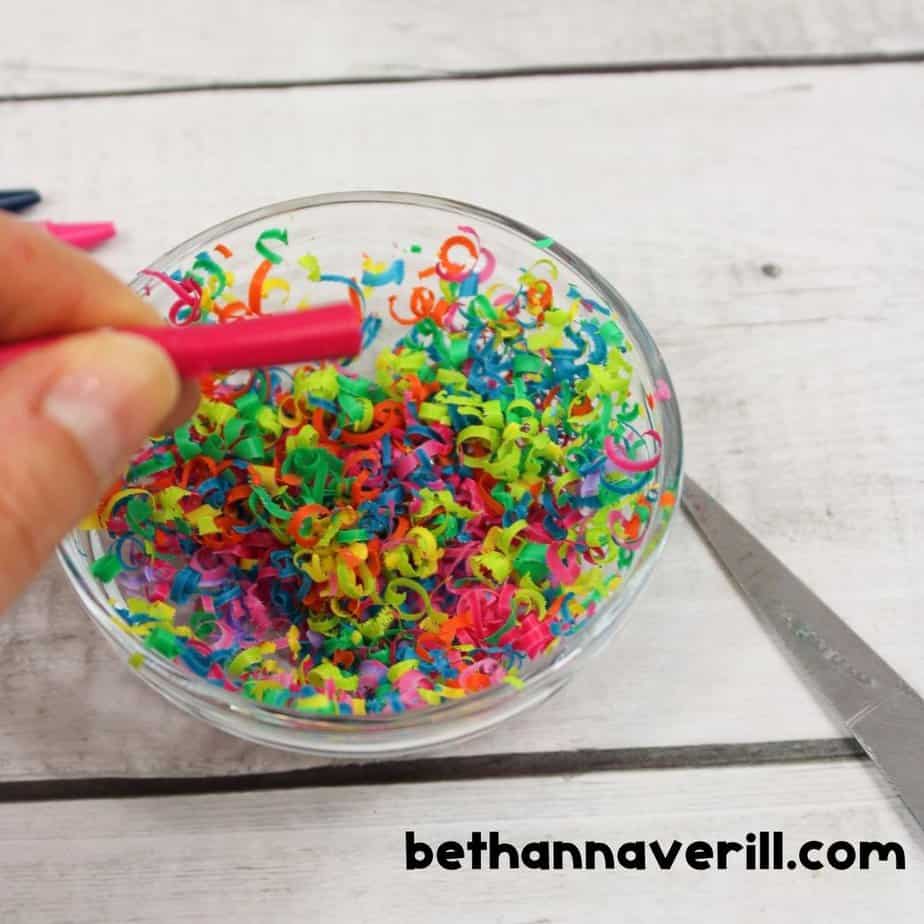
- Repeat until you have all the crayon colors you want for your slime.
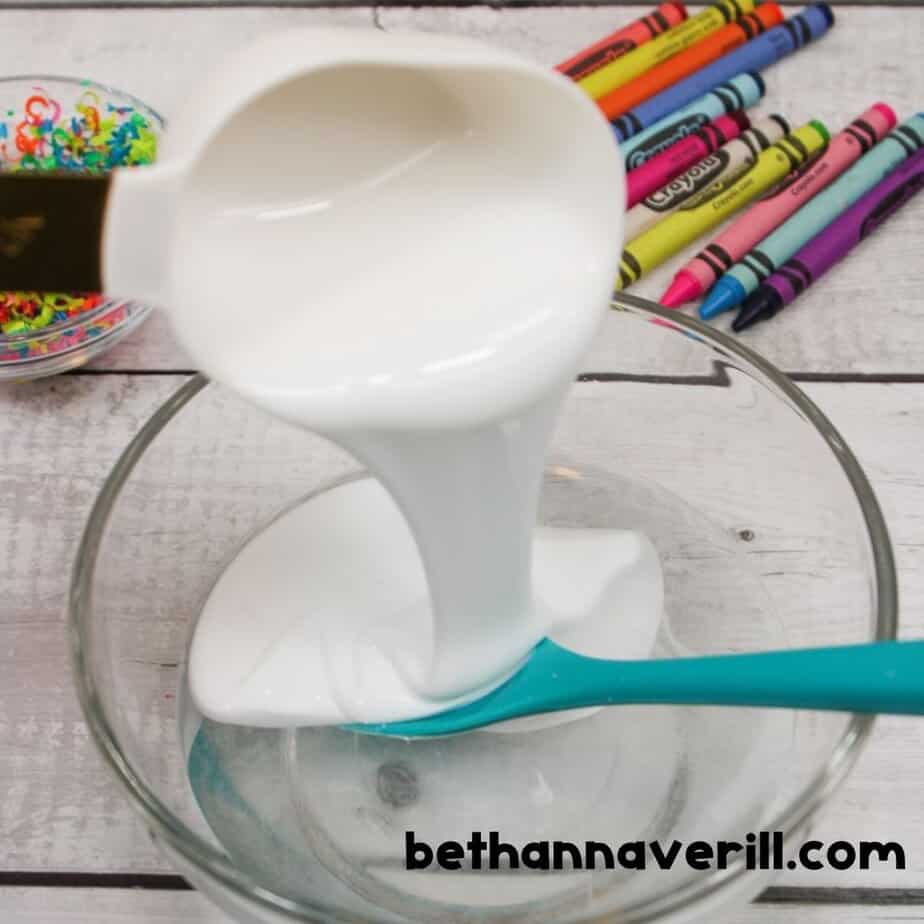
- Pour warm water into the bowl
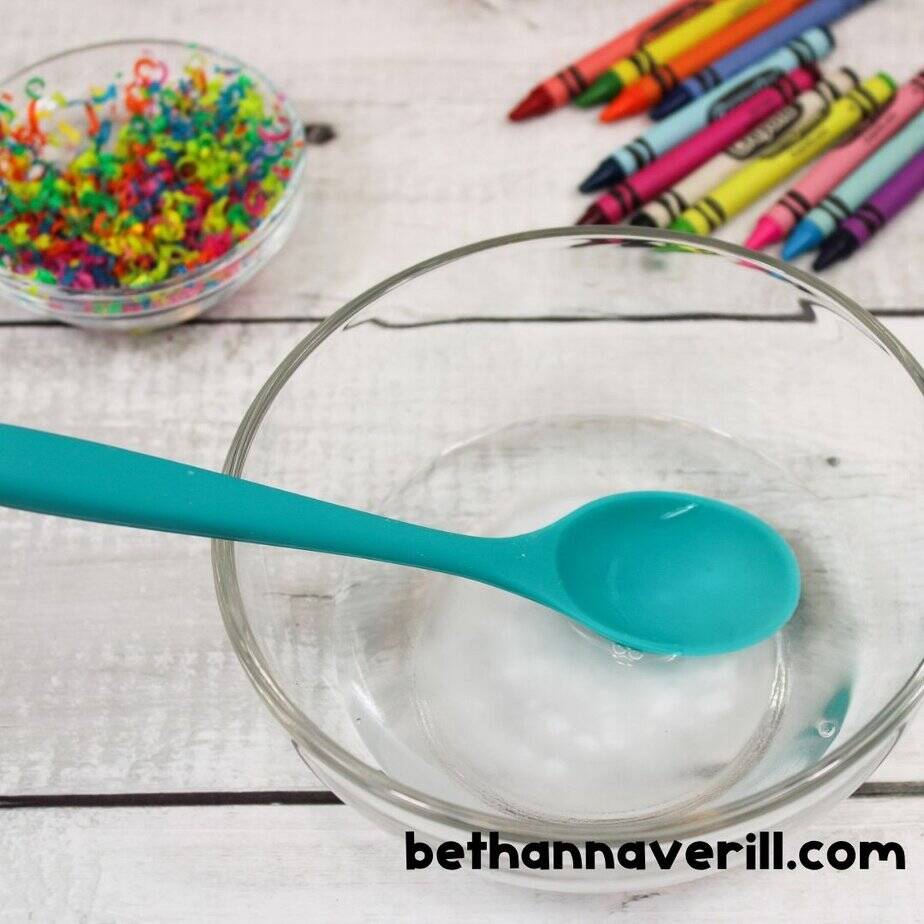
- Add baking soda and stir until mixed.
- Add the glue to the baking soda mixture and stir.
- Mix in crayon shavings and stir until all the way incorporated.
- Knead contact solution into the slime until it's no longer sticky and pulls away from the sides of the bowl.
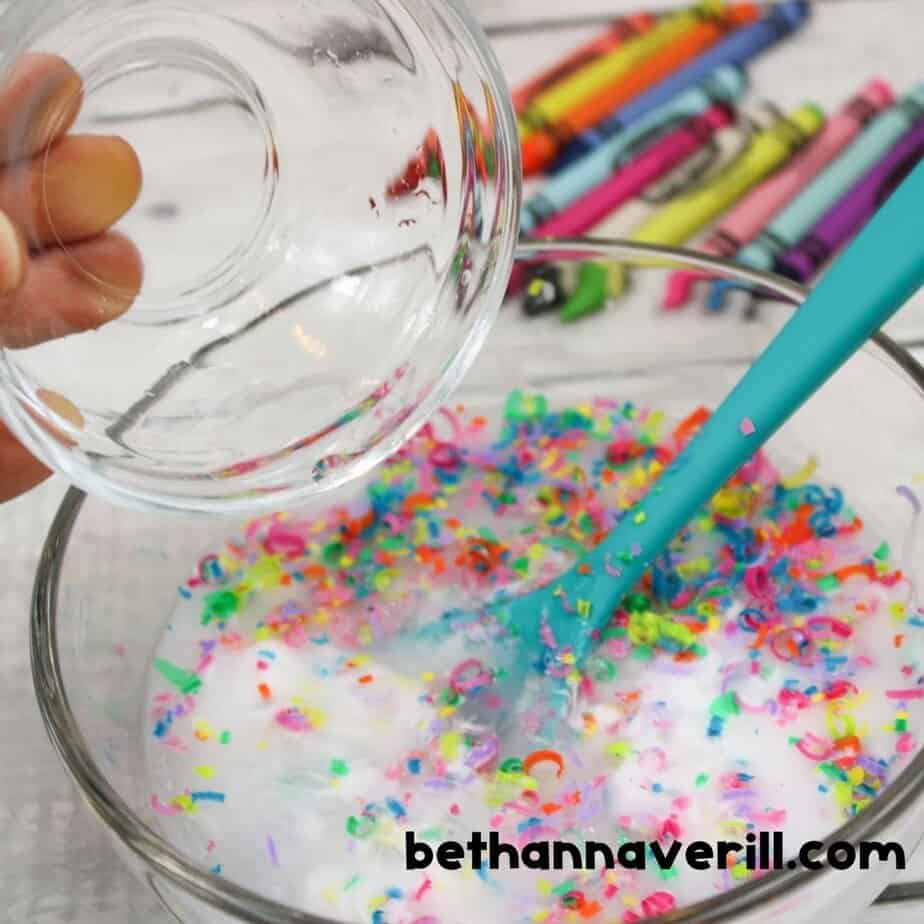
- You may need to knead to incorporate all the ingredients well.
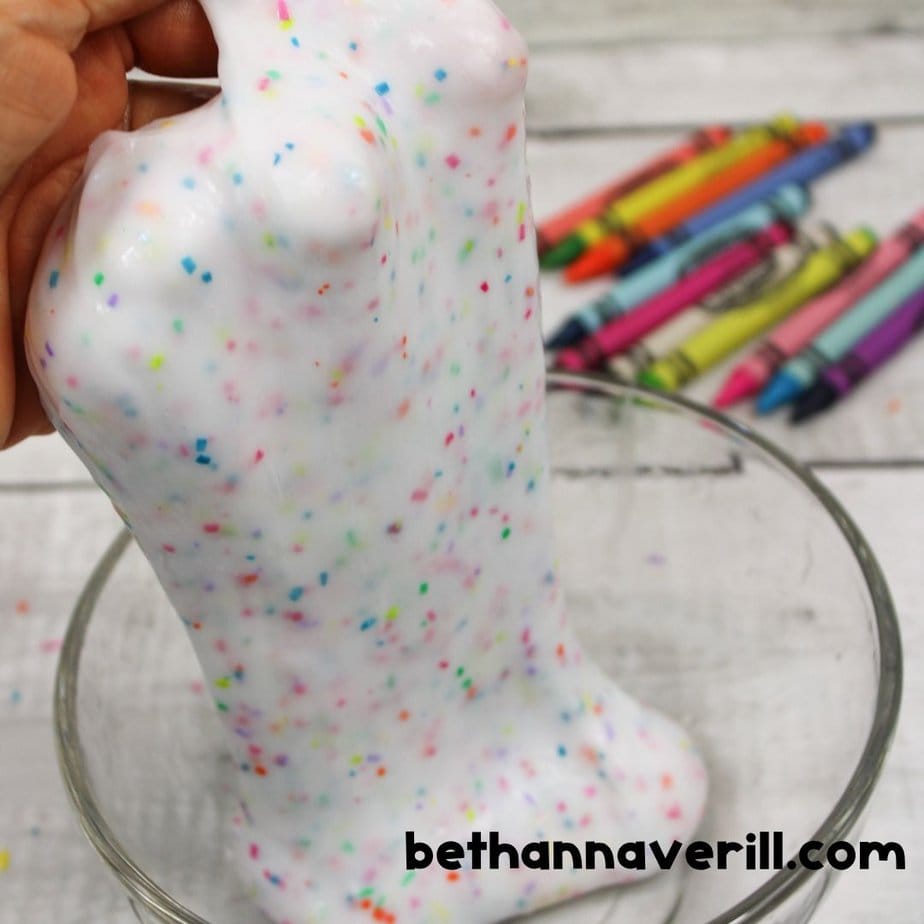
- Enjoy
Notes
*Slime can be stored in a resealable ziplock baggie or an airtight plastic container.
*After adding contact solution, an additional ½ tbsp may need to be added if the slime is not
binding together.
*A handheld grater can be used instead of the scissors.
*ADULT SUPERVISION IS REQUIRED FOR THIS SLIME.
Why Slime is the Perfect Sensory Activity for Kids
I love how many different skills slime helps kids work on. Working on the texture, stretch, and using those tiny muscles in their hands really gives them a fine motor muscle workout.
Real-Life Tips for Making Crayon Slime
- ✂️ Adult supervision, 1000%. You’ll be shaving crayons with scissors or a grater . . . and those tools + small hands = you need to be nearby.
- 🧴 Mix in crayons after the glue and baking soda. That way they don’t just float around uselessly on top.
- 🧼 Expect a little mess. Some crayon residue might transfer to hands at first — it wipes right off.
- 🎨 Use a mix of colors for rainbow vibes or stick with a theme (shades of pink, anyone?)
Fun Ways to Play
- Color Sort Challenge: Make separate batches using different crayon colors for a multi-batch rainbow.
- Crayon Rescue Mission: Hide whole crayon pieces inside the slime and let kids “find” them.
- Texture Chat: Talk about how the slime feels different with shavings vs. regular slime.
- Artsy Add-On: Pair with a simple coloring page or paint session to make it a whole art day theme!
Safety Tips and Cleanup Advice
Playing with themed slime is as exciting as it sounds, but it’s important to make sure everyone is safe.
Take a few precautions and set up a plan for cleanup, so everyone focuses on the fun instead of accidental hiccups.
Ensuring Safe Play
Making and playing with slime can be super fun and overstimulating, especially for kids. However, given some of the ingredients involved, you really have to be ready for anything.
Here’s how you can keep things safe for everyone:
- Supervise Playtime: ALWAYS supervise children while they’re making or playing with slime.
- Designate a Safe Area: Keep the activity in a space that’s easy to clean, like a kitchen table lined with a protective cover or a craft area. It minimizes stress for you and mess for your home.
- Know Ingredients: Review the ingredients list for potential allergens. If your child has sensitive skin or allergies, double-check to ensure nothing will trigger a reaction.
Cleaning and Storage
Once the fun winds down, it’s time to clean up.
Don’t worry—this part doesn’t have to be a chore. A few simple steps can save you a headache later.
- Wipe Surfaces Immediately: If slime lands on your table, walls, or floors, wipe it up right away with a damp cloth. Tackle it quickly before it dries to avoid leaving annoying residue.
- Trash Disposal: Never wash leftover slime or glue down the sink! It can clog your drains. Instead, toss excess into the trash.
- Small Tools, Big Difference: Plastic scrapers are amazing for getting stuck-on slime off non-porous surfaces. Just be gentle to avoid scratches.
- Use White Vinegar for Residues: For areas where the slime stubbornly sticks (like your favorite rug—yes, it happens), a little white vinegar can work magic. Apply a small amount with a clean rag and gently rub the residue away.
The best advice? Don’t let the messiness overshadow the fun. By staying prepared, you can wrap up slimy playtime in the easiest way possible.
Please Share This Crayon Slime Recipe How to
Your shares are how this site grows and I am sincerely grateful. Know a friend who’d like this? Please share it on Facebook or save it to your favorite kids’ activity board on Pinterest.


