
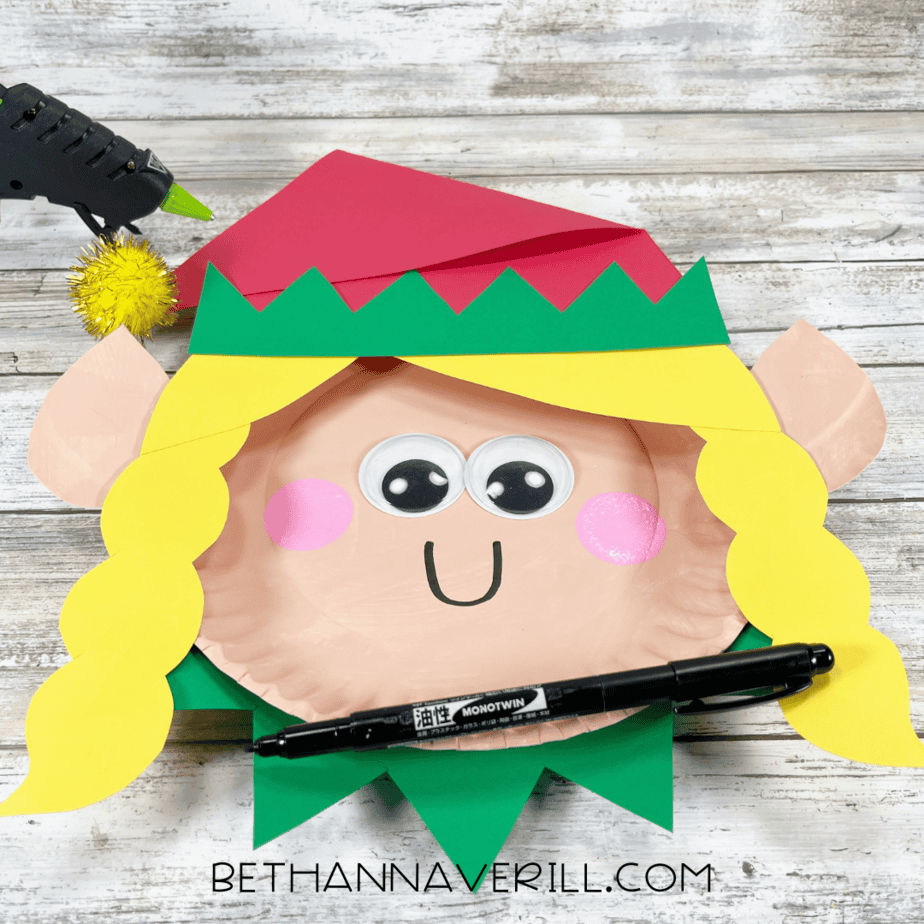
Elf Girl Paper Plate Craft
When it comes to Christmas crafts, nothing says “holiday cheer” like making your very own elf helper. This elf girl paper plate craft is festive, colorful, and just the right mix of silly and sweet. Kids will love painting rosy cheeks, adding golden braids, and topping it off with a pointy hat and pom pom. It’s perfect for a classroom holiday party, a cozy afternoon at home, or even a fun Christmas countdown activity.

What You’ll Need for This Elf Craft
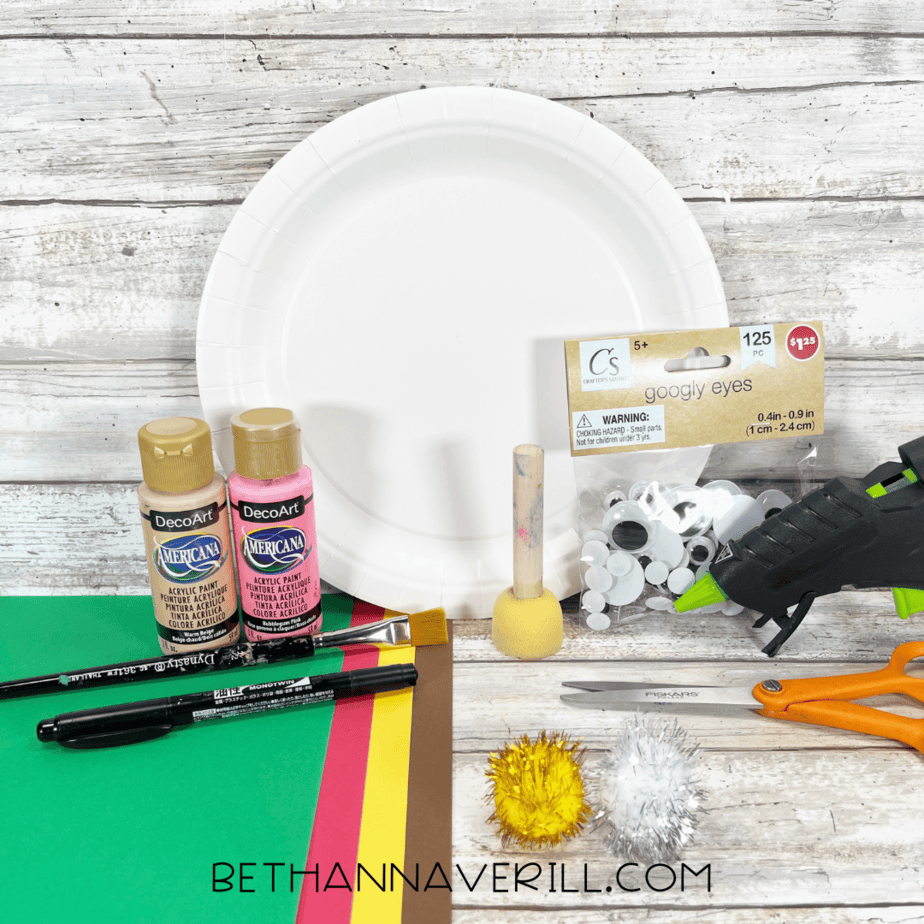
Gather your supplies and get ready for a little holiday magic:
- Paper plates
- Acrylic paint (peach/tan for the face, pink for cheeks)
- Paintbrush + sponge dauber
- Construction paper (red, green, yellow, brown)
- Googly eyes
- Pom pom (yellow or gold)
- Black marker
- Scissors
- Glue gun or school glue

How to Make an Elf Girl Paper Plate Craft
Ready to get crafting? Find the instructions below!
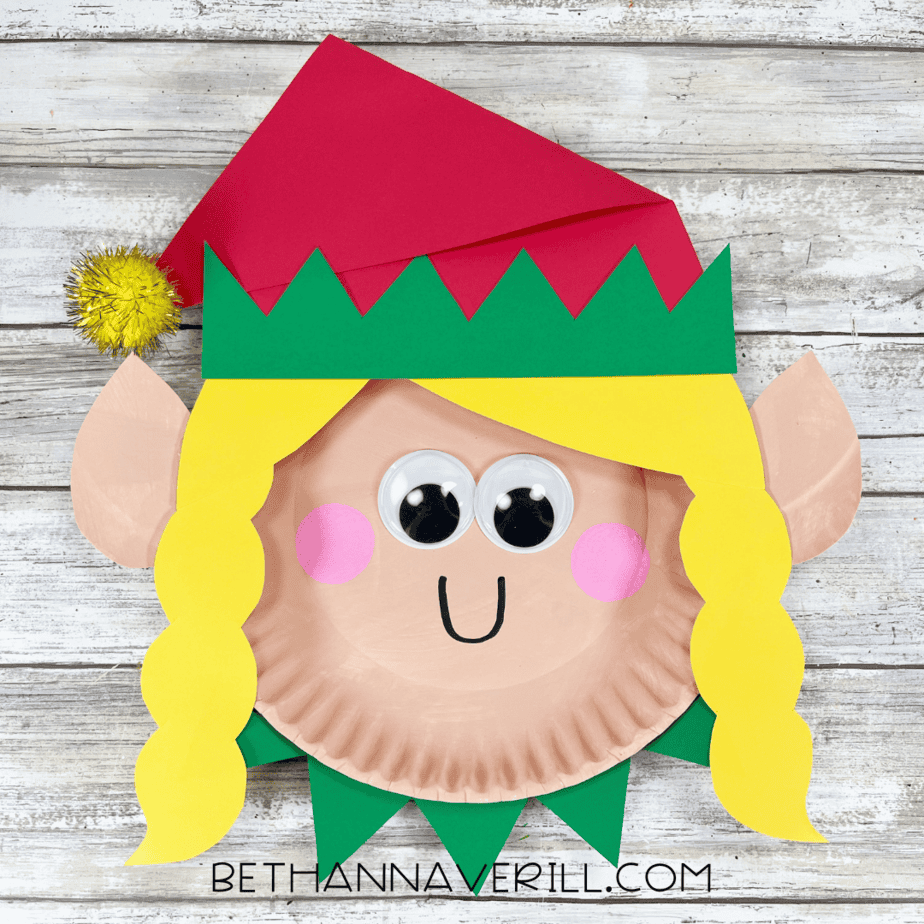
Elf Girl Paper Plate Craft

Make a cute elf girl paper plate craft for Christmas! Kids will love painting, cutting, and gluing to create their own festive elf with braids and a pointy hat. Perfect for holiday fun at home or in the classroom.
Materials
- Paper plates
- Acrylic paint (peach/tan + pink)
- Construction paper (red, green, yellow, brown)
- Googly eyes
- Pom pom (yellow or gold)
- Black marker
- Glue gun or school glue
Tools
- Scissors
- Paintbrush + sponge dabber
Instructions
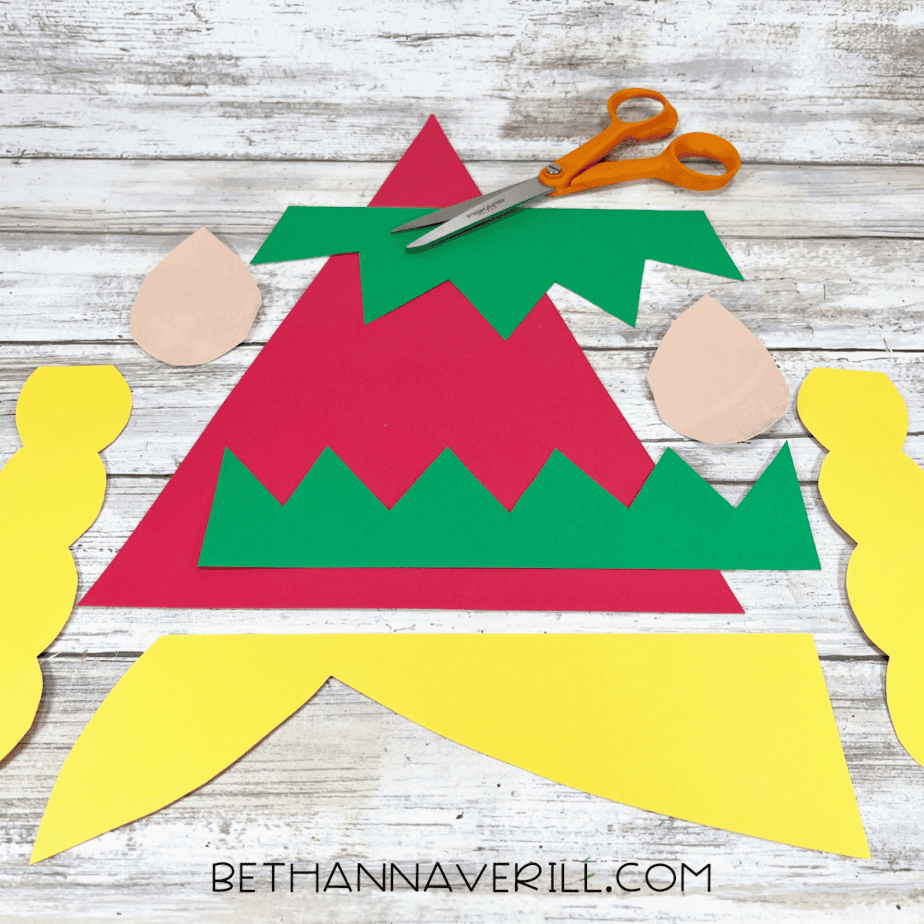
- Gather your supplies: paper plates, paint, construction paper, googly eyes, pom pom, glue, scissors, and markers.
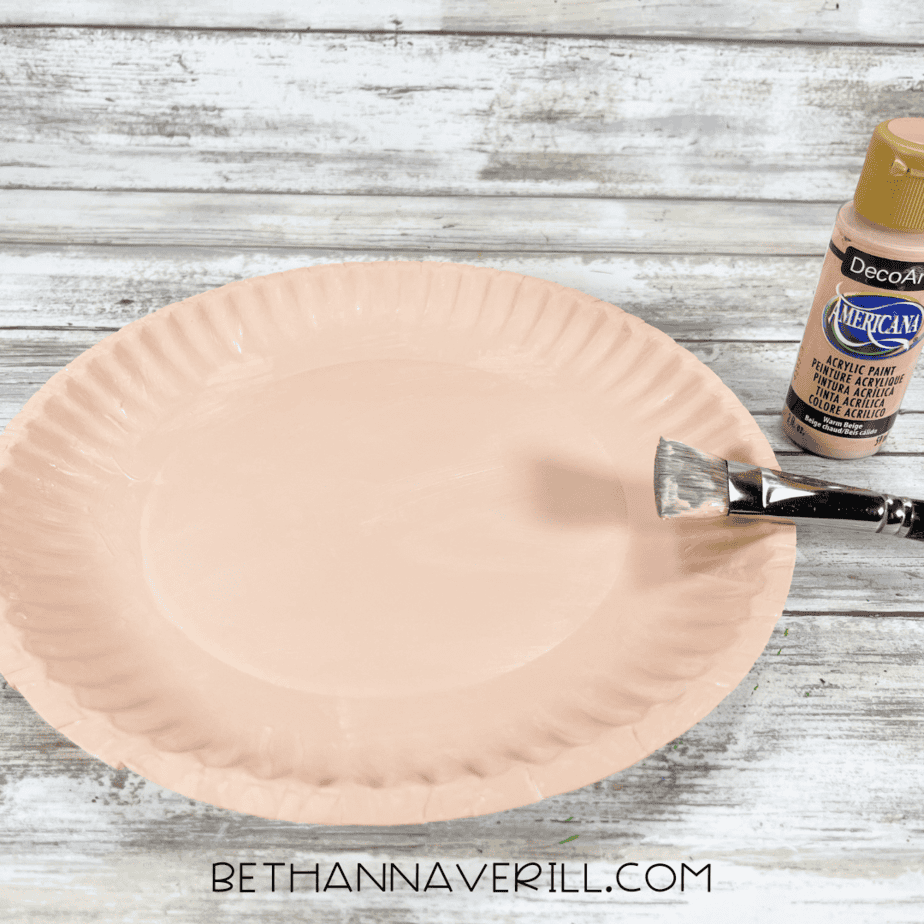
- Paint two paper plates with peach or tan acrylic paint to make the elf’s face. Let dry.
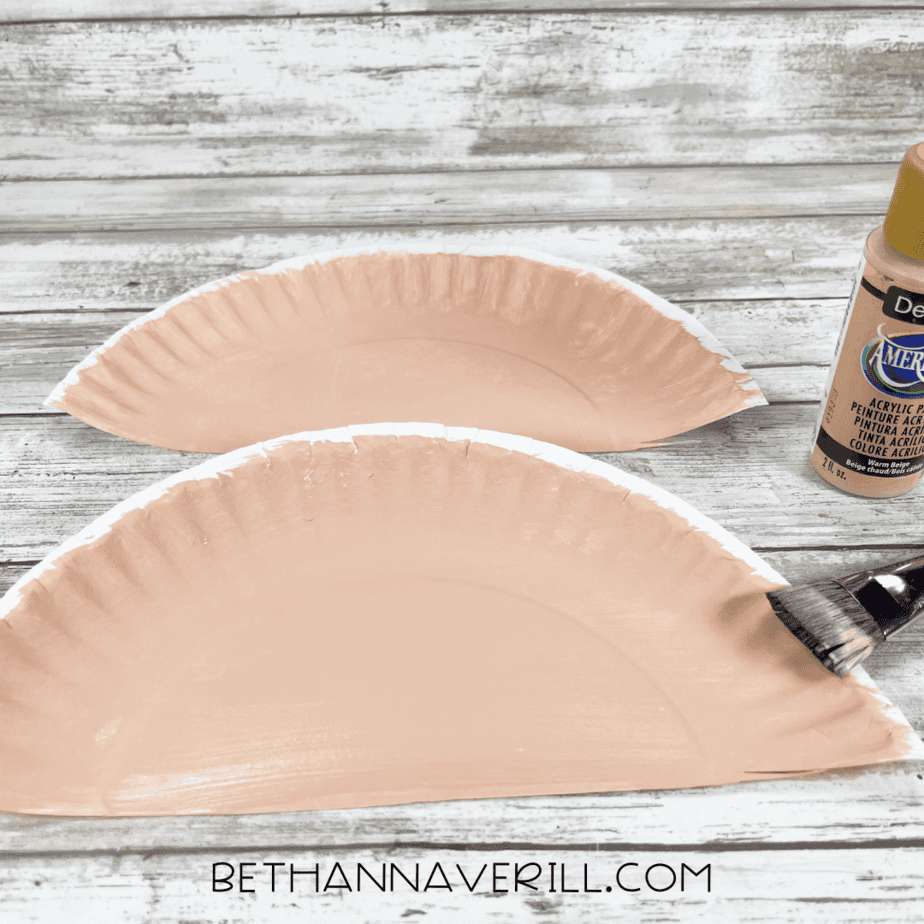
- Cut one plate in half, and use one half to create two elf ears. Paint them the same peach/tan color.
- Draw and cut out hat and collar shapes from red and green construction paper.
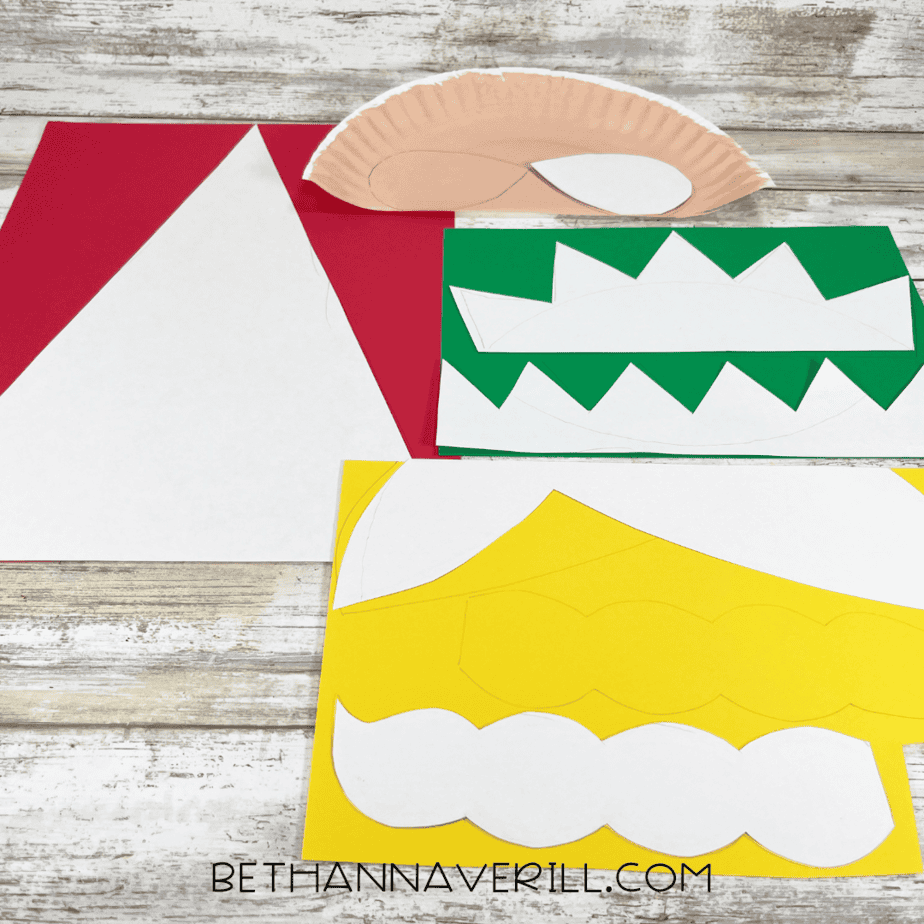
- Cut out yellow paper braids and other hair shapes, then set them aside.
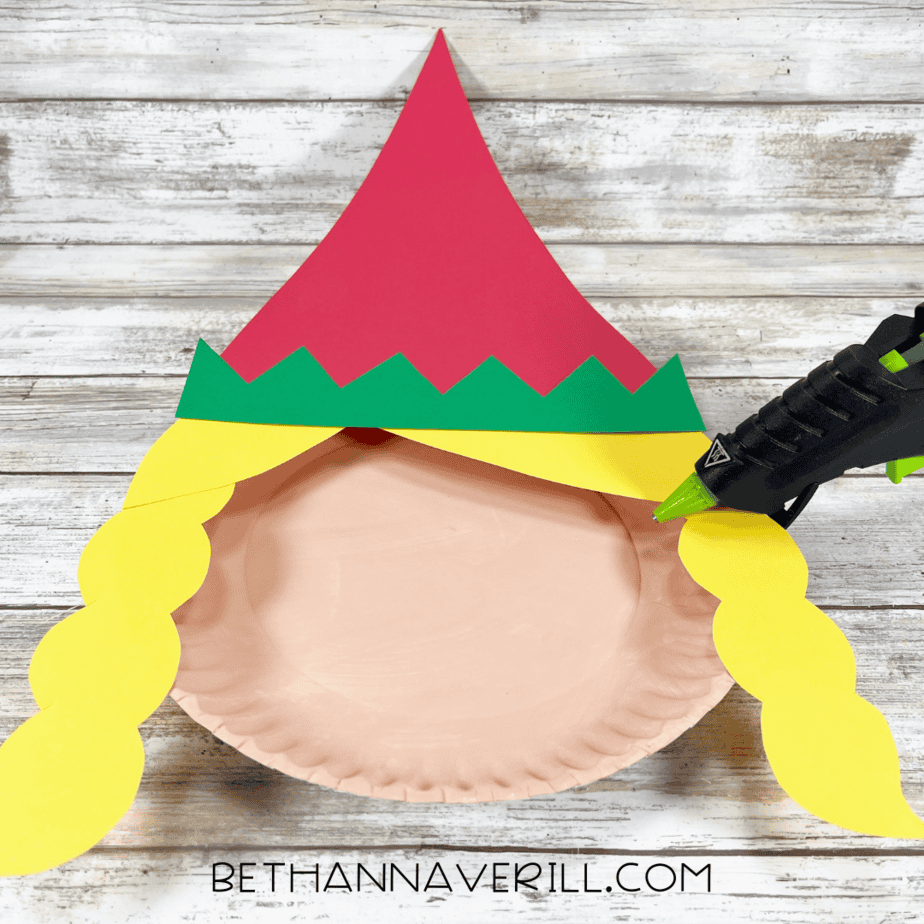
- Glue the red hat onto the top of the paper plate. Layer the green trim across the hat.
- Glue the yellow braids and hair pieces on each side of the plate.
- Attach the peach/tan ears to each side of the elf’s head.
- Fold the elf hat down and glue in place.
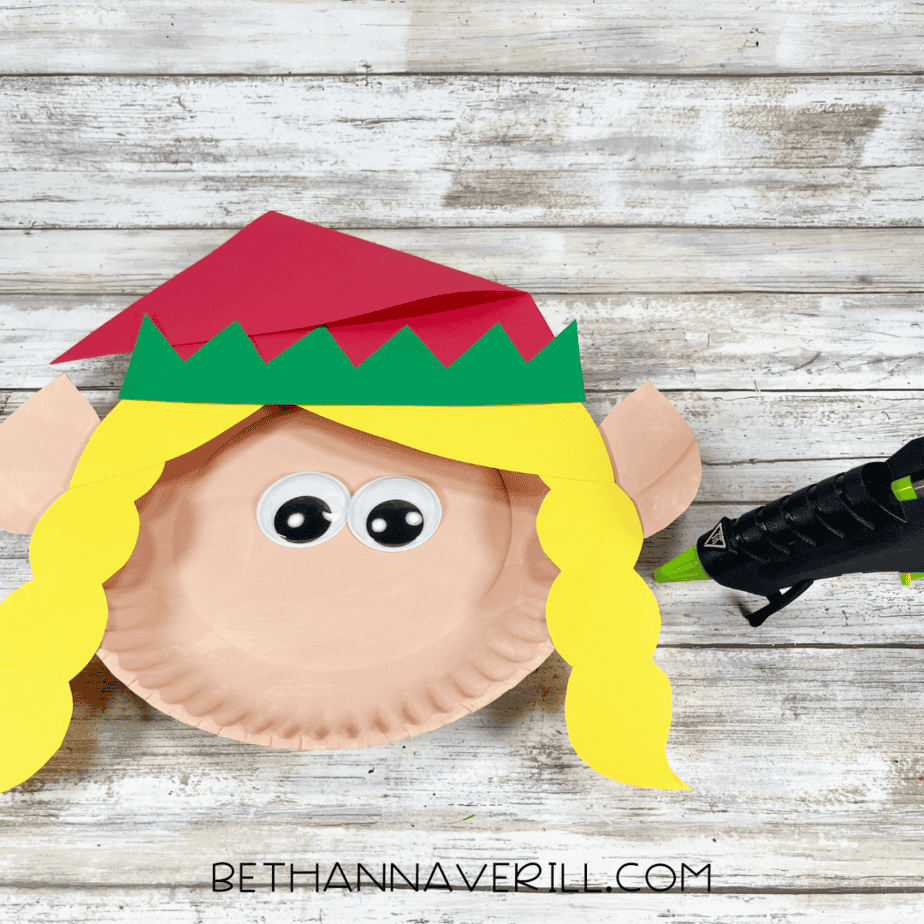
- Add two large googly eyes in the middle of the plate.
- Use a sponge dabber to paint on two pink rosy cheeks.
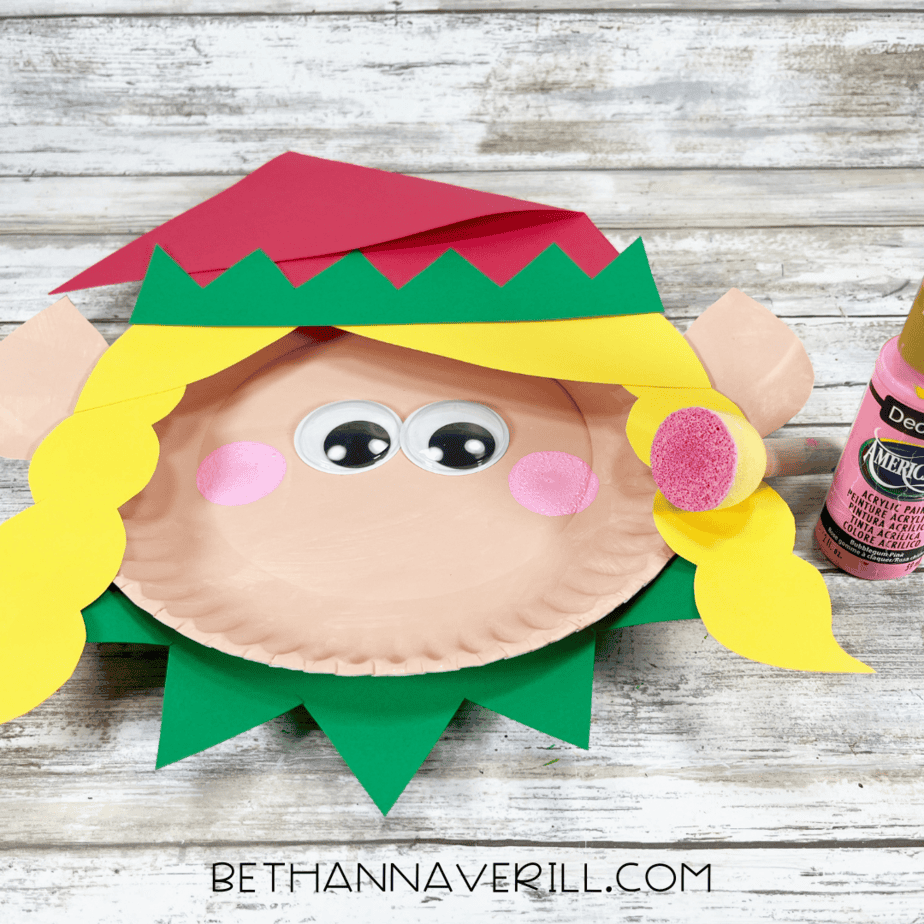
- Draw a simple smile with a black marker.
- Finish by gluing a fluffy yellow pom pom to the tip of the elf’s hat.
- Now you’ve got an adorable elf girl ready to bring some holiday cheer!
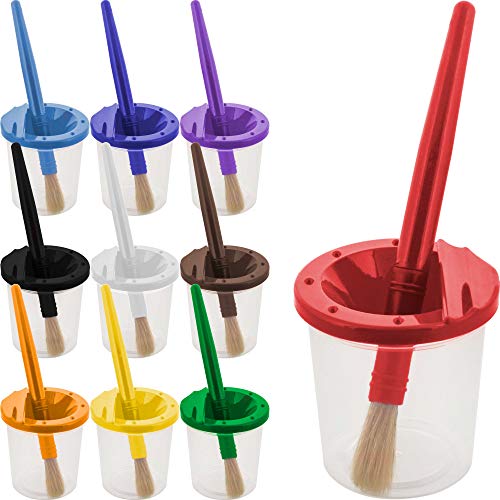
Recommended Products
As an Amazon Associate and member of other affiliate programs, I earn from qualifying purchases.


Why This Craft is Perfect for Kids
This elf girl craft is more than just cute, it’s a great seasonal learning opportunity too:
- Fine motor practice – Cutting braids, ears, and hat pieces works on scissor skills and hand-eye coordination.
- Creativity – No two elves have to look alike. Kids can switch up hair colors, hat styles, or even add glitter for extra sparkle.
- Holiday spirit – Crafting together builds excitement for Christmas and gives kids a sense of ownership in decorating for the season.
Hang your elf on a wall, use it as part of a classroom display, or make a whole family of elves for holiday fun.
Get This Paper Plate Elf Girl Craftivity Now!
Please Share This Elf Girl Paper Plate Craft
If you loved this festive little project, please share it with friends, teachers, or fellow craft lovers! Pin it to your Christmas crafts board on Pinterest or share it on Facebook so more families can enjoy a little elf-making magic this season.


