
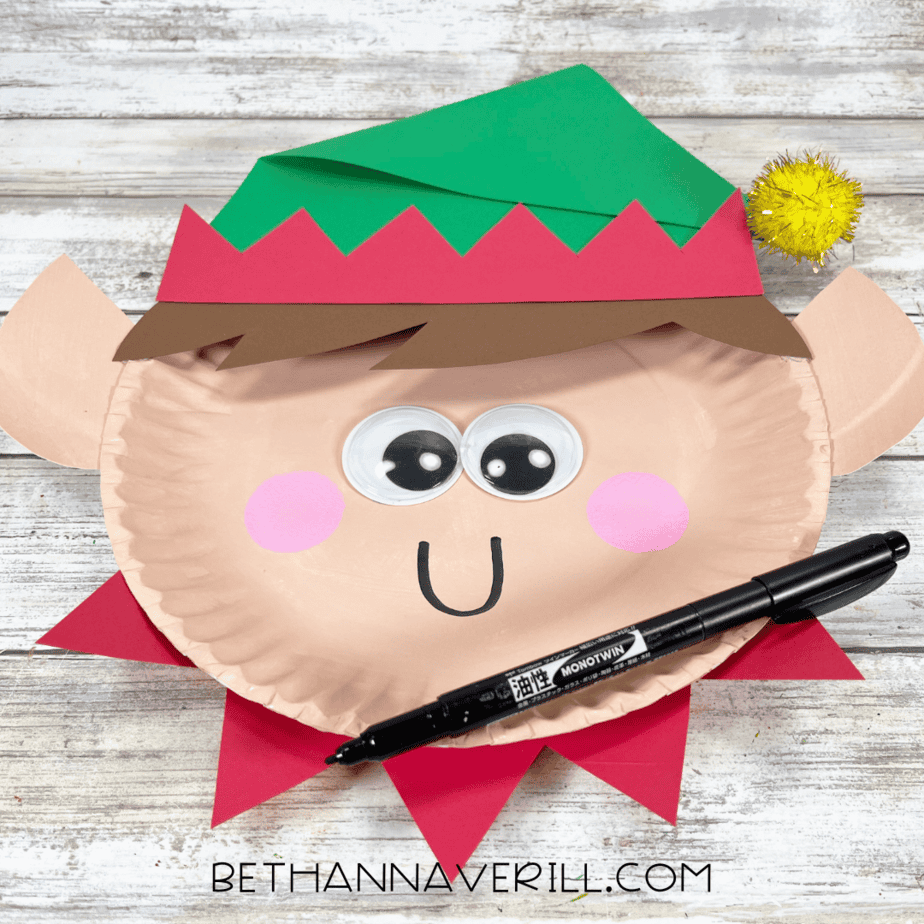
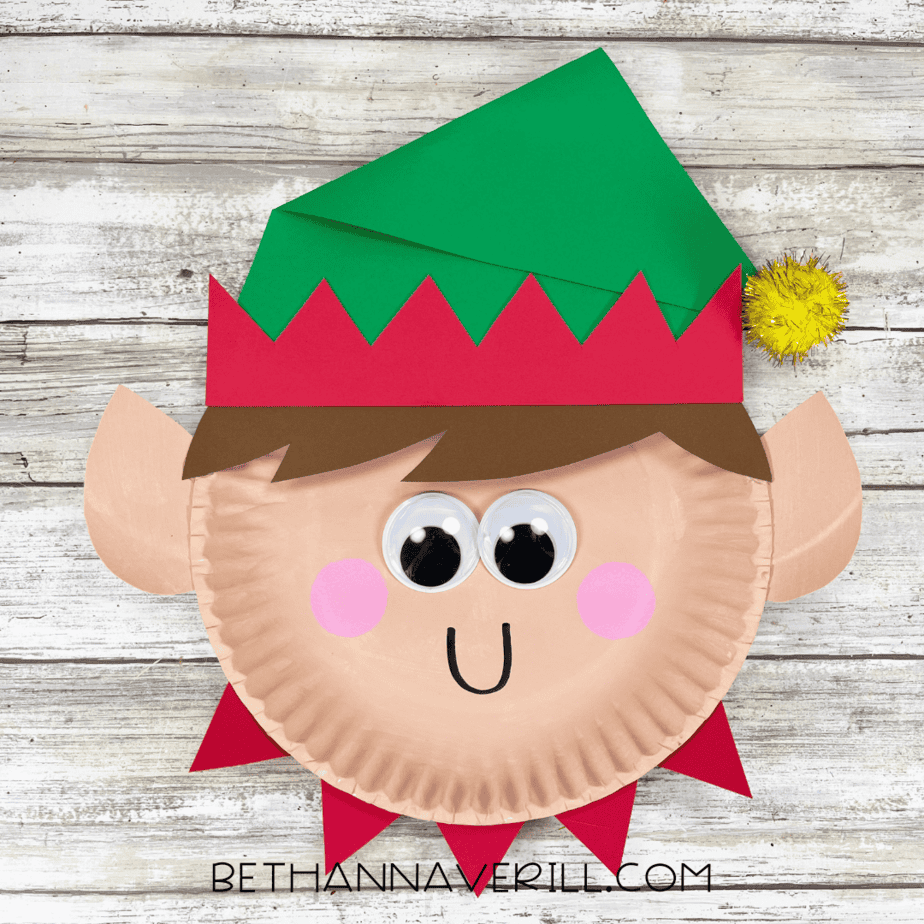
Elf Boy Paper Plate Craft
Christmas crafts don’t get much cuter than this! This Elf Boy paper plate craft is full of festive fun and kid-friendly steps, making it perfect for classrooms, holiday parties, or a cozy afternoon at home. With his floppy green hat, rosy cheeks, and jolly smile, this little elf is ready to spread cheer all season long.
It’s simple, colorful, and uses supplies you probably already have on hand…exactly the kind of project that keeps kids busy and smiling during the holiday rush.

What You’ll Need for This Elf Boy Craft
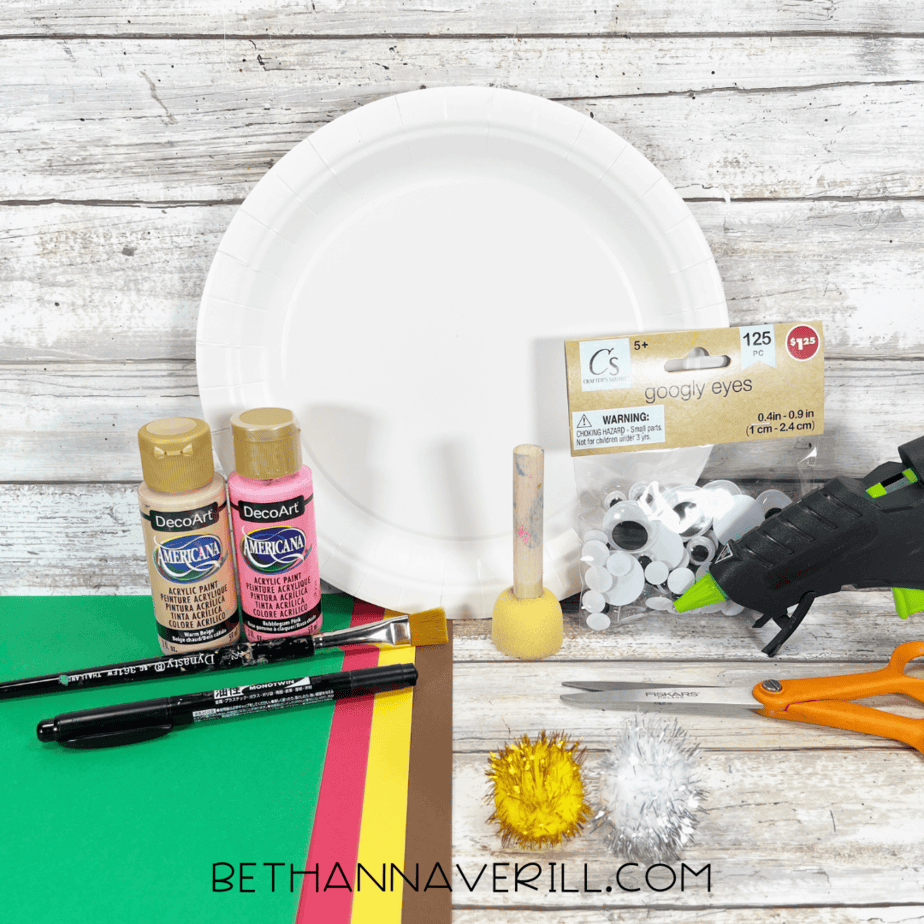
Before you dive into elf-making, set out your supplies so the fun can roll without interruptions:
- Paper plate
- Acrylic paint (skin tone, pink)
- Green, red, and brown construction paper
- Black marker
- Googly eyes
- Pom-pom (yellow or gold)
- Paintbrush
- Sponge dabber
- Scissors
- Pencil
- Glue gun or school glue

How to Make an Elf Boy Paper Plate Craft
Ready to get crafting? Find the instructions below!
Elf Boy Paper Plate Craft

Create a cute Elf Boy Paper Plate Craft for Christmas with kids! This easy holiday craft uses simple supplies like paper plates, paint, and construction paper. Perfect for festive fun at home or in the classroom.
Materials
- Paper plates
- Acrylic paint (skin tone, pink)
- Green, red, and brown construction paper
- Black marker
- Googly eyes
- Pom-pom (yellow or gold)
- Pencil
- Glue gun or school glue
Tools
- Paintbrush
- Sponge dabber
- Scissors
Instructions
- Gather your supplies: paper plate, paints, brushes, construction paper, googly eyes, pom-pom, glue, scissors, and marker.
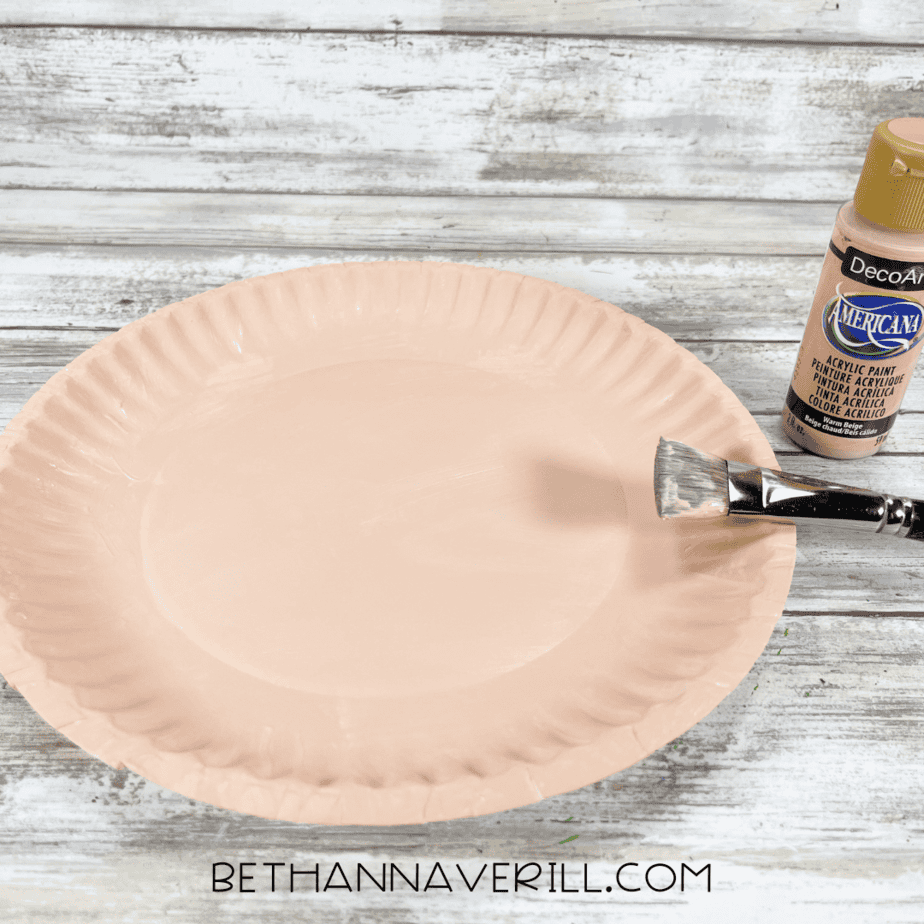
- Paint two paper plates with skin-tone acrylic paint and let it dry completely.
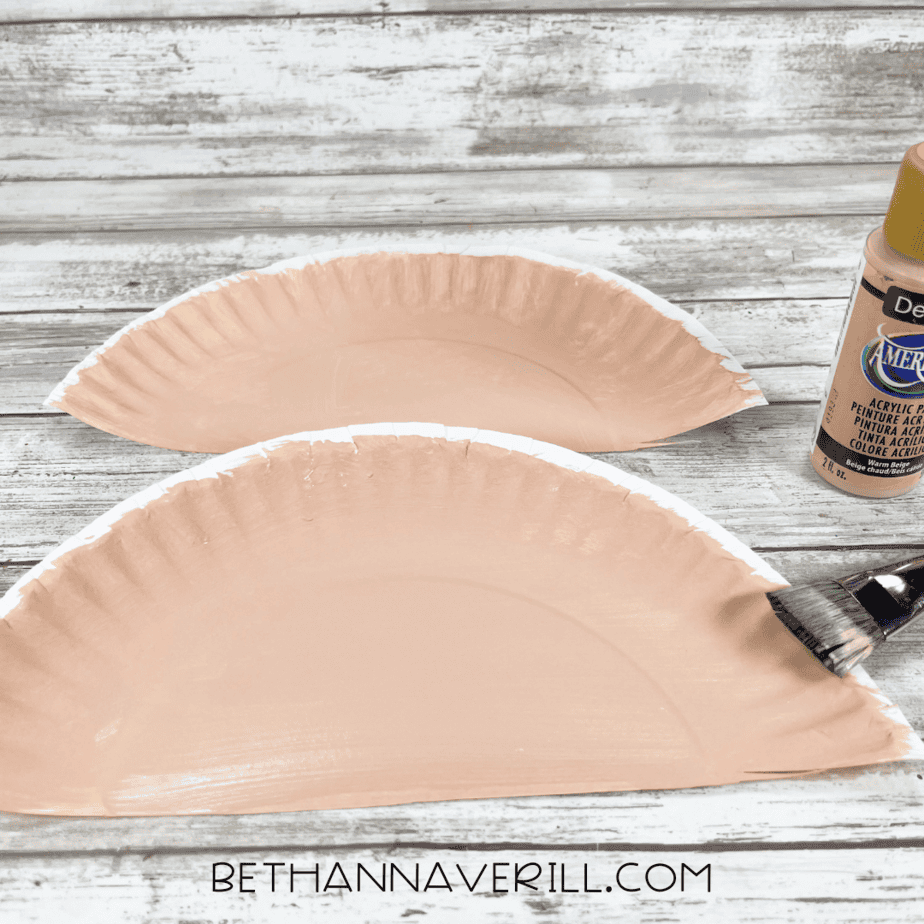
- Once dried, cut one paper plate in half to create the elf ears.
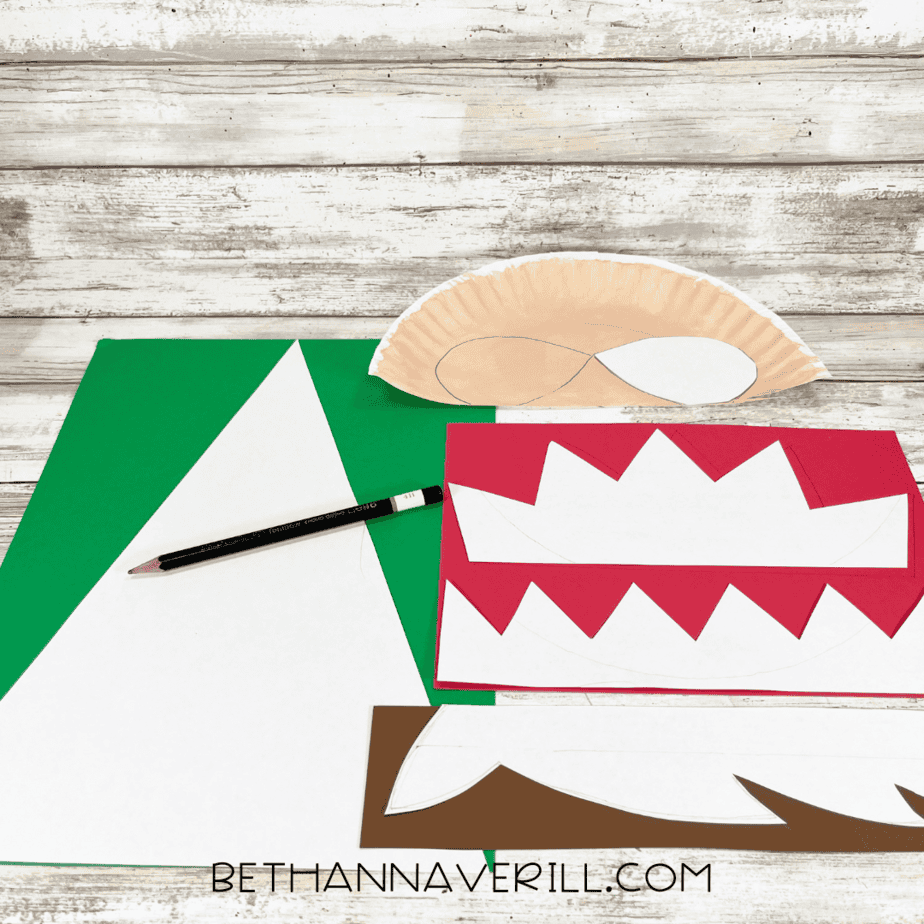
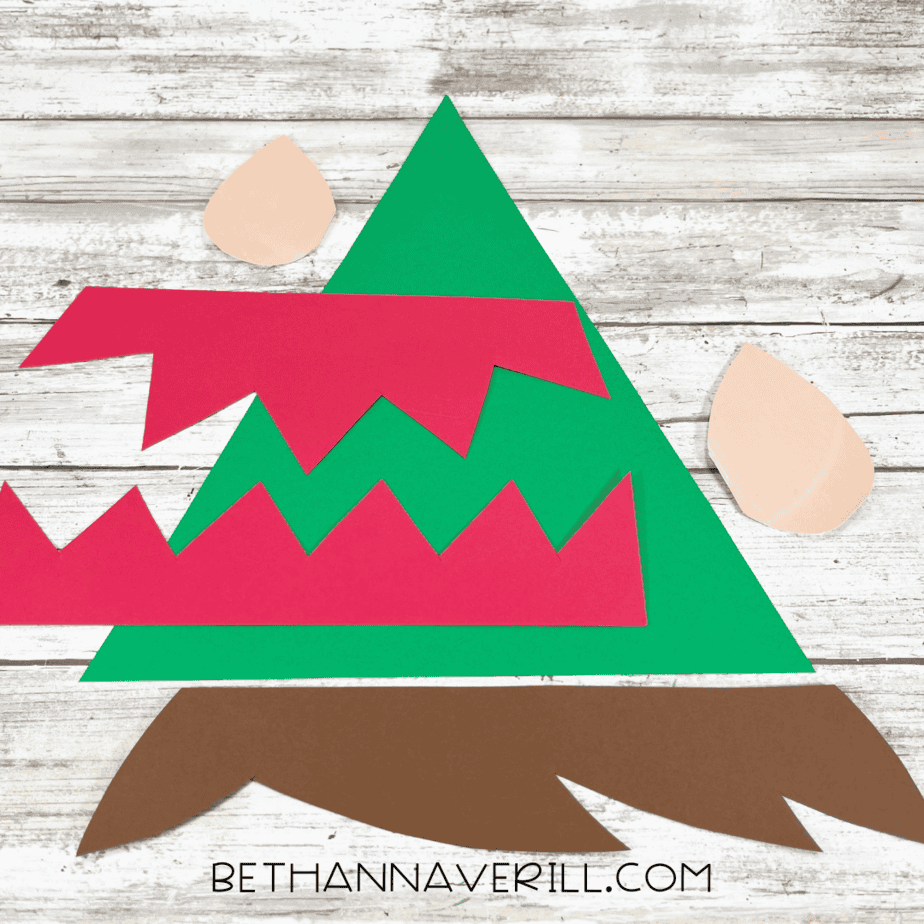
- Trace and cut a large green triangle for the elf hat, red zig-zag strips for the trim, and brown shapes for the elf’s hair.
- Attach the hat pieces to the top of the painted paper plate with glue, layering the red trim over the bottom edge of the green triangle and the brown hair under the trim.
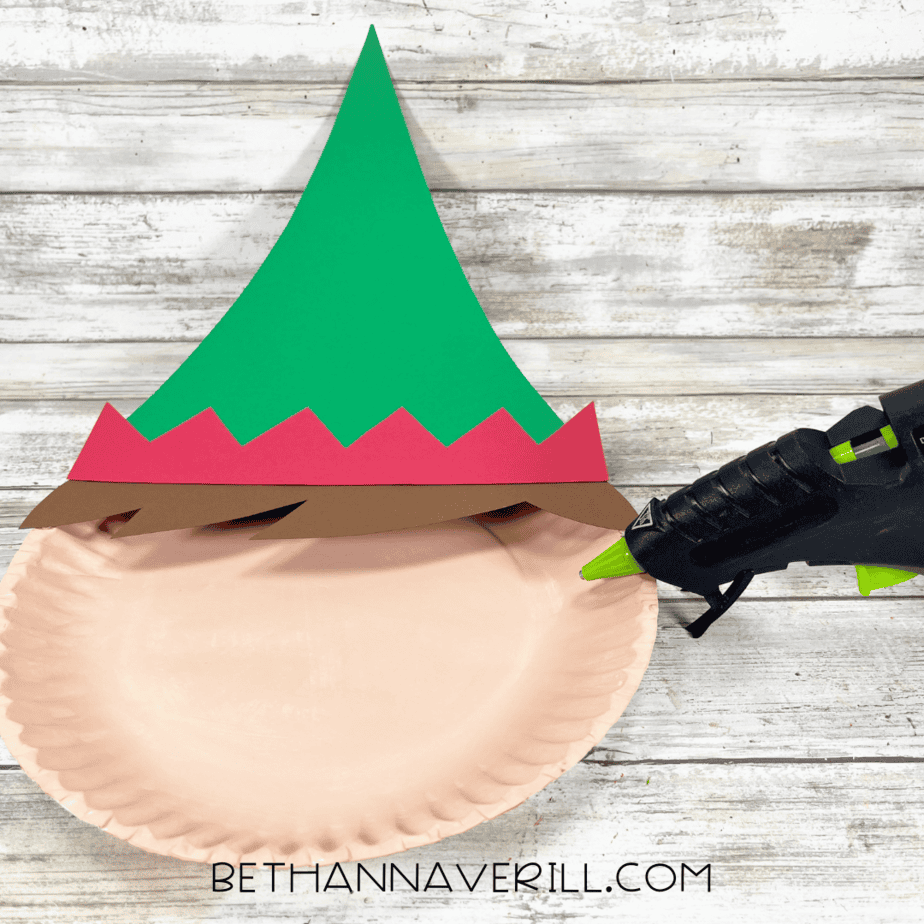
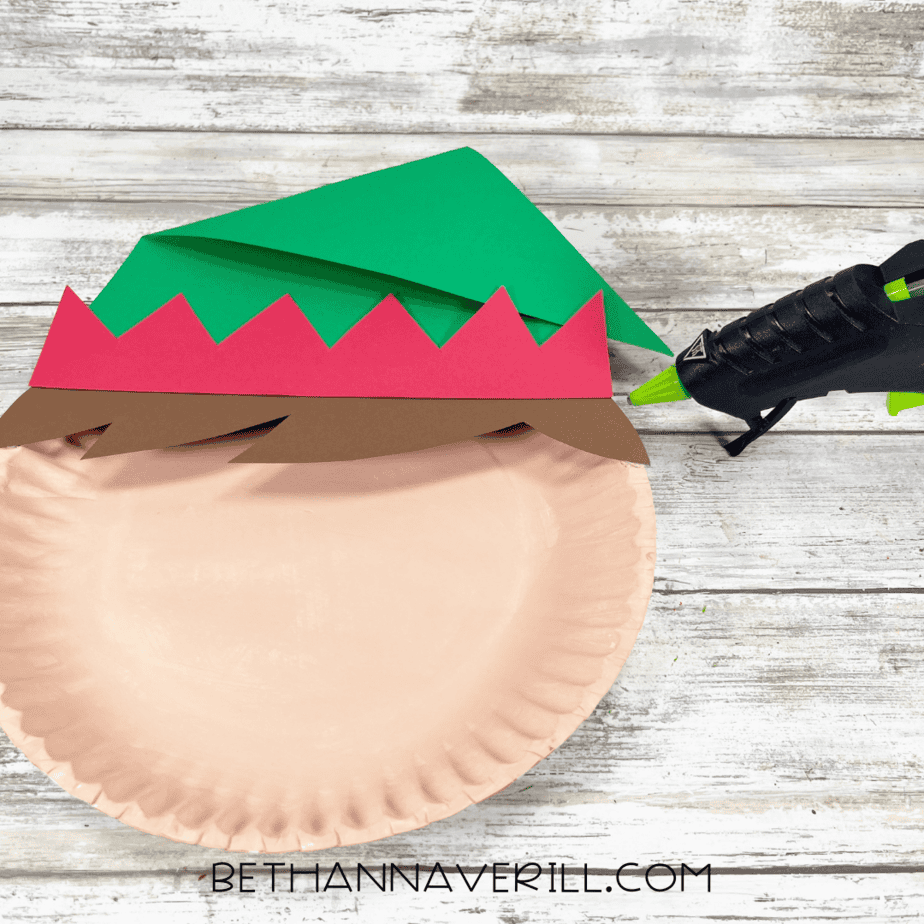
- Fold the top of the hat slightly to one side and secure it with glue to give it a floppy look.
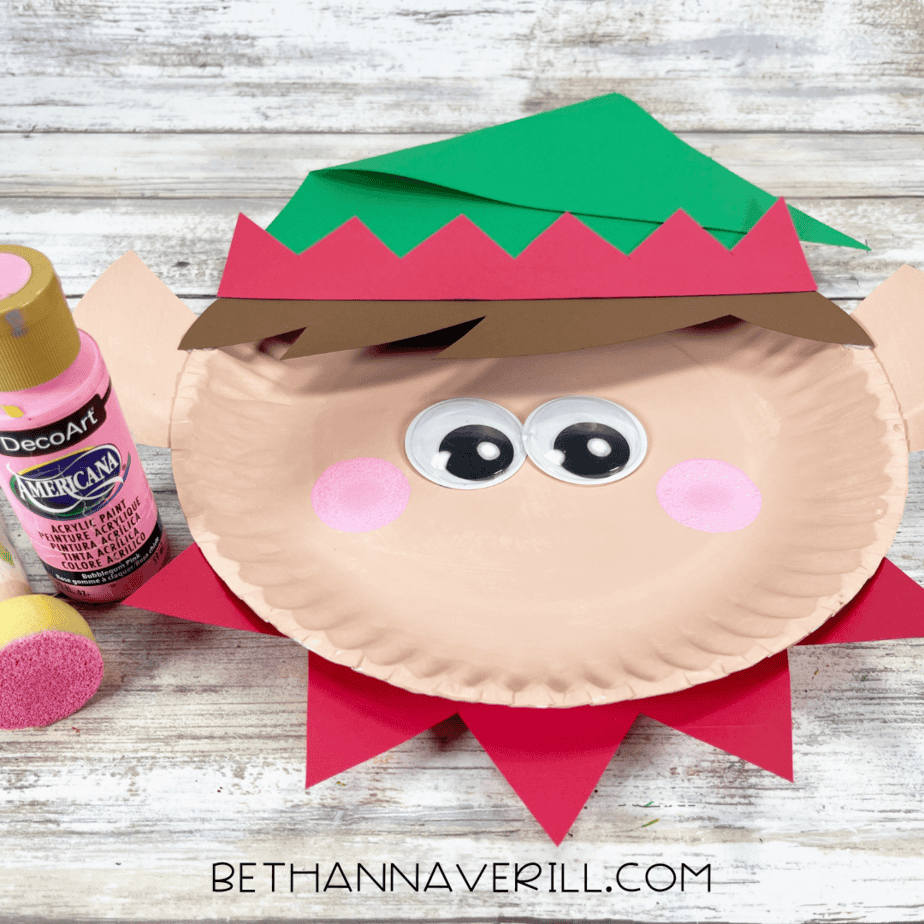
- Cut the ears into shape and then glue them to each side of the elf’s face.

- Glue googly eyes to the center of the plate.
- Dab pink paint on the cheeks with a sponge dabber or the back of a brush to make rosy cheeks.
- Use a black marker to draw a smiling mouth under the eyes.
- Finish by gluing a yellow pom-pom to the tip of the elf’s hat.
- Hang your finished elf boy up on display!
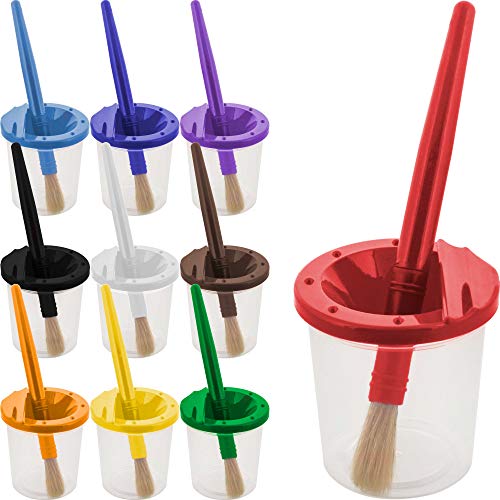
Recommended Products
As an Amazon Associate and member of other affiliate programs, I earn from qualifying purchases.


Why Kids Will Love This Craft
- Festive fun – Nothing says Christmas like a cheerful elf with rosy cheeks.
- Simple supplies – This project uses paper, paint, and a plate—easy to find and budget-friendly.
- Creative play – Kids can make a whole group of elves, each with different hat colors or silly expressions.
- Great décor – Hang your elf on the wall, the fridge, or string up a row of elves for holiday garlands.
And there you have it, a Christmas elf that’s more charming than Santa’s cookie plate. This little guy will brighten up any holiday space and give kids a project they can be proud of.
Get This Paper Plate Elf Boy Craftivity Now!
Please Share This Elf Boy Paper Plate Craft
Your shares help this site grow, and I’m so thankful. Know someone who’d love this? Share it on Facebook or pin it to your favorite Christmas crafts board on Pinterest!


