Paper Plate Witch Craft for Halloween
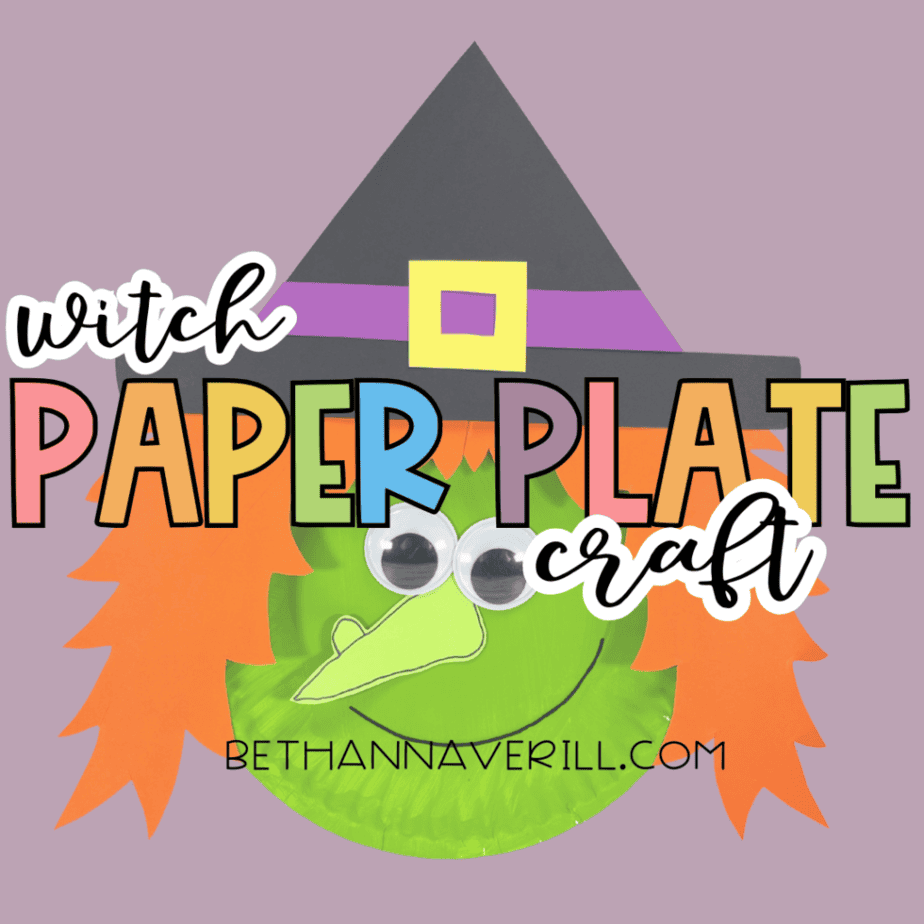
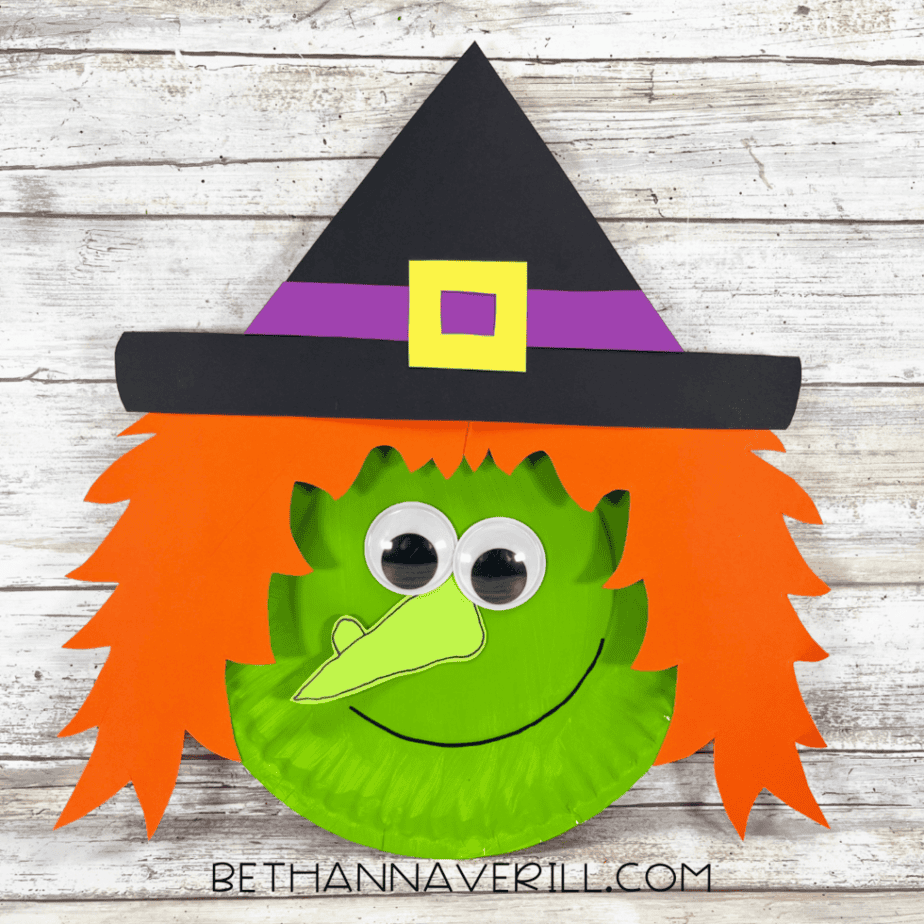
This paper plate witch craft is spooky, cute, and so much fun to make! A simple Dollar Store paper plate transforms into an adorable green-faced witch, complete with wild orange hair, a pointy black hat, and a big witchy smile.
Materials for This Paper Plate Witch Craft
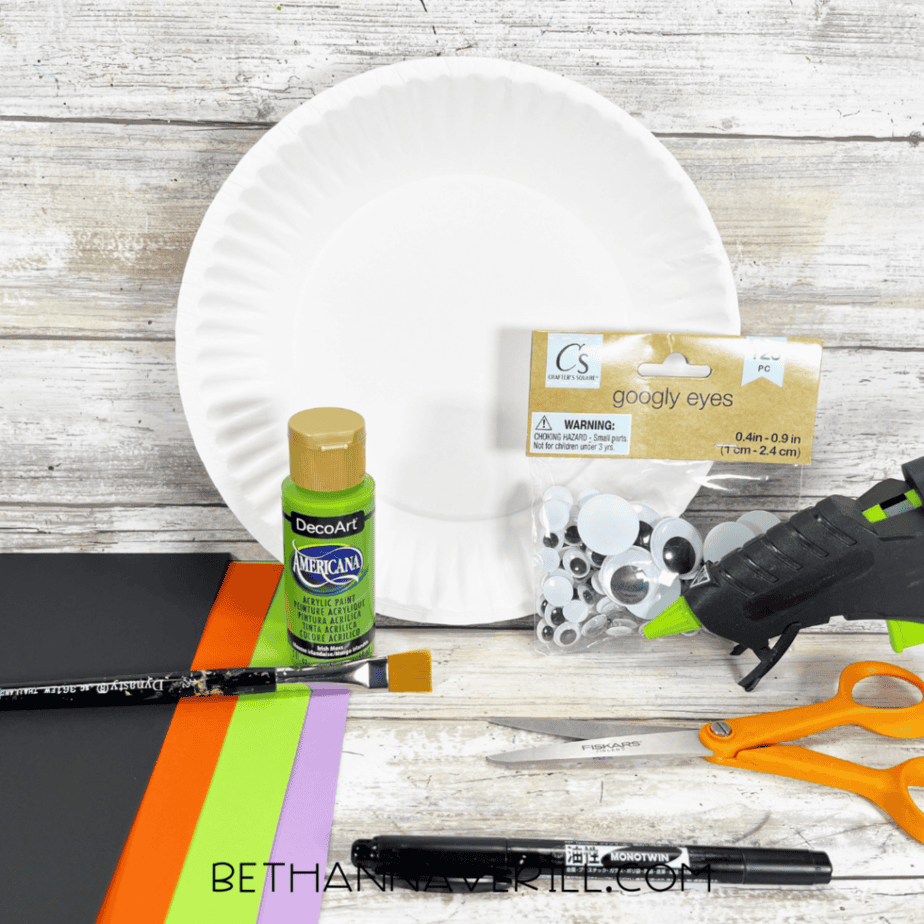
Before you start, gather a few simple supplies. Most items can be found at the Dollar Store, making this a budget-friendly and fun Halloween craft for kids and classrooms.
Supplies
- Paper plate – Dollar Store
- Wiggle eyes – Dollar Store
- Acrylic craft paint – bright green
- Cardstock – black, orange, bright green, purple, yellow
- Glue gun and glue sticks – Dollar Store
- Paintbrush
- Scissors
- Permanent marker, black
- Patterns
Once your supplies are ready, let's brew up this adorable witch!
How to Make a Paper Plate Witch Craft
This paper plate witch craft comes together with painting, cutting, and gluing. Follow the steps below to create your spooky cute Halloween witch.
Step 1: Gather Your Supplies
Gather all the supplies for this paper plate witch craft. Having everything ready before you begin makes the process easy and fun.
Step 2: Paint the Paper Plate
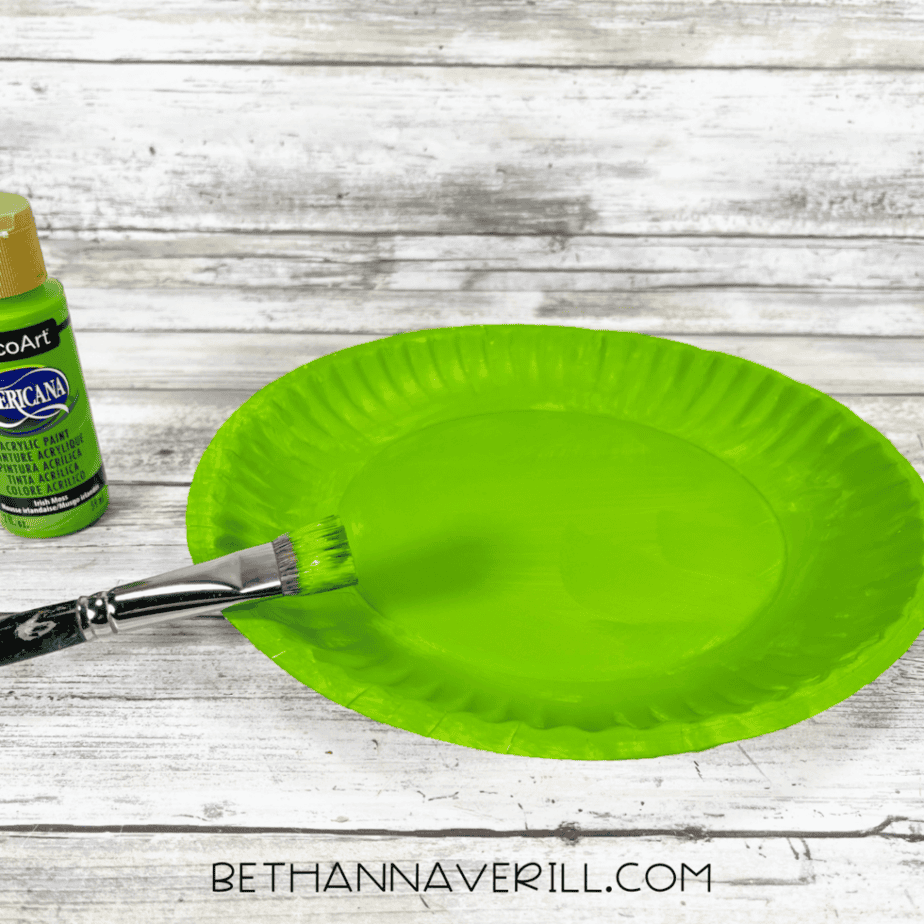
Basecoat the inside of the paper plate with bright green acrylic craft paint. Set aside to dry and apply a second coat if necessary.
Step 3: Trace the Pattern Pieces
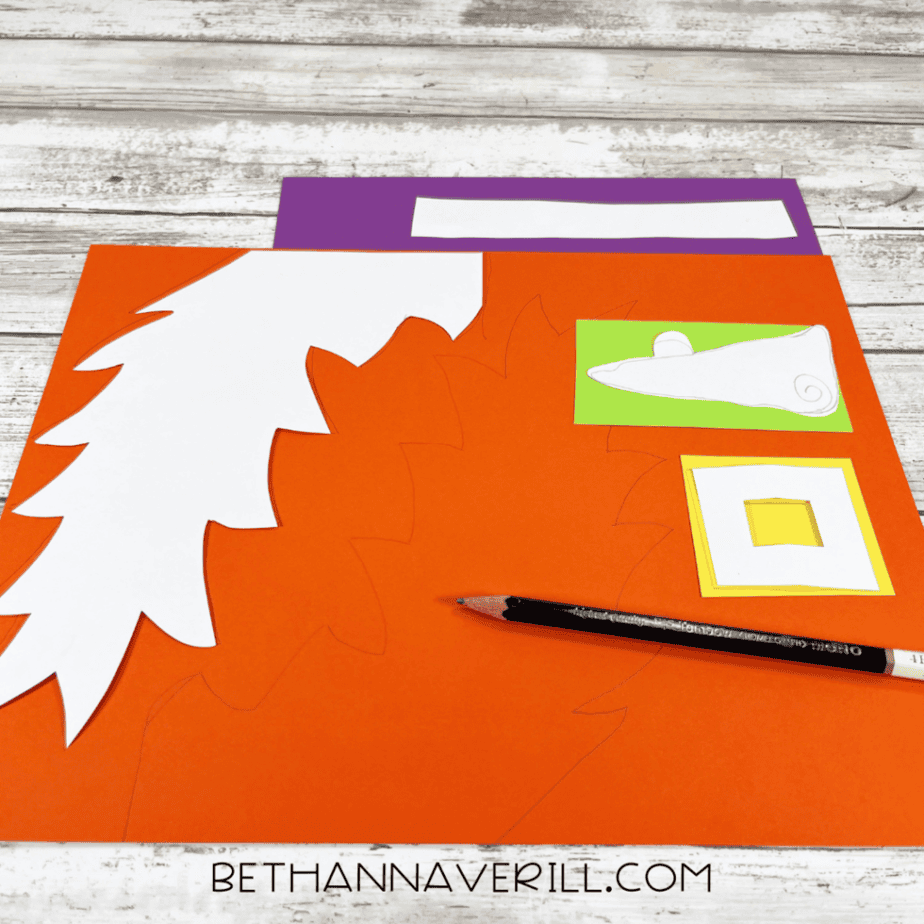
Download and print the witch patterns, then cut out with scissors. Trace the hair onto orange cardstock, the hat onto black cardstock, the hat buckle onto yellow cardstock, the hat band onto purple cardstock, and the nose onto bright green cardstock. You could also use colored craft foam or craft felt.
Step 4: Cut Out All Pieces
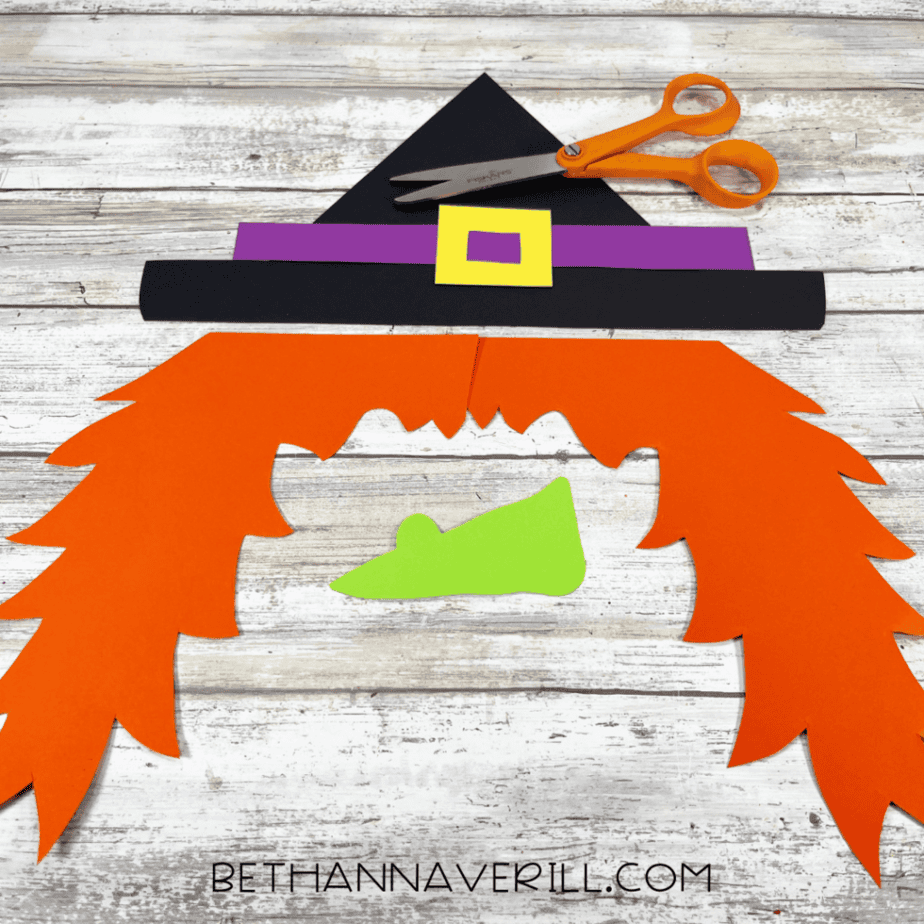
Cut out all the traced pattern pieces with scissors, making sure to cut inside the lines for a clean, finished look.
Step 5: Attach the Hair
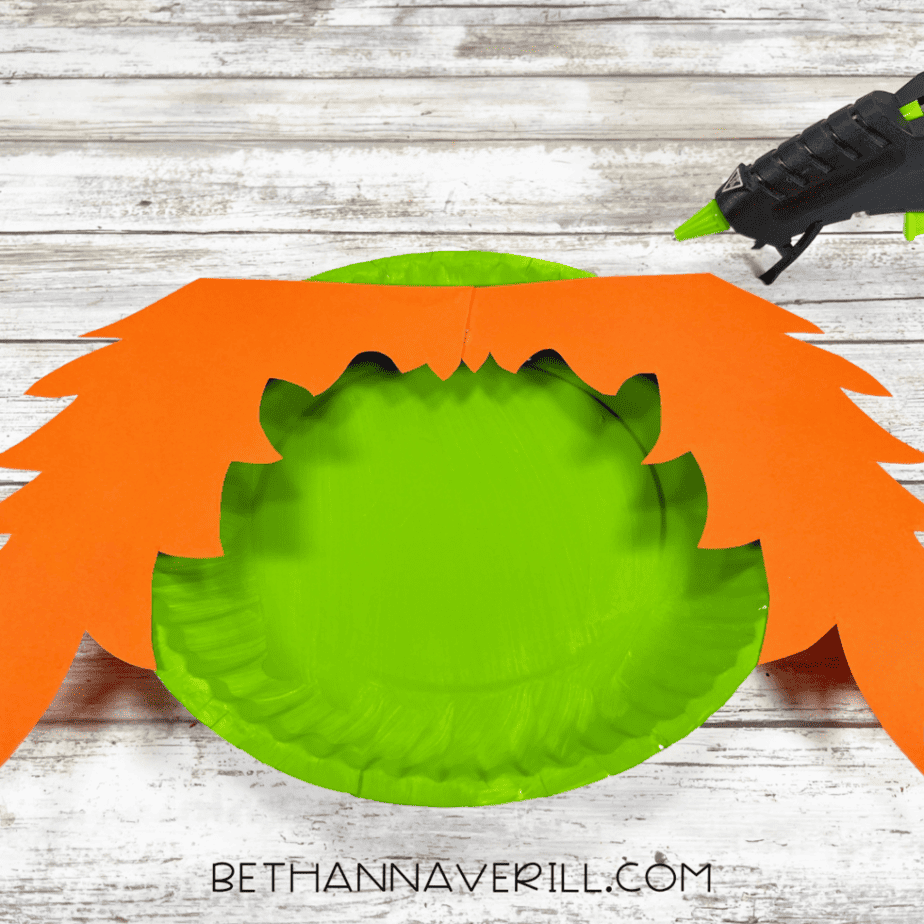
Attach the two hair pieces along the edge of the paper plate on either side, making sure they meet in the middle at the bottom. TIP: Liquid craft glue also works — just allow extra drying time.
Step 6: Add the Nose and Eyes
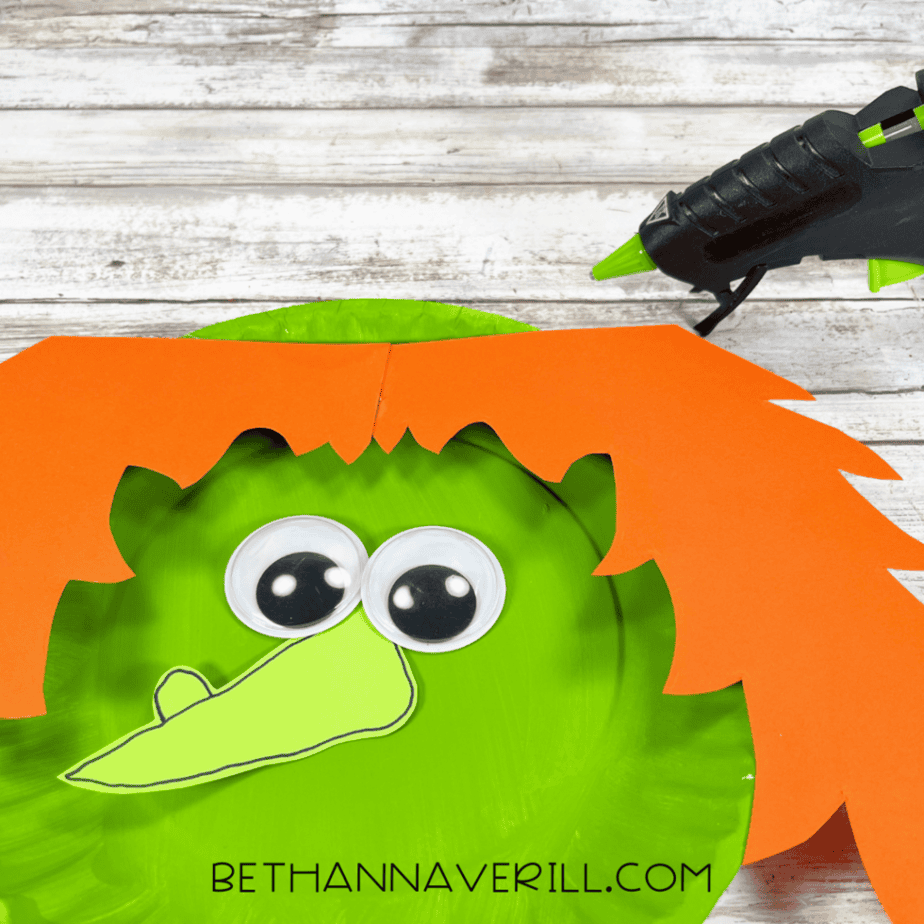
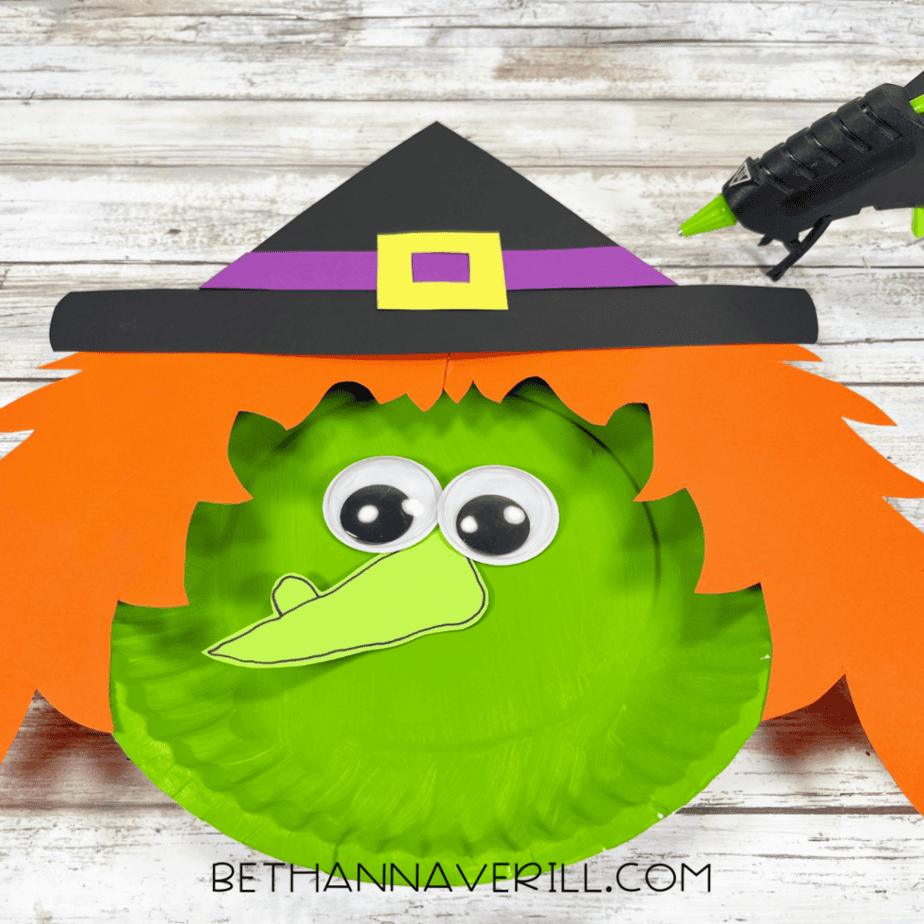
Outline the witch's nose with a black marker and add a wart. Attach the bright green nose and two wiggle eyes to the witch's face with a glue gun.
Step 7: Add the Hat
Attach the black hat to the top of the witch's head with a glue gun. Glue the purple hat band to the hat, then glue the yellow buckle on top.
Step 8: Add the Final Details
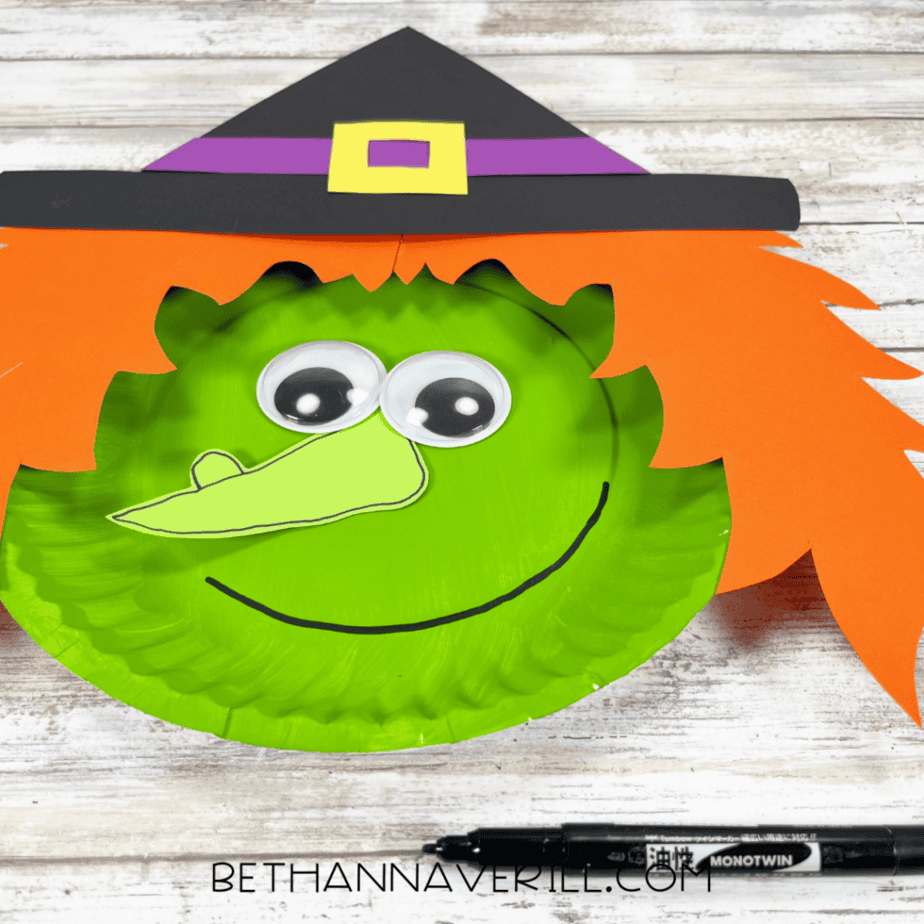
Draw a wide, curved witchy smile along the bottom of the paper plate with a black marker.
Your spooky cute paper plate witch is ready to cast a crafty spell this Halloween!
Grab the Paper Plate Witch Craftivity
Want to make this Halloween craft even easier? The Paper Plate Witch Craftivity includes printable patterns and a mini ebook with full step-by-step instructions — perfect for Halloween parties, homeschool, or a fun spooky afternoon craft.
https://shop.bethannaverill.com/products/witch-paper-plate-craft-halloween-craft
More Halloween Crafts Your Kids Will Love
If your kiddos had fun making this paper plate witch craft, don't stop the fun here! Below you will find some more of our favorite halloween crafts we have shared on the site.
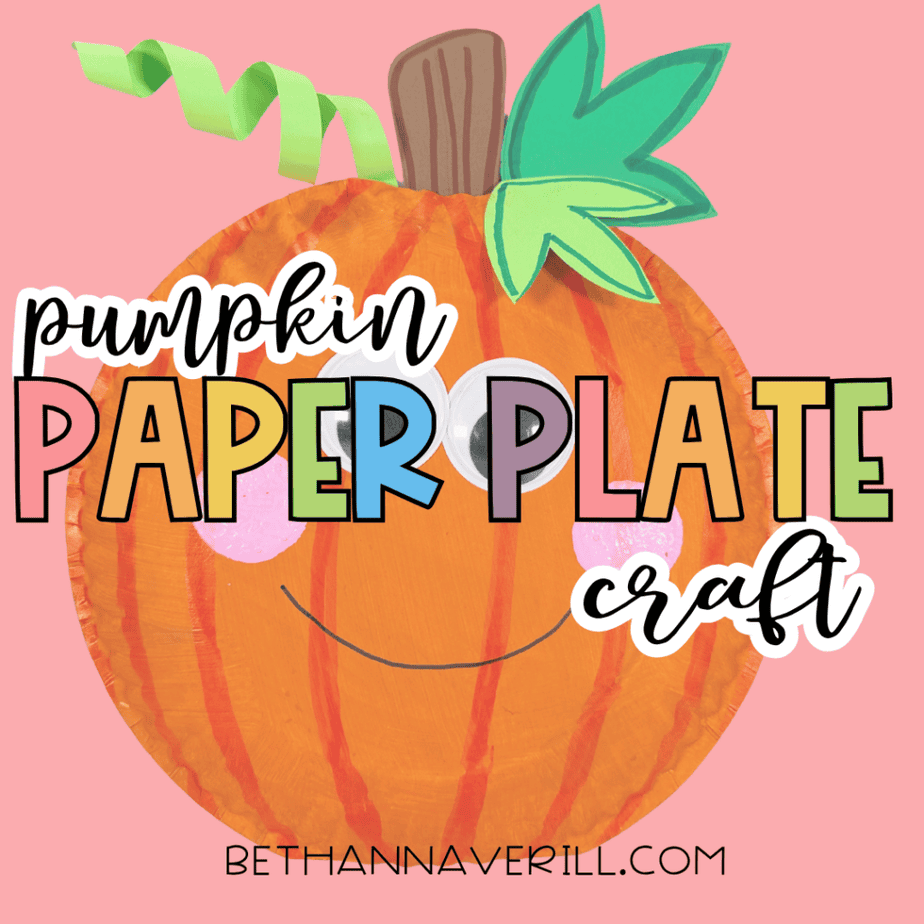
Paper Plate Pumpkin Craft for Kids

Frankenstein Popsicle Stick Craft for Halloween

Ghost Popsicle Stick Craft for Halloween
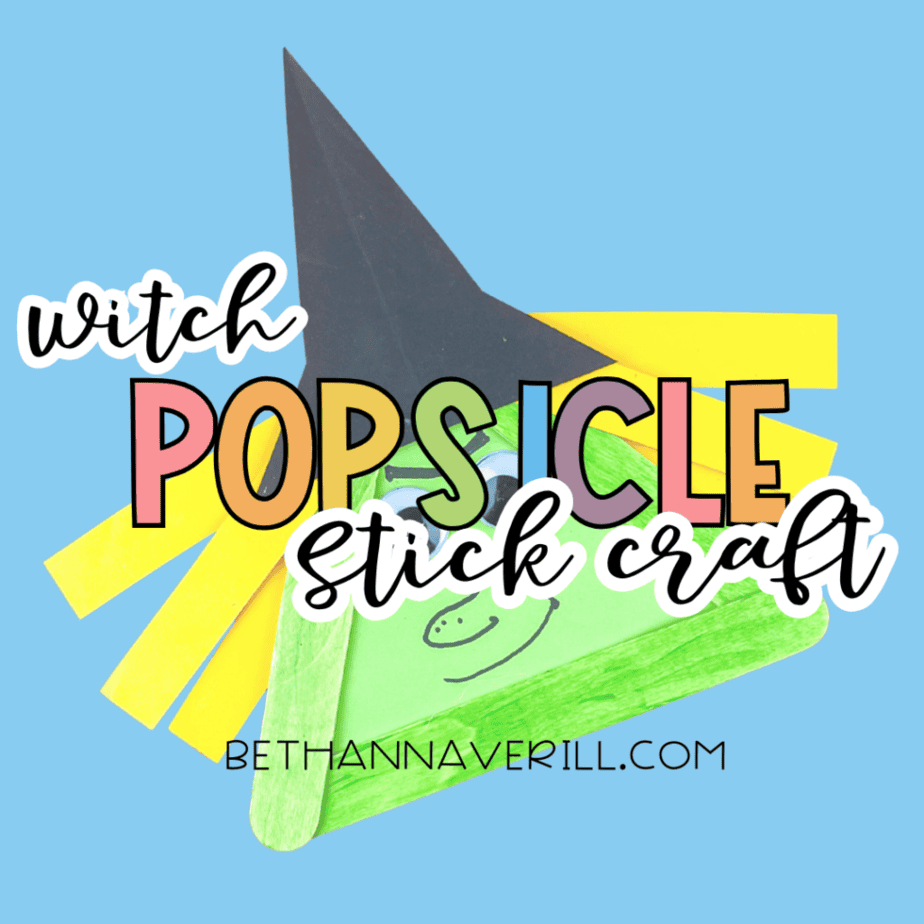
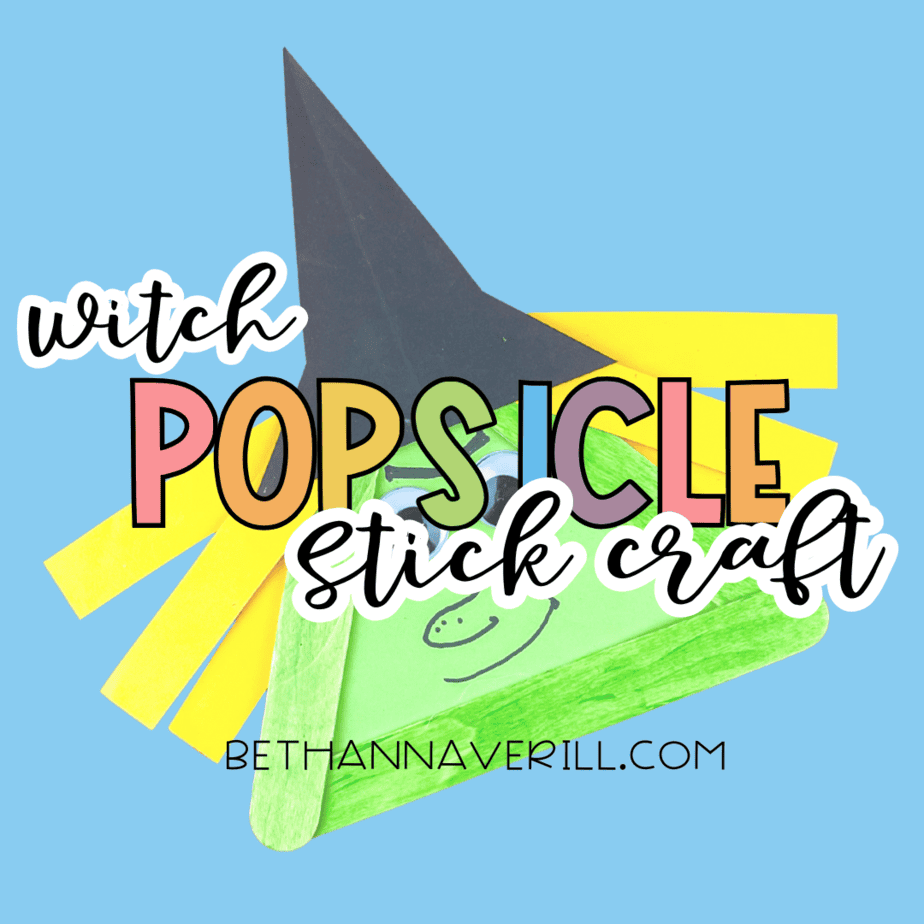
Witch Popsicle Stick Craft for Halloween

Halloween Sensory Bin
This Halloween sensory bin is a simple, colorful way to set up hands-on…

Bat Popsicle Stick Craft
This bat popsicle stick craft is simple, bold, and perfectly spooky without being…
Please Share This Paper Plate Witch Craft
Did your kiddos love making this paper plate witch craft? We'd love to see your spooky creations! Share on social media and tag us, and pin this project to your Halloween crafts board on Pinterest!