
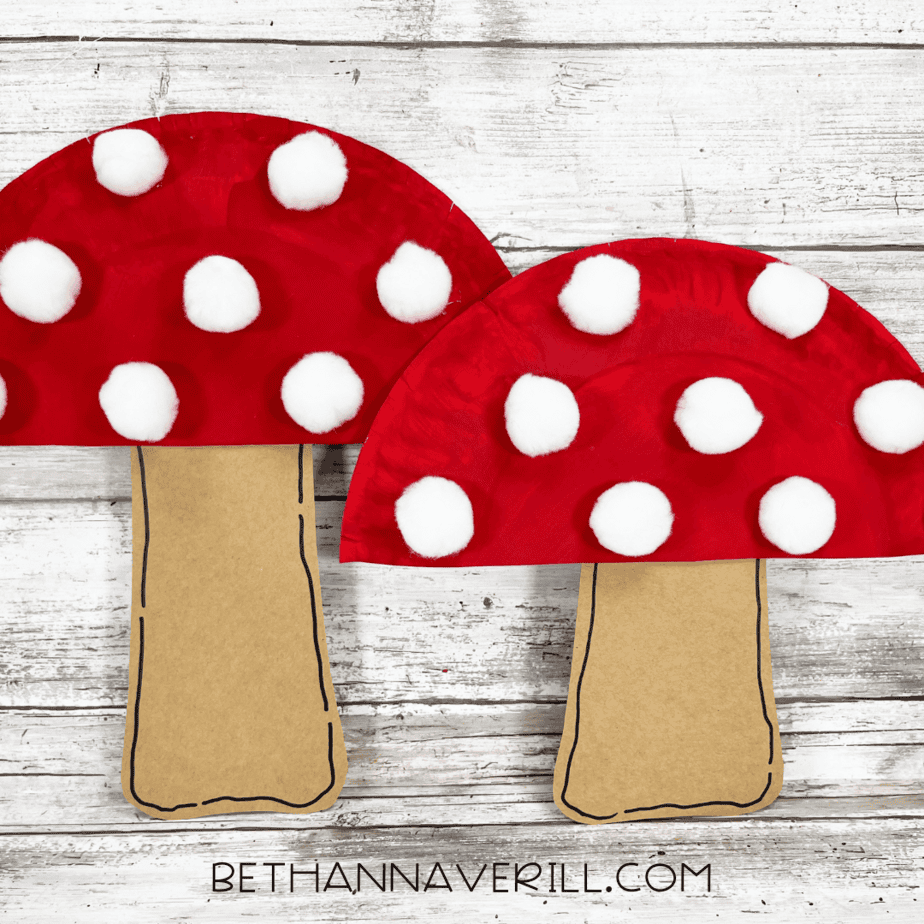
Mushroom Paper Plate Craft
If you’ve got a kid who loves fairies, forest adventures, or just any excuse to use glue, this mushroom paper plate craft is going to be a hit. With a little paint, a few cotton balls, and some cardstock, kids can turn a plain plate into the cutest woodland mushroom. It’s simple, quick, and perfect for fall activities, woodland unit studies, or just an afternoon of imaginative play.

Materials for a Mushroom Paper Plate Craft
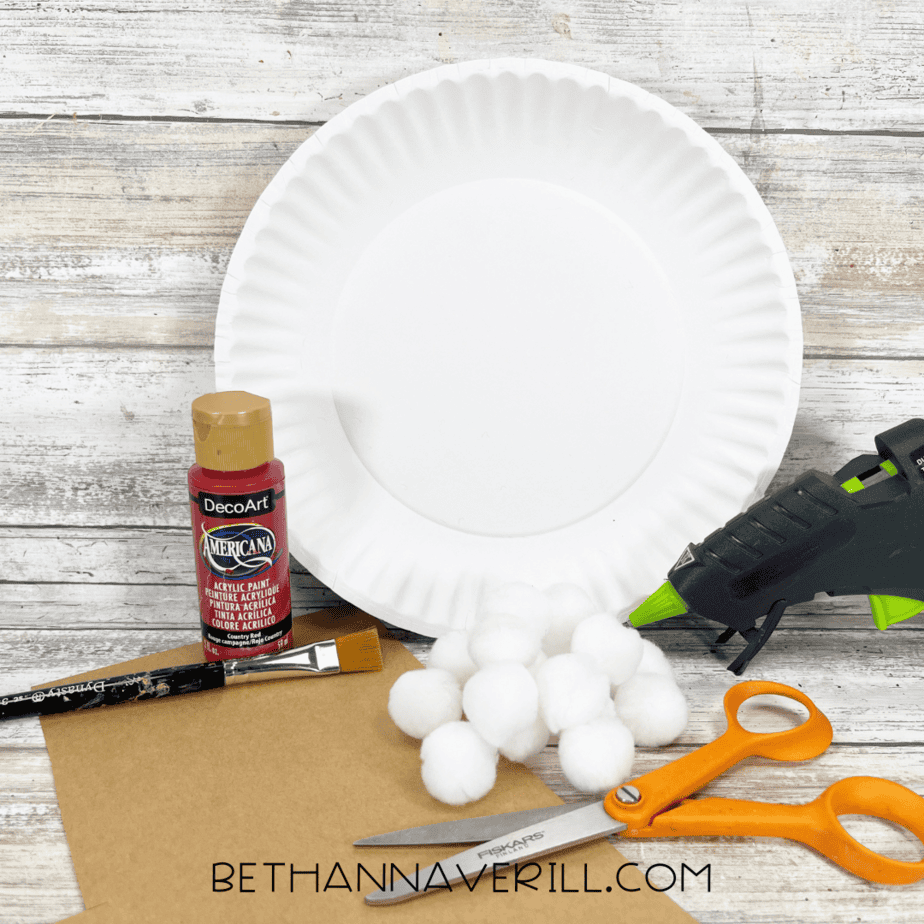
Before we get started, round up these simple supplies:
- Paper plate
- Red acrylic paint
- Brown cardstock
- Cotton balls
- Black marker
- Scissors
- Paintbrush
- Glue gun or school glue

How to Make a Mushroom Paper Plate Craft
Ready to get crafting? Find the instructions below!
Mushroom Paper Plate Craft

Make a fun mushroom paper plate craft with kids using paint, cotton balls, and cardstock. This easy craft is perfect for woodland themes, fall activities, or imaginative play.
Materials
- Paper plate
- Red acrylic paint
- Brown cardstock
- Cotton balls
- Black marker
- Glue gun or school glue
Tools
- Scissors
- Paintbrush
Instructions
- Gather your supplies, including a paper plate, red paint, brown cardstock, cotton balls, a black marker, scissors, a paintbrush, and glue.
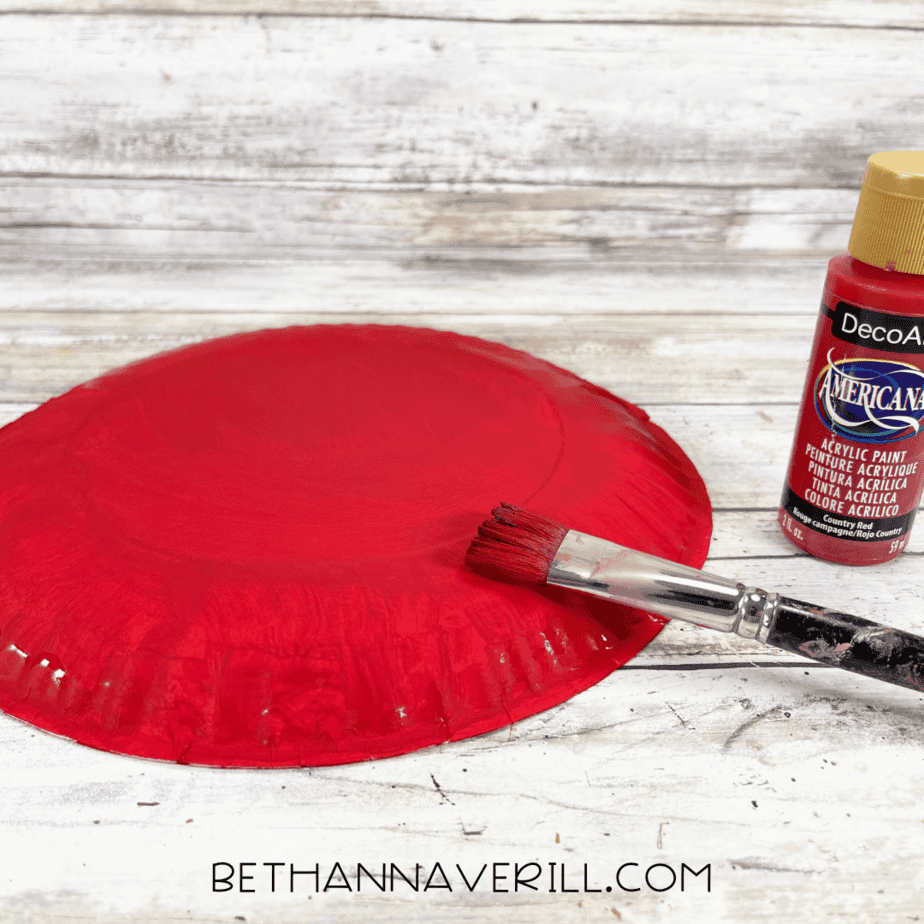
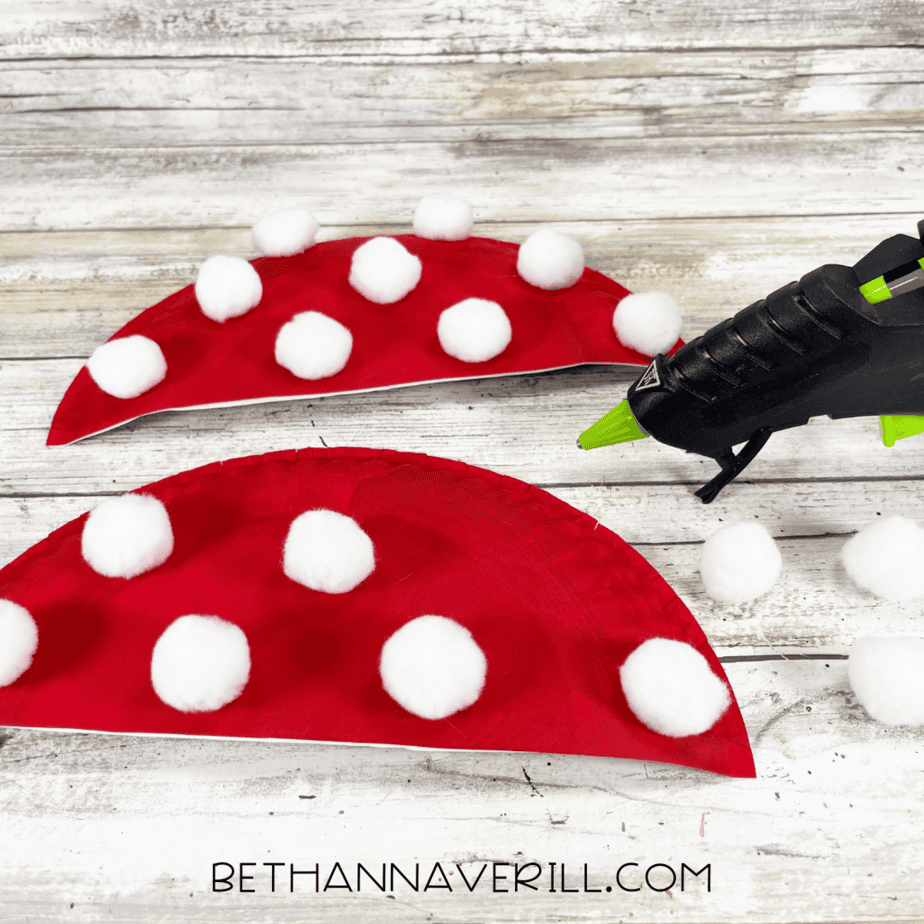
- Paint the back of your paper plate with red acrylic paint and let it dry completely.
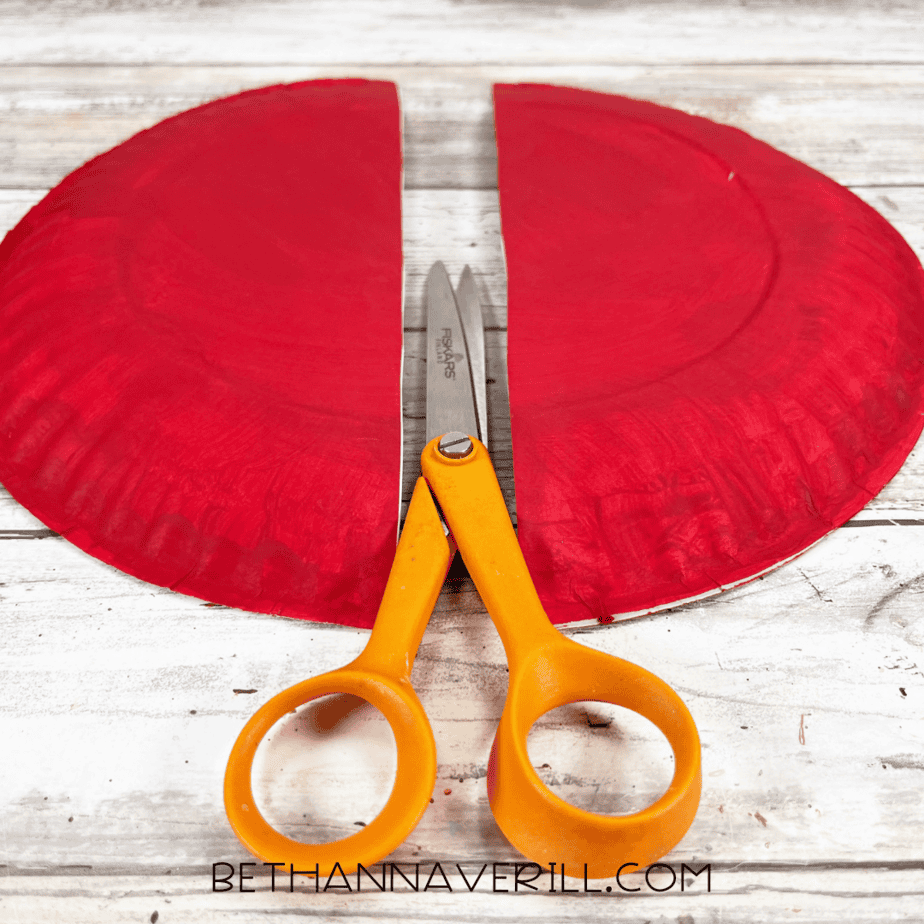
- Once the paint is dry, cut the plate in half to make two mushroom caps.
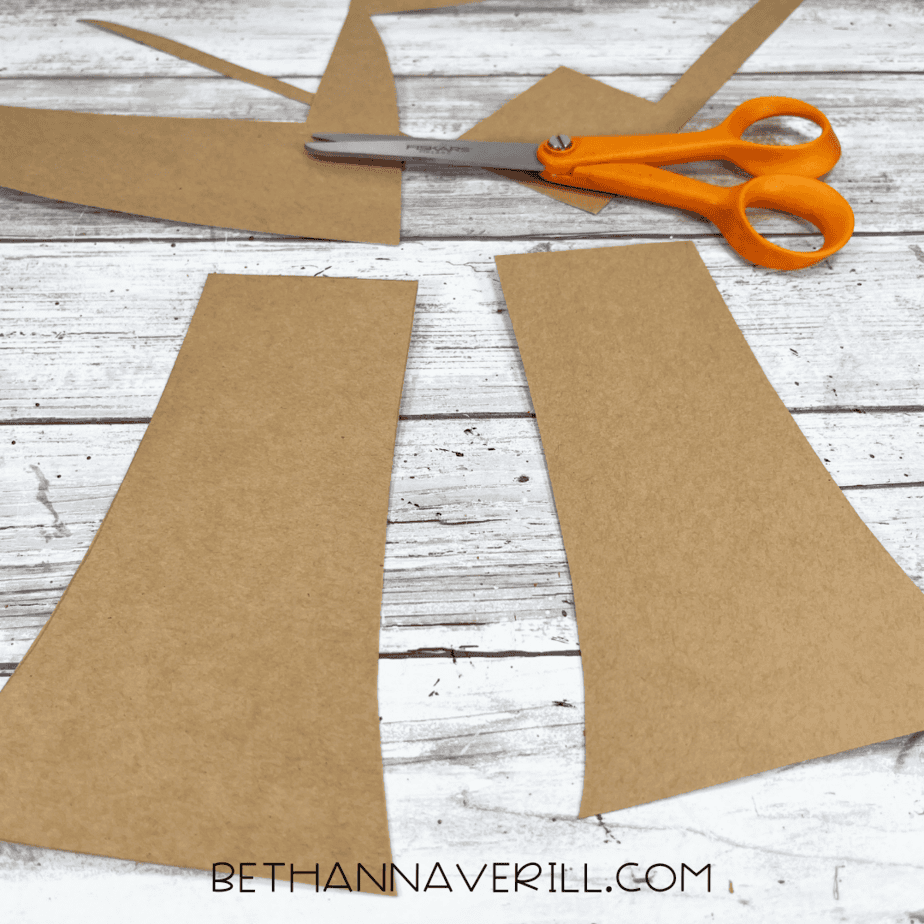
- Draw the mushroom stem shape on brown cardstock and cut it out with scissors.
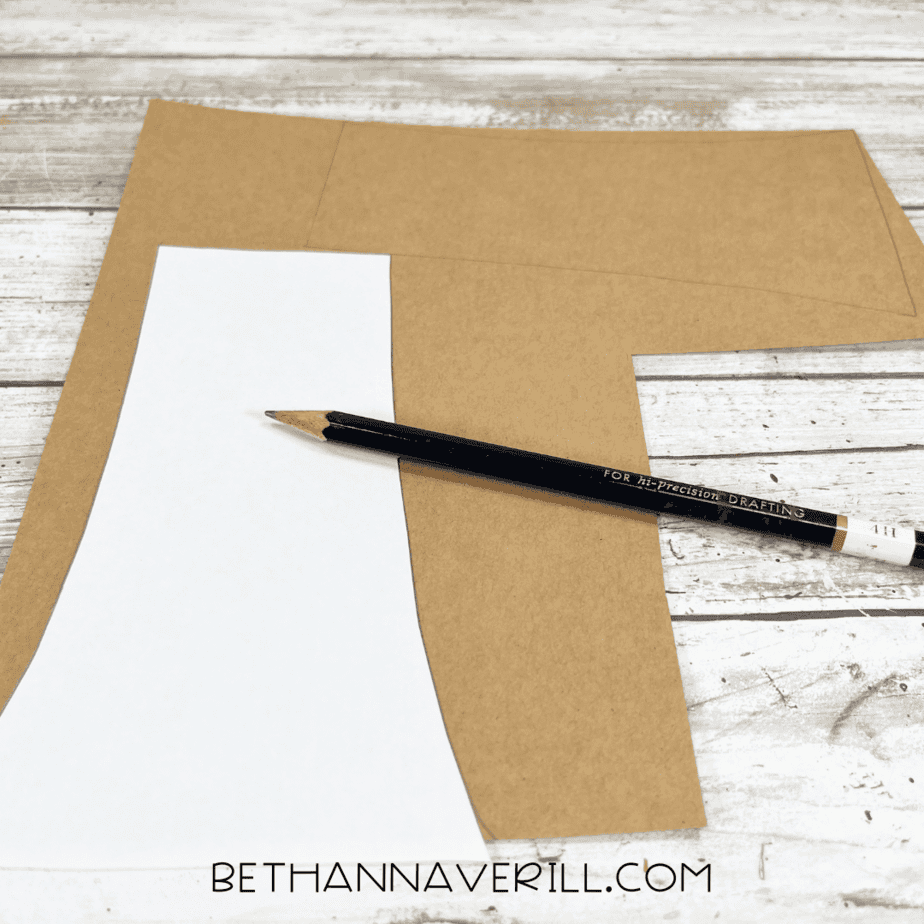
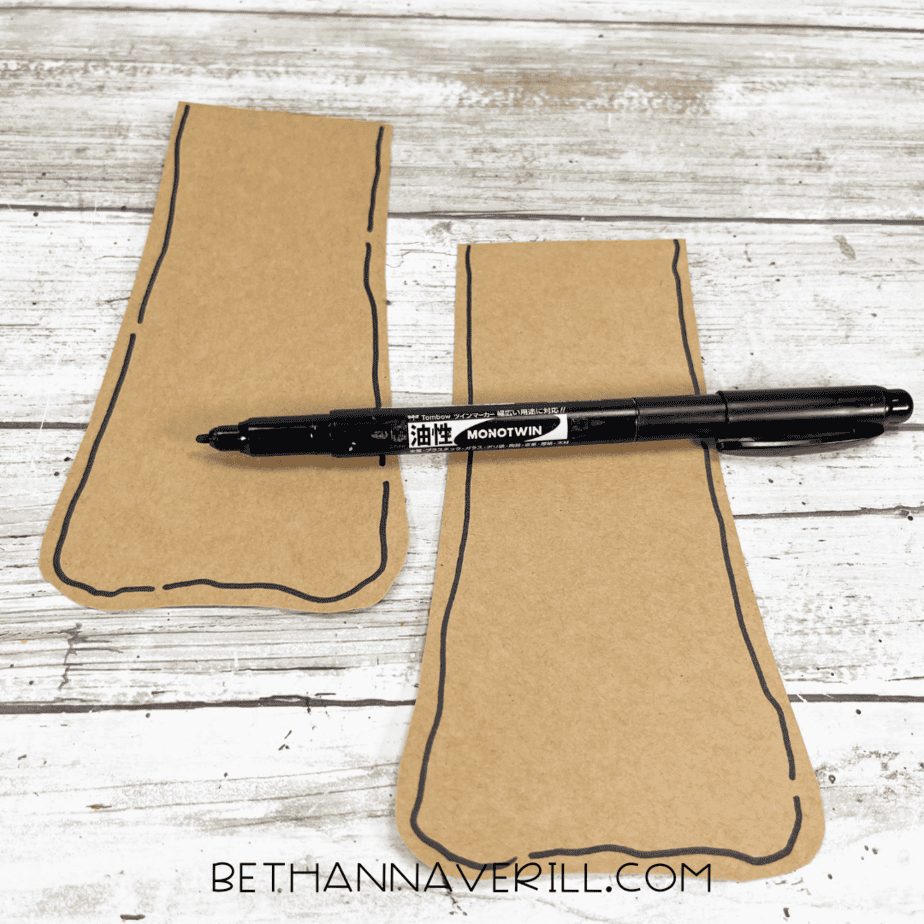
- Outline the edges of the stems with a black marker to give them detail.
- Glue cotton balls onto the red paper plate halves to create white mushroom spots.
- Attach the brown paper stems to the flat edge of the painted plates using glue.
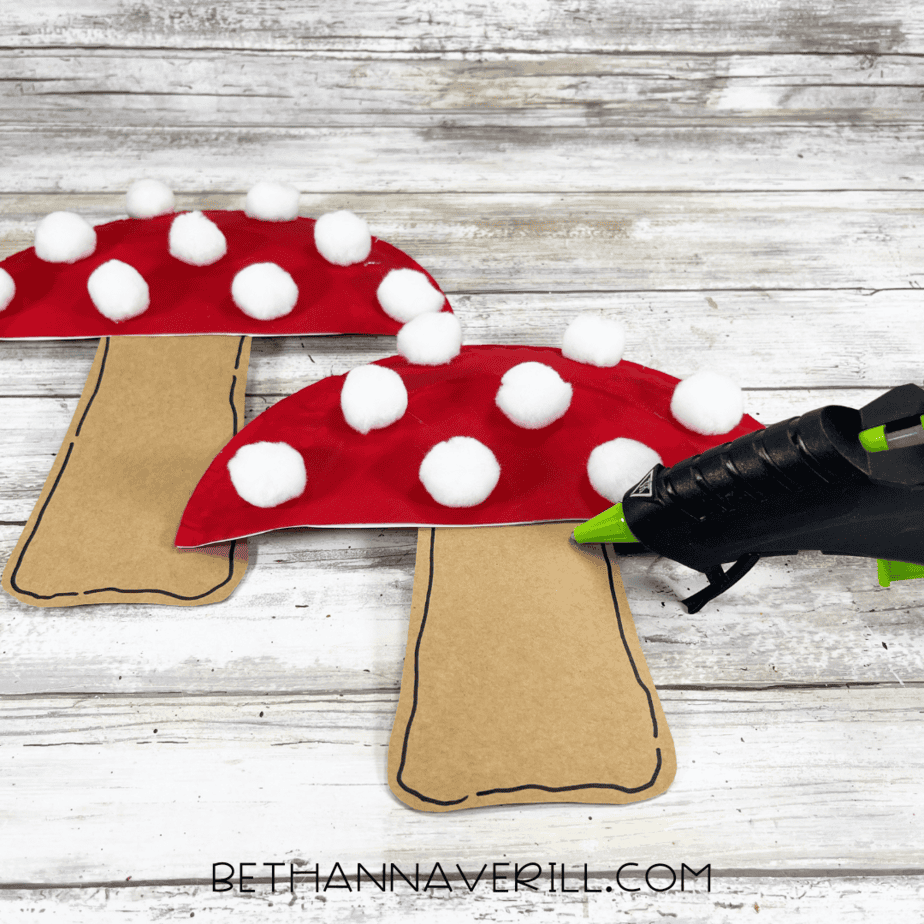
- Let everything dry and enjoy your adorable paper plate mushrooms.
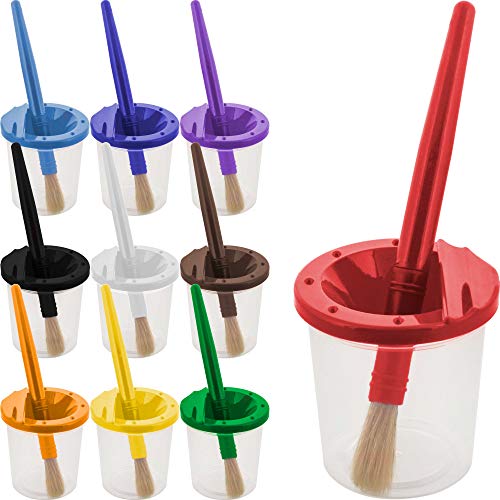
Recommended Products
As an Amazon Associate and member of other affiliate programs, I earn from qualifying purchases.


Why Kids Will Love This Mushroom Craft
This mushroom paper plate craft is quick enough for little attention spans but still offers lots of creativity. It’s great for:
- Woodland themes: Pair it with stories about gnomes, fairies, or forest animals.
- Seasonal fun: A perfect fall craft to brighten up bulletin boards or home displays.
- Imaginative play: Finished mushrooms can be used in pretend play scenes or dioramas.
Get This Paper Plate Mushroom Craftivity Now!
Please Share This Mushroom Paper Plate Craft
Your shares are what keep this site growing, and I’m truly grateful. If you know a teacher, parent, or craft-loving friend who’d enjoy this woodland mushroom project, please share it on Facebook or pin it to your favorite kids’ activity board on Pinterest.


