
DIY Sand Playdough Recipe
Making sand playdough at home is easier than you'd think and such a fun activity for your preschoolers! It's a fantastic way to introduce sensory play and ignite creative little minds. Plus, this sand playdough recipe skips the cream of tartar, keeping things simple without sacrificing quality. With just a few ingredients, you're set for hours of hands-on fun.

Want new playdough ideas? Discover 30+ creative playdough recipes in this post!
What is Sand Playdough?
Sand playdough is a fun twist on traditional playdough that combines the soft, moldable properties of dough with the gritty, sensory-rich texture of sand. It’s a favorite for many parents and teachers because it adds a new layer of sensory exploration. Kids love the unique feel of sand playdough, and it's a great tool for building fine motor skills. Plus, it's versatile! Whether you're shaping pretend seashells or creating tiny sandcastle sculptures, sand playdough taps into creativity while keeping little hands busy.
Why Sand Playdough is Special
Sand playdough stands out because of its texture. The addition of sand gives the dough a slightly rough and bumpy feel, making it more tactile. This extra layer of sensory feedback is excellent for preschoolers. Not only does it make crafting little projects more fun, but it also provides an engaging sensory experience that helps develop fine motor coordination.
If you're a fan of activities that combine play with learning, this is an ideal recipe to try. Sand playdough bridges creativity with sensory play, much like this easy ocean playdough recipe, which encourages children to use their imagination while building fun sea-themed creations.
Benefits of Sand Playdough for Preschoolers
Parents often turn to sensory activities as a way to help preschoolers develop key skills. Sand playdough ticks multiple boxes when it comes to benefits:
- Fine Motor Development: Kneading, pinching, and molding the dough strengthens tiny hand muscles.
- Sensory Stimulation: The gritty texture of sand adds an extra sensory layer, keeping kids engaged longer.
- Creative Exploration: From making “sand cakes” to pretending to dig fossils, the possibilities are endless.
- Calming Effect: Similar to traditional playdough, manipulating sand playdough can have a soothing effect on little ones.
For more sensory play ideas, you could also explore unique recipes like this oatmeal playdough recipe, which adds a new texture experience to your playtime routine.
Common Uses of Sand Playdough
Sand playdough is incredibly versatile — both entertaining and educational. Here are a few creative ways to use it:
- Seaside Pretend Play: Turn it into a beach activity by sculpting starfish, seashells, and miniature sandcastles.
- Learning Shapes: Use cookie cutters or molds to teach shapes in a hands-on way.
- Creative Story Building: Combine it with small toys like dinosaurs or cars to set the stage for endless imaginative stories.
If you're looking for more sensory recipes, why not check out the cloud dough recipe? It’s another playful way to keep little hands busy while sparking their imagination.
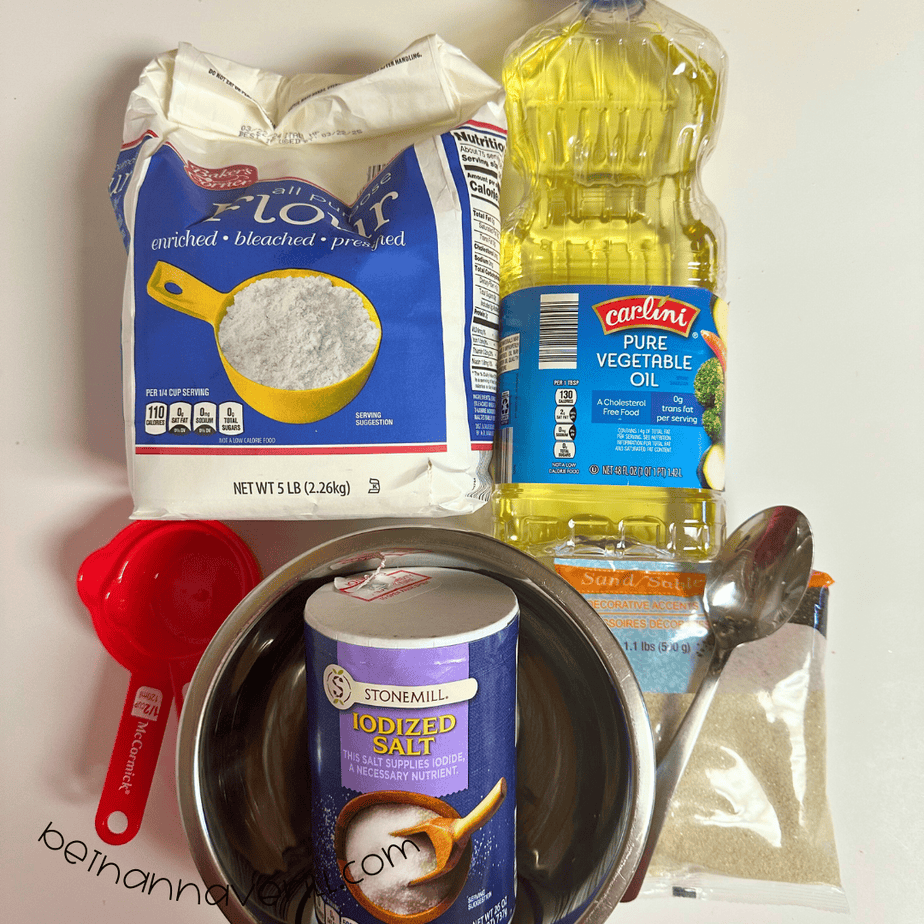
Supplies Needed for Sand Playdough
Creating sand playdough is a fun and easy project for parents and kids alike. Below, we’ll dive into the specific ingredients you'll need and how each contributes to making the perfect dough. Whether it's your first attempt or you're a seasoned DIY playdough enthusiast, understanding the materials will set you up for success.
Flour
Flour is the unsung hero of any playdough recipe, and sand playdough is no different. It forms the backbone of the dough, giving it structure and making it easy to knead and mold. Without flour, the dough wouldn't stick together or hold a shape. For this recipe, all-purpose flour works best because it’s affordable, readily available, and creates a smooth, pliable texture that pairs beautifully with the grittiness of sand.
Salt
Think of salt as the playdough’s secret weapon. It acts as a natural preservative, keeping your sand playdough fresh for days of play. Additionally, the granules help prevent mold buildup, which is crucial when working with moisture-rich ingredients. Salt also adds a mild texture to the dough, balancing the smoothness of flour with the roughness of sand. Table salt works perfectly here, and you likely already have it in your pantry!
Oil
Oil is what gives sand playdough its soft and luxurious feel—it’s like the conditioner in this sensory mix. It keeps the dough from drying out too quickly and helps with elasticity, making it easier to shape and mold. For this recipe, vegetable oil or any light cooking oil will do the trick. Avoid strong-smelling oils unless you’re adding essential oils for fragrance.
Want to try another textured playdough idea? Consider this easy coffee playdough recipe for a rich, aromatic sensory experience.
Sand
Sand is the star of this recipe, bringing its unique gritty texture into the mix that makes the dough stand out from traditional playdough. It adds a satisfying sensory element that kids love, making the dough feel like a mix between beach sand and soft clay. You can use fine, clean craft sand for the best results. Avoid sand that’s too coarse, as it can be harsh on little hands and tricky to mold.
Step-by-Step Sand Playdough Recipe
Ready to get crafting? Find the instructions below!
Sand Playdough Recipe

Ready to bring those sandy beach vibes straight into your home? This sand playdough recipe is perfect for sensory play and so easy to make. Whether you're a parent looking for a fun weekend activity or a teacher planning a classroom project, this will keep little hands busy and minds creative.
Materials
- Flour
- Salt
- Vegetable Oil
- Water
- Sand
Tools
- Mixing Bowl
- Mixing Spoon
- Measuring Cups
- Measuring Spoons
Instructions
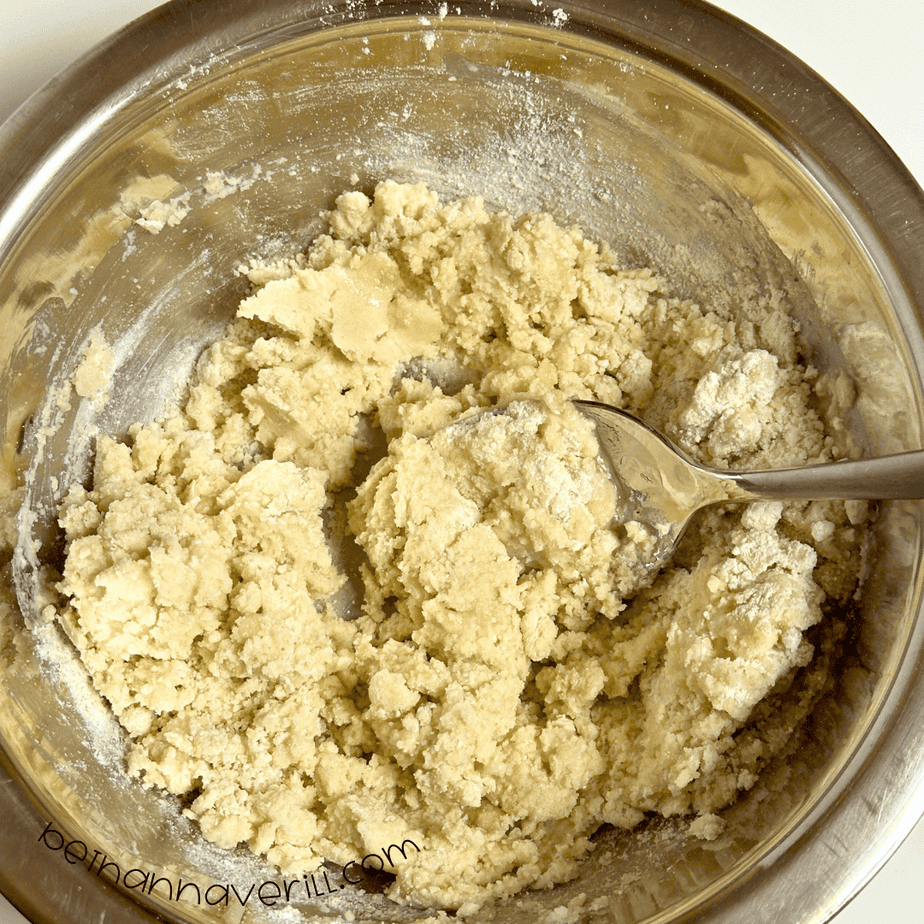
- Gather your supplies.
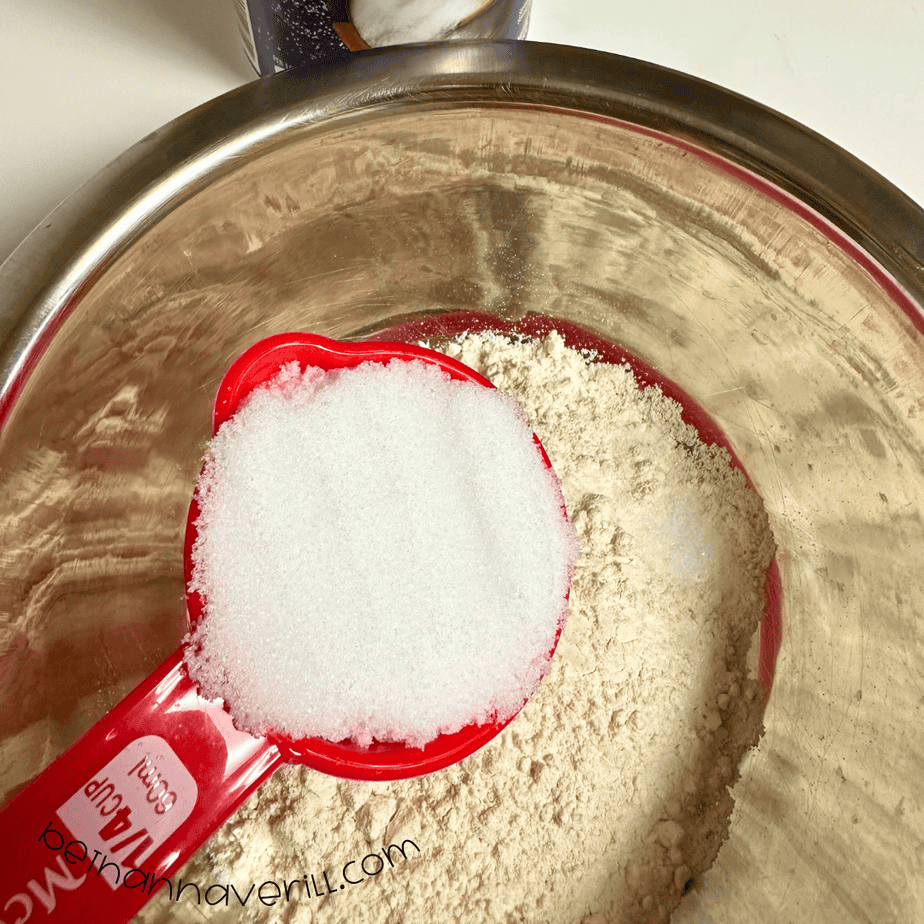
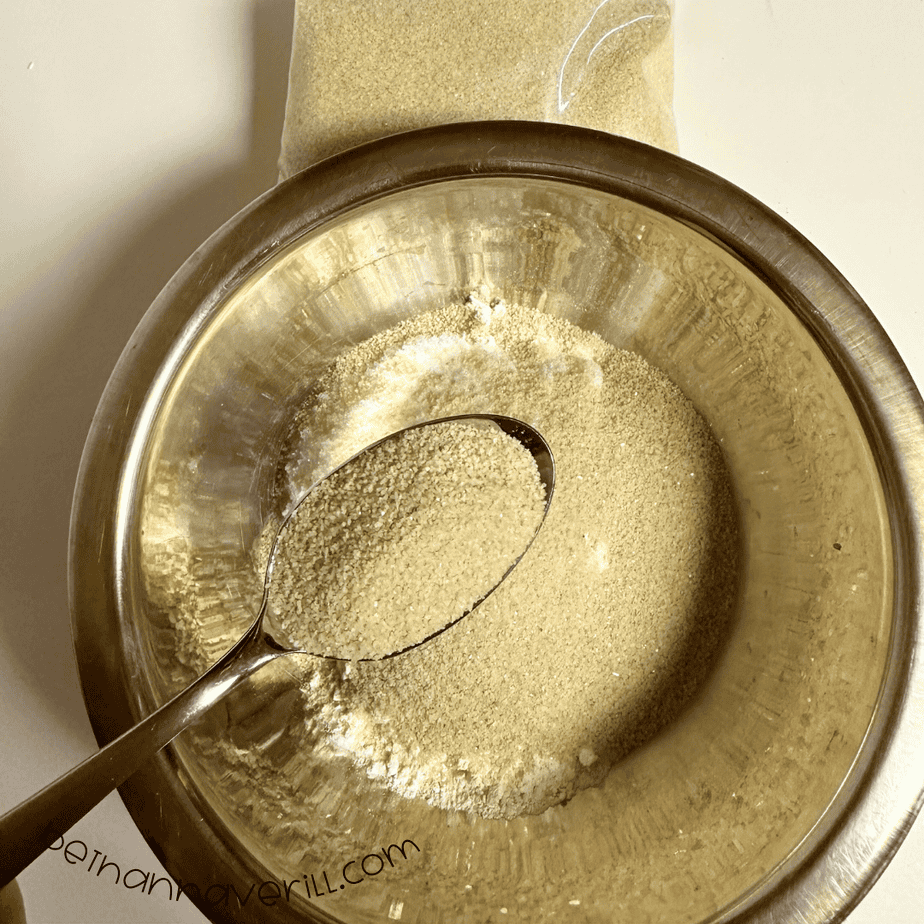
- In a large bowl, combine 1/2 cup of all-purpose flour, 1/4 cup of salt, and 3 tablespoons of craft sand. Stir well until evenly mixed.

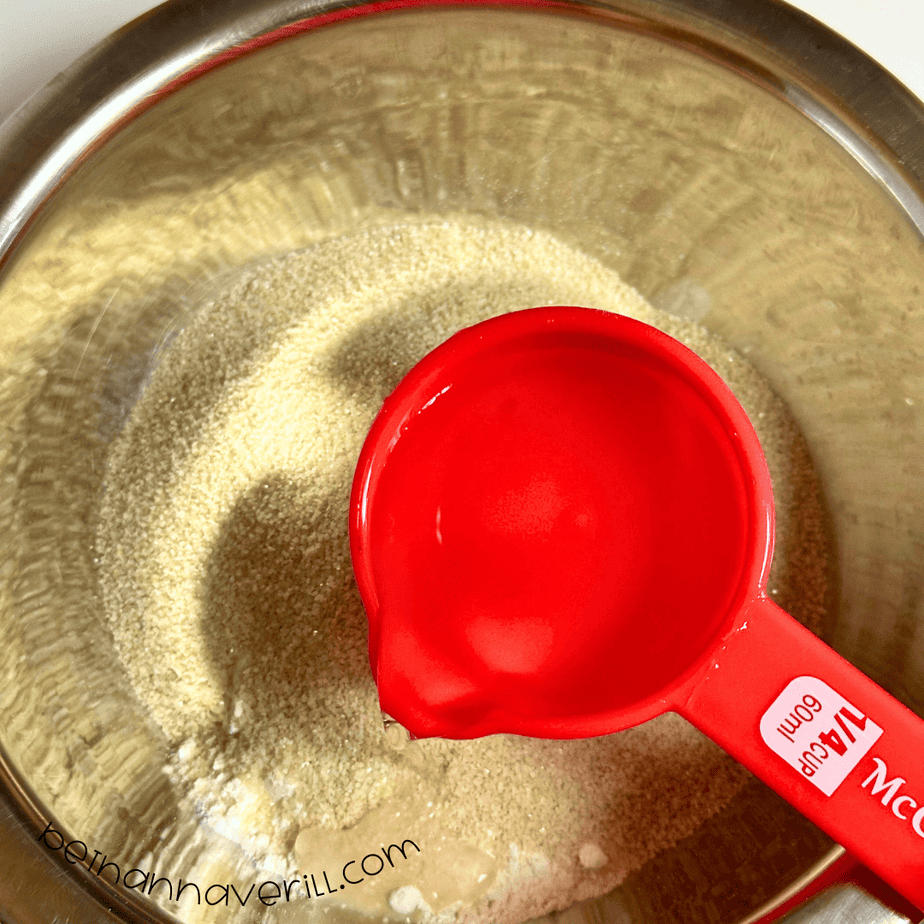
- Pour in a tablespoon of vegetable oil and 1/4 cup of water into the mixture and stir thoroughly.

- If the dough feels too dry, add small amounts of water (a teaspoon at a time). If it's too sticky, sprinkle in a bit more flour or sand.
- Then play!

Storage Tips
To keep your DIY sand playdough fresh and ready for future play sessions, proper storage is a must. Here are some tips:
- Air-Tight Containers: Store leftover playdough in an air-tight container or a resealable plastic bag. Squeeze out as much air as possible before sealing to prevent it from drying out.
- Cool and Dry Place: Keep the container in a cool, dry location, away from direct sunlight or humidity, as these can alter the dough’s texture over time.
- Rehydrate as Needed: If the dough starts to feel stiff after a few days, add a few drops of warm water and knead it to restore its softness.
Creative Ways to Play with Sand Playdough
Sand playdough offers endless opportunities for creativity and sensory exploration. The unique gritty texture of this playdough makes every activity feel like a miniature beach adventure, sparking curiosity and imagination in young children. Below are two fun and engaging ways to make the most out of sand playdough time.
Molding and Sculpting
Kids love molding and shaping sand playdough into fun creations—it’s like having the beach at your fingertips. Start small with simple shapes like circles and triangles, then encourage them to go bigger! Can they make a mini sandcastle? How about a crab or starfish?
- Use Tools for Precision: Provide cookie cutters, plastic knives, and even small rolling pins. These tools help kids explore form, size, and depth.
- Educational Twist: Incorporate learning by asking them to create letters or numbers. This is both fun and a sneaky way to work on fine motor skills and literacy.
- Group Projects: If you’ve got siblings or playdate guests, motivate them to collaborate on a “beach scene.” Who can make the tallest sandcastle or the coolest sea creature?
Incorporating Nature
Bringing natural elements into sand playdough activities transforms playtime into a tactile, multi-sensory experience. Plus, it’s a fantastic way to introduce kids to nature-based learning.
- Nature Hunts: Take a quick outdoor excursion to collect small leaves, twigs, and flowers. These treasures can be pressed into the dough for texture or used as decorations for their sculptures.
- Learning Through Play: Ask children to categorize the natural items they find. For instance, group twigs together or separate flat leaves from textured ones.
- Seasonal Themes: Create themes like “autumn forest” by incorporating fall leaves or create “beach vibes” with tiny shells and smooth pebbles.
Take sensory play further by checking out this fun DIY Rainbow Rice activity. It’s another vibrant way to engage little hands and minds.
Both molding and incorporating natural items give sand playdough an exciting twist that engages kids on multiple levels. These activities offer endless entertainment while helping to build their sensory and fine motor skills!
Alternatives and Variations
When making sand playdough at home, it’s fun to explore alternatives and variations to keep things fresh and exciting. Below, we’ll look at how different types of sand can transform your recipe and ways to incorporate unique scents or colors for an extra sensory boost.
Using Different Sand Types
Not all sand is the same, and swapping out different types can change your playdough's texture and look. Here's what to consider:
- Fine Craft Sand: This is the best option for smooth dough with a gritty edge. Its uniform texture blends easily into the flour and salt mixture, resulting in a soft, pliable dough.
- Colored Sand: Add visual appeal by using pre-dyed sand. Whether you choose bright blues or natural hues, it’s an easy way to make the dough more exciting for kids.
- Beach Sand: Want to bring the seaside home? Beach sand gives an authentic grainy feel, but make sure to sift and clean it thoroughly to remove debris or impurities.
- Kinetic Sand: Mixing in a small amount of kinetic sand can create a unique, moldable texture, almost like a hybrid between playdough and sandcastle sand.
Each sand variety introduces a different sensory experience, making playtime even more engaging. For another twist on sensory play, check out the Easy Passionfruit Cloud Dough Recipe for more fun activities at home.
Flavor Variations
Adding safe scents and colors is a fantastic way to elevate your DIY sand playdough recipe. Here's how you can do this without compromising safety:
- Essential Oils or Extracts: A few drops of child-safe essential oils like lavender or vanilla extract can make the dough smell irresistible. Avoid strong oils like peppermint, which may irritate sensitive skin.
- Food Coloring: Liquid food coloring works well to tint your dough. Want bolder colors? Gel food dye can create rich, vibrant shades that stand out.
- Natural Dyes: For a chemical-free option, juice from beets, spinach, or blueberries can give your dough organic hues.
- Add Dry Ingredients: Think outside the box! Cocoa powder or turmeric can add both scent and color naturally.
Incorporating scents and colors adds a new sensory dimension, stimulating not just touch but also smell and visual creativity. For more inspiration, explore Lavender Playdough Recipe to learn how to create calming sensory options.
Each alternative or variation offers something unique, proving there’s no one-size-fits-all approach to sensory play. So, why not customize your recipe today and see what your preschooler loves best?
Please Share This Sand Playdough Recipe
Your shares are how this site grows and I am sincerely grateful. Know a friend who’d like this? Please share it on Facebook or save it to your favorite kids’ activity board on Pinterest.


