
Cherry Blossom Tree Handprint Craft
There’s something about cherry blossoms that just feels like spring, right? Soft petals, gentle breezes, and trees suddenly bursting into bloom overnight. If you can’t make it to Japan for the real deal (same), this cherry blossom tree handprint craft brings the magic straight to your kitchen table, no plane ticket required.
It’s sweet, simple, and full of color. Bonus? It gives your kids a reason to practice scissor skills, hand-eye coordination, and maybe even a little patience. But shhh… let’s not tell them they’re learning.

What You'll Need for This Handprint Cherry Blossom Tree Craft
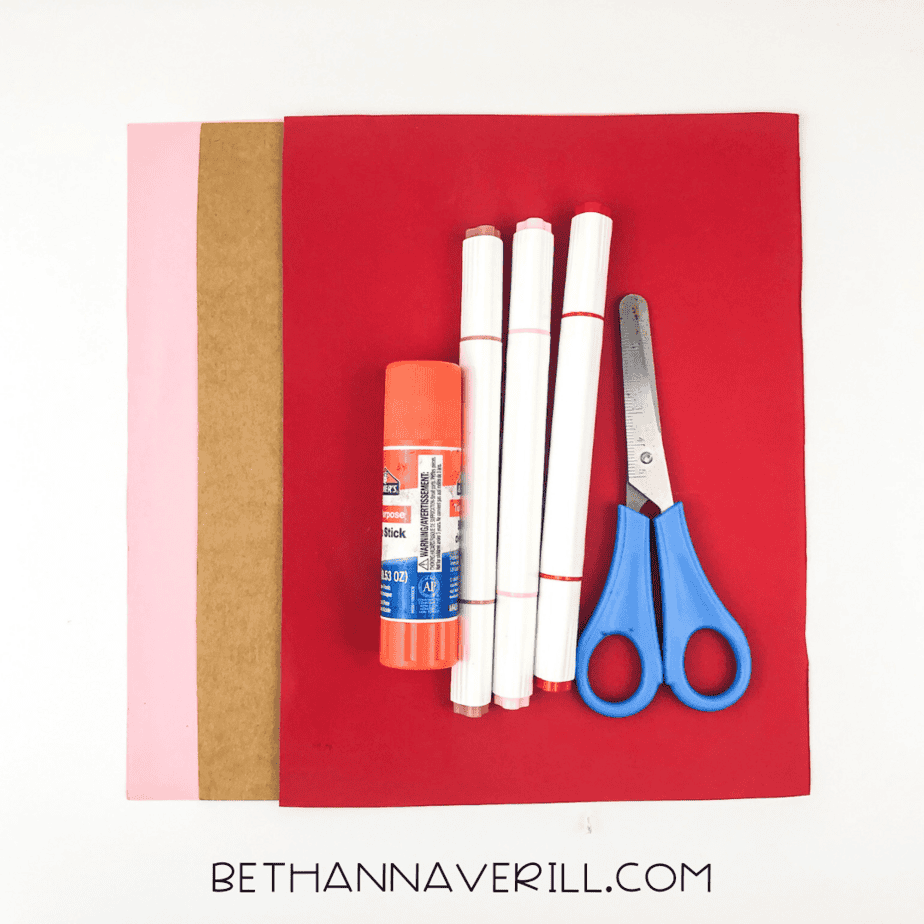
- Brown, red, and pink construction paper
- Scissors
- Glue stick
- Red and pink markers
- Pencil
That’s it! If your craft bin is even mildly stocked, you’re already halfway there.
How to Make a Cherry Blossom Tree Handprint Craft
Ready to get crafting? Find the instructions below!
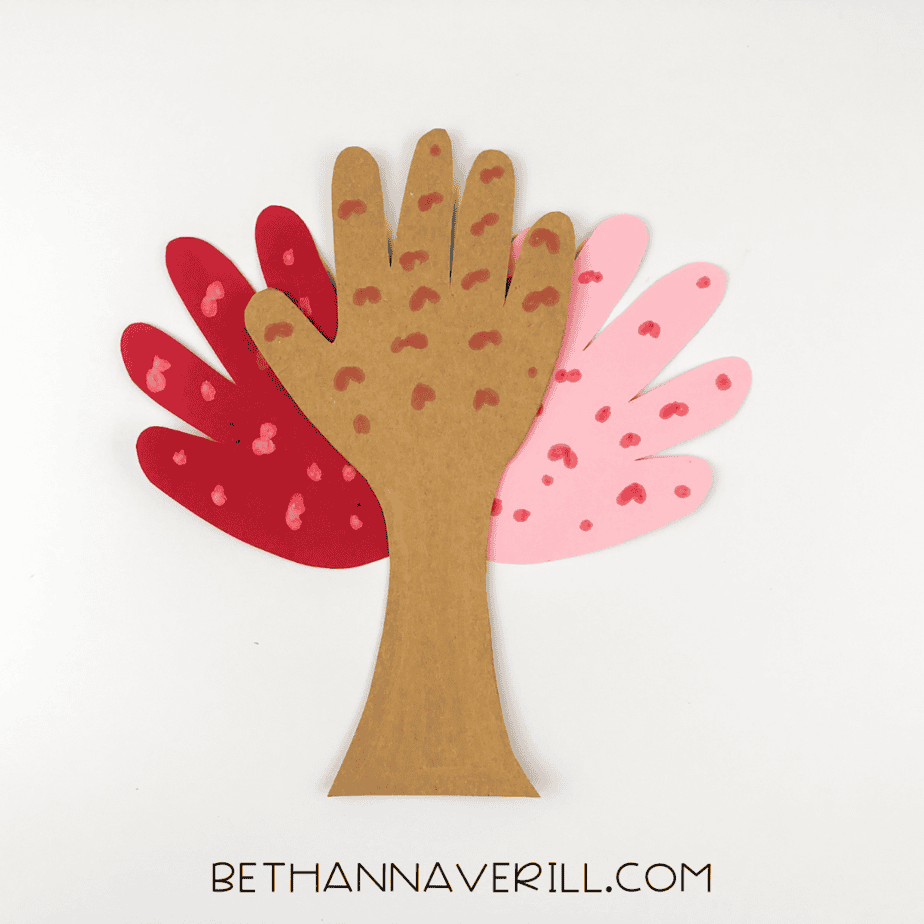
Cherry Blossom Tree Handprint Craft

Celebrate the beauty of spring with this adorable cherry blossom handprint craft! A perfect fine motor project for kids using simple supplies and their own hands to make a blooming tree.
Materials
- Brown construction paper
- Red construction paper
- Pink construction paper
- Glue stick
- Red marker
- Pink marker
- Pencil
Tools
- Scissors
Instructions
- Grab your supplies and clear a space for some blooming fun.
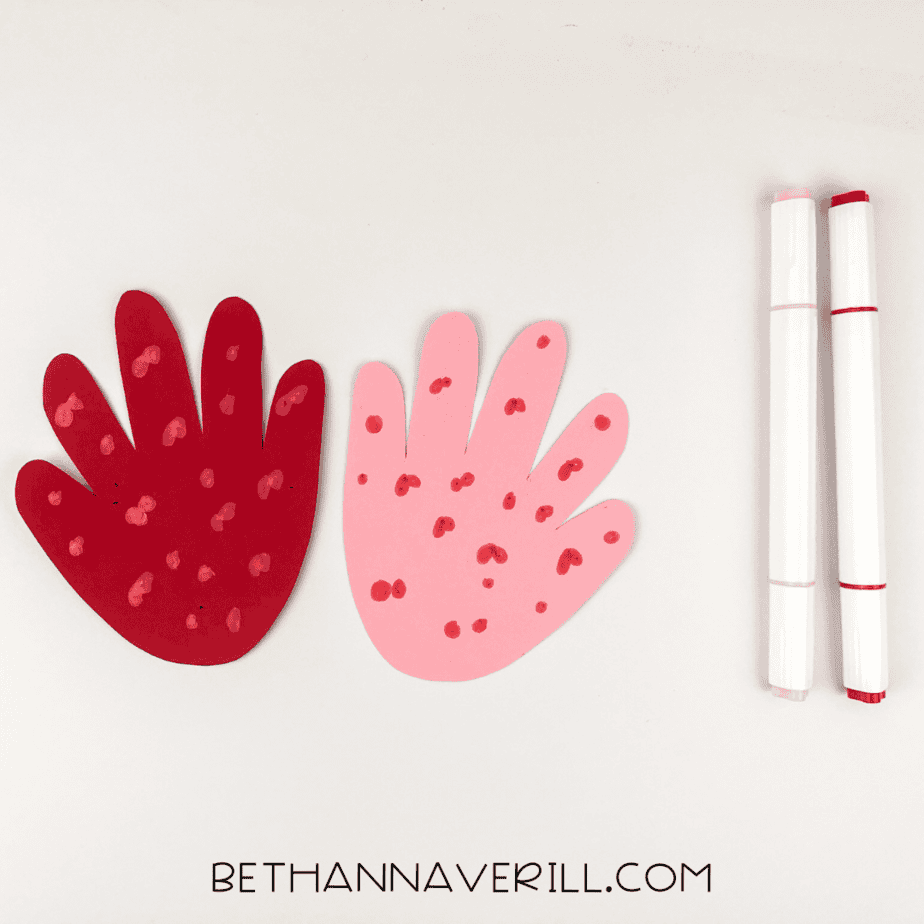
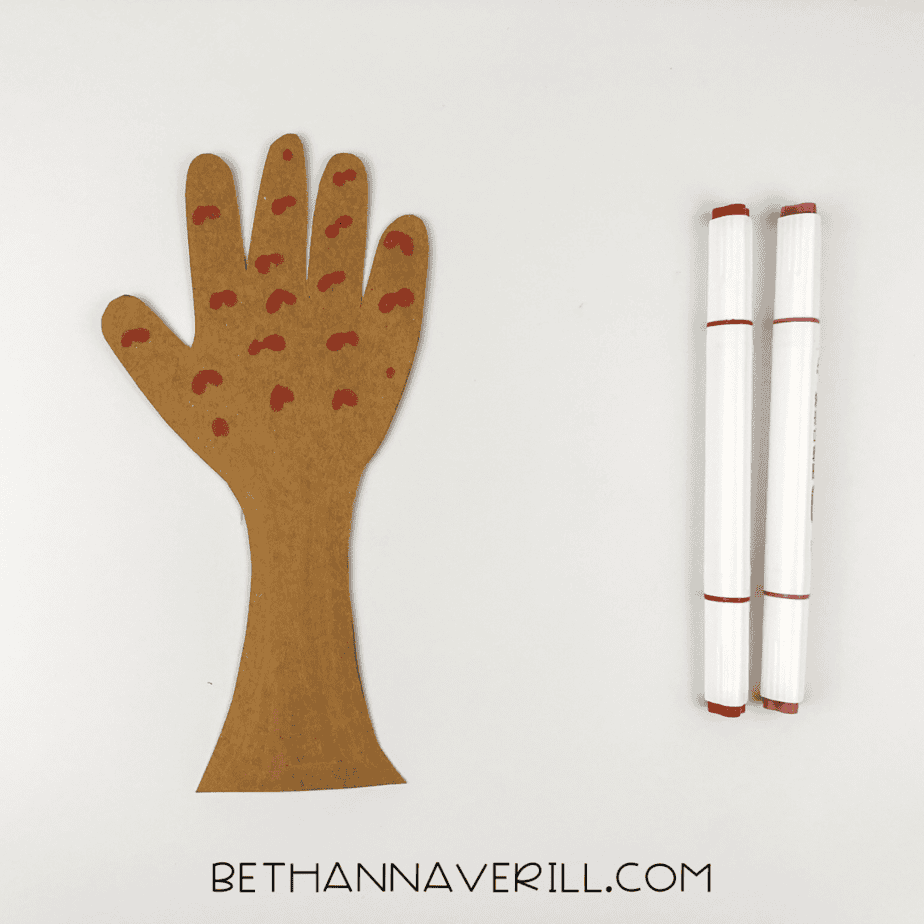
- Trace your child’s hand on brown paper for the tree trunk and again on pink and red paper for the blossoms.
- Cut out all the traced handprints carefully.

- Use red and pink markers to draw small petal shapes or dots on each of the pink and red handprints to give them a flowery look.
- Decorate the brown handprint trunk with the same blossom dots.
- Layer the red and pink handprints behind the brown trunk, arranging them like branches of a cherry tree.
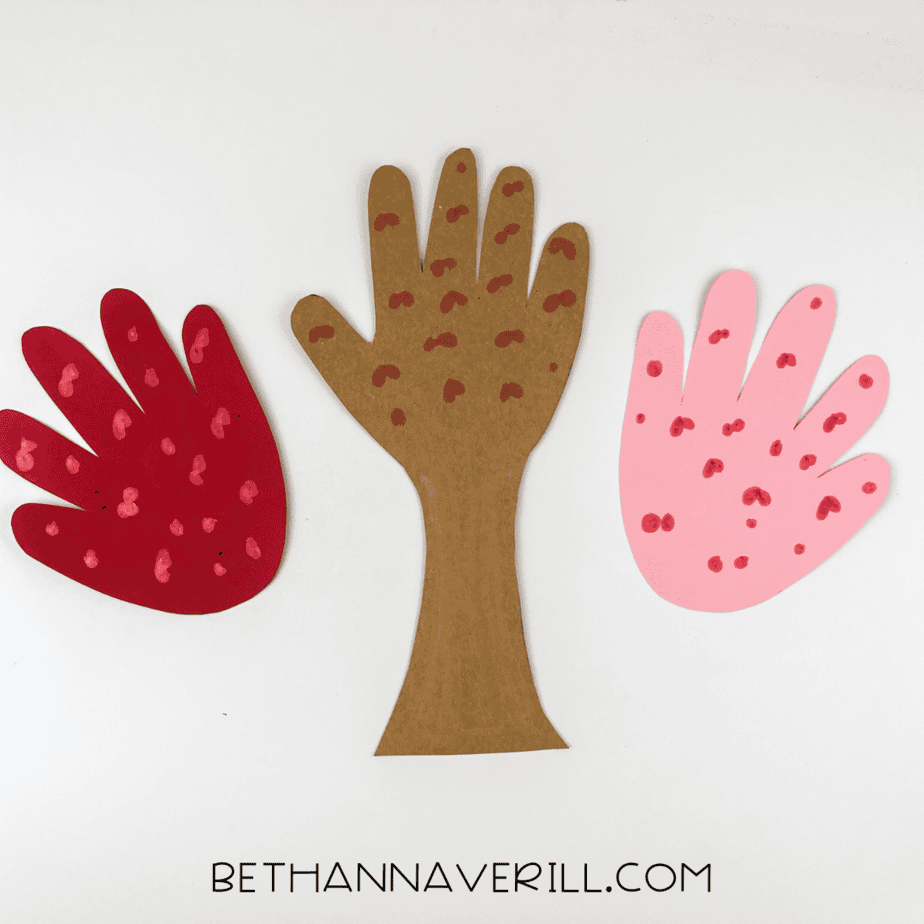
- Glue everything together and let it dry completely.
- Admire your blooming cherry blossom tree!
Recommended Products
As an Amazon Associate and member of other affiliate programs, I earn from qualifying purchases.


Add a Little Extra “Ooh!”
If your child is having a blast and wants to keep going, here are some playful twists:
- Add a sky: Glue your tree onto a full sheet of blue construction paper. Add white clouds with torn paper or cotton balls.
- Make a cherry blossom forest: Use different shades of pink and red to create a few trees and line them up.
- Glitter blossoms (if you're brave): Use a Q-Tip to add a little glue and shake on pink glitter for extra sparkle.
- Seasonal switch-up: Turn it into a four-seasons craft! Use green for summer leaves, orange for fall, or white with silver dots for a winter wonderland tree.
Teaching Tip: A Tiny Botany Lesson
Craft time is a sneaky-good chance to bring in a little science. Talk about how cherry trees blossom in spring, what petals are for, and how seasons affect nature. You can even look up real cherry blossom pictures and compare them to your handmade version for an instant nature study!
Keep the Handprint Fun Going
If this project brought on the giggles and gluey fingers, don’t stop here! We’ve got a whole collection of handprint crafts full of animals, seasons, and silly characters to keep little hands busy and learning.
So grab your supplies, cue up some soft background music (or an episode of Bluey on mute, no judgment), and get ready to bring spring indoors!
Please Share This Cherry Blossom Tree Handprint Craft
Your shares are how this site grows and I am sincerely grateful. Know a friend who’d like this? Please share it on Facebook or save it to your favorite kids’ activity board on Pinterest.


