
Insect Sensory Bottle for Preschoolers
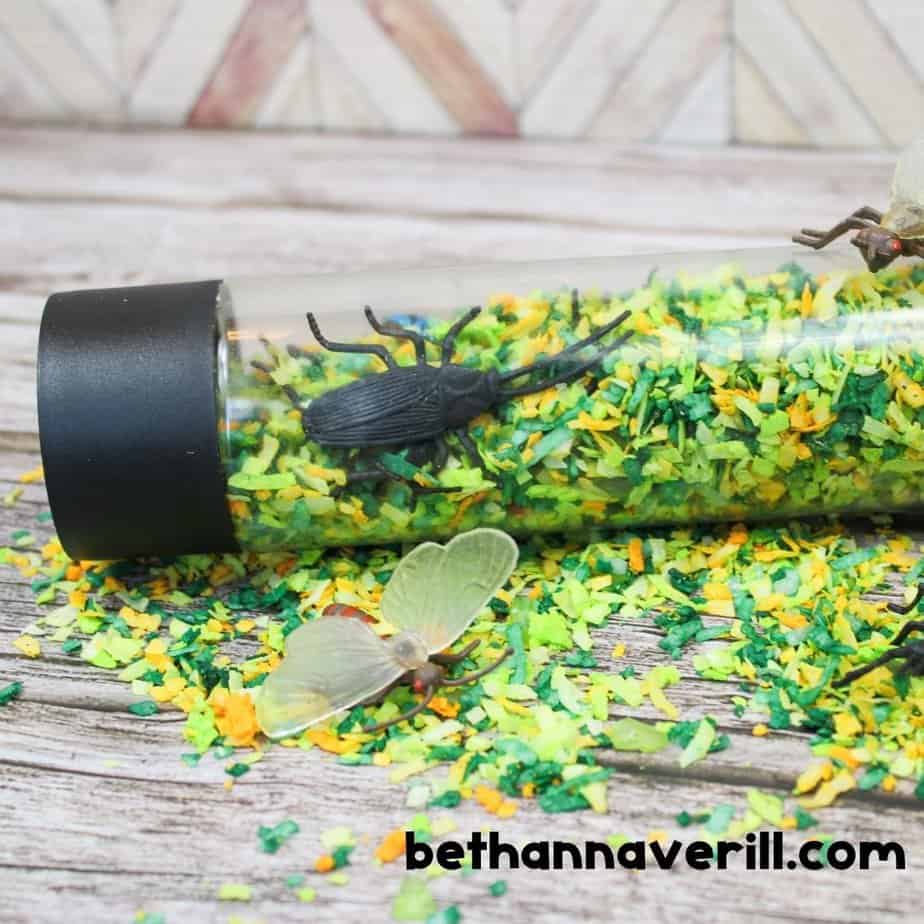
Looking for a hands-on, low-mess sensory activity that’s packed with texture and visual fun? This Insect Sensory Bottle is the perfect blend of creepy-crawly and totally captivating! 🐜🐝🦋
With just a few simple materials — including dyed coconut shreds and mini plastic bugs — you can create a calm-down bottle that’s perfect for bug-themed lessons, spring units, or anytime your little learners are feeling wiggly.

Searching for more sensory fun? Try out these sensory activities.
Supplies Needed for Creating a Bug Sensory Bottle
Sensory bottles (also known as calm-down bottles) are a favorite tool in both classrooms and homes — and for good reason! Make sure you have everything together ahead of the fun. I recommend coloring the coconut ahead of time so it has lots of time to dry.
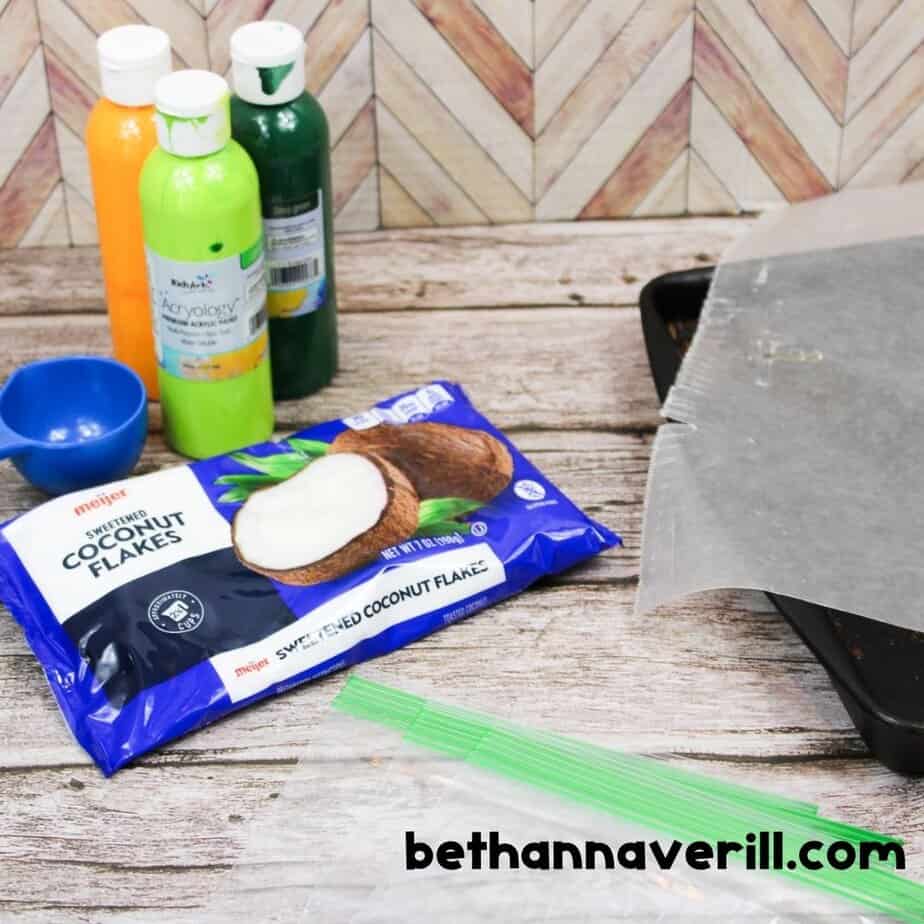
- Shredded Coconut – This gives a unique texture for your bottle.
- Acrylic Paint – I used green, orange, and lighter green, but you can add any colors you like.
- Ziplock Baggies – Separate those colors so you can get vibrant distinct colors when dying your coconut shreds.
Dying these ahead of time will ensure the bottle stays clear so you can see everything inside. Don't skip this step!
What You’ll Need to Make Insect Sensory Bottle
You don’t need anything fancy — just a few craft supplies, a plastic bottle, and a little bit of coconut! 🙌
Insect Sensory Bottle
Materials
- 7 oz Shredded coconuts
- Acrylic paint (light green, dark green, and yellow)
Tools
- Wax paper
- Cooking sheet
- 3 sandwich-sized baggies
- ¼ C Measuring cup
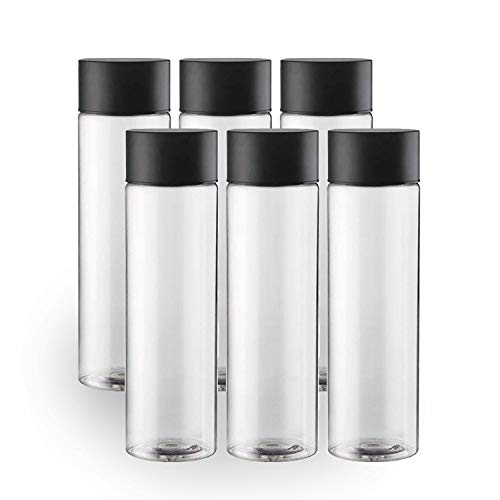
- 400 mL plastic bottle with a tight-fitting lid (~13.5 oz bottle)
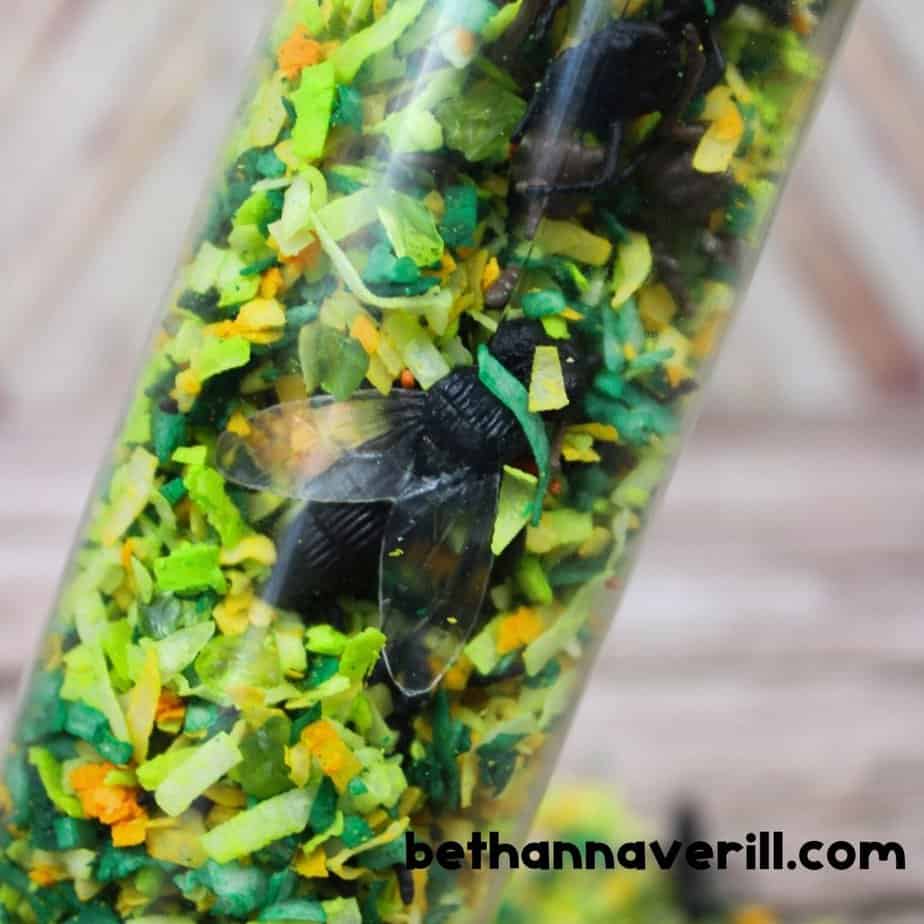
- Plastic bugs
- Aquarium stones (optional)
- Hot glue - to seal (optional)
Instructions
- Gather all the supplies to create an insect sensory bottle.
- Separate the coconut shreds into three plastic bags.
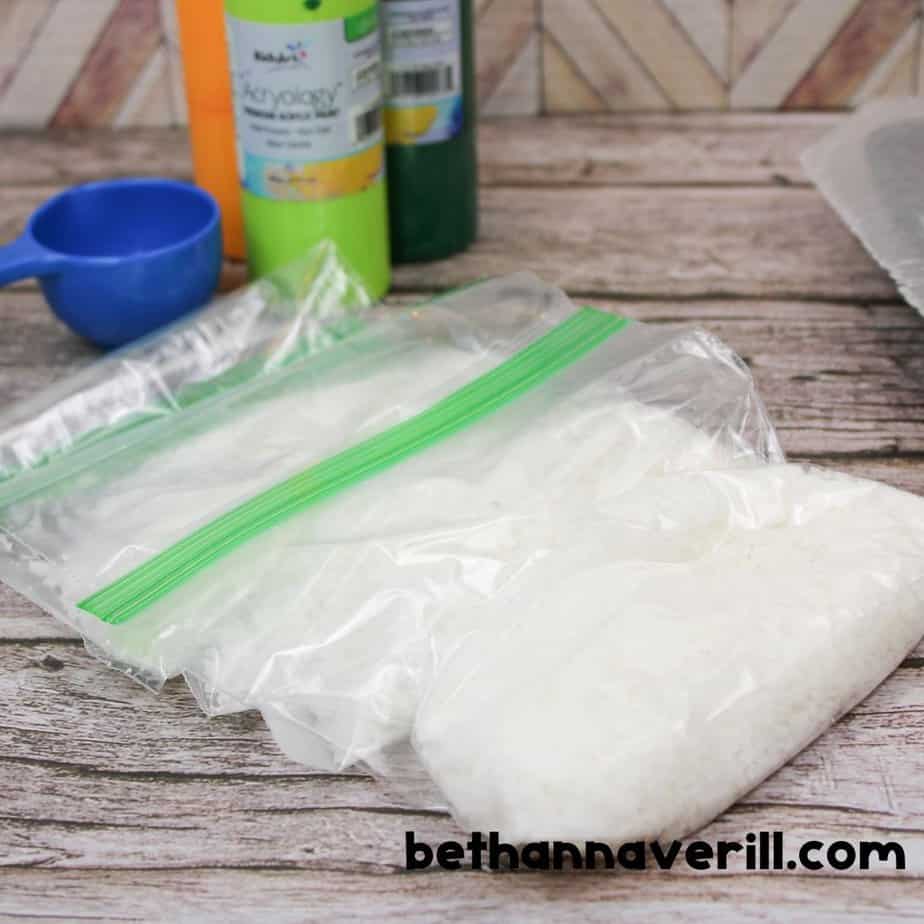
- Add a squirt of paint to each baggie.
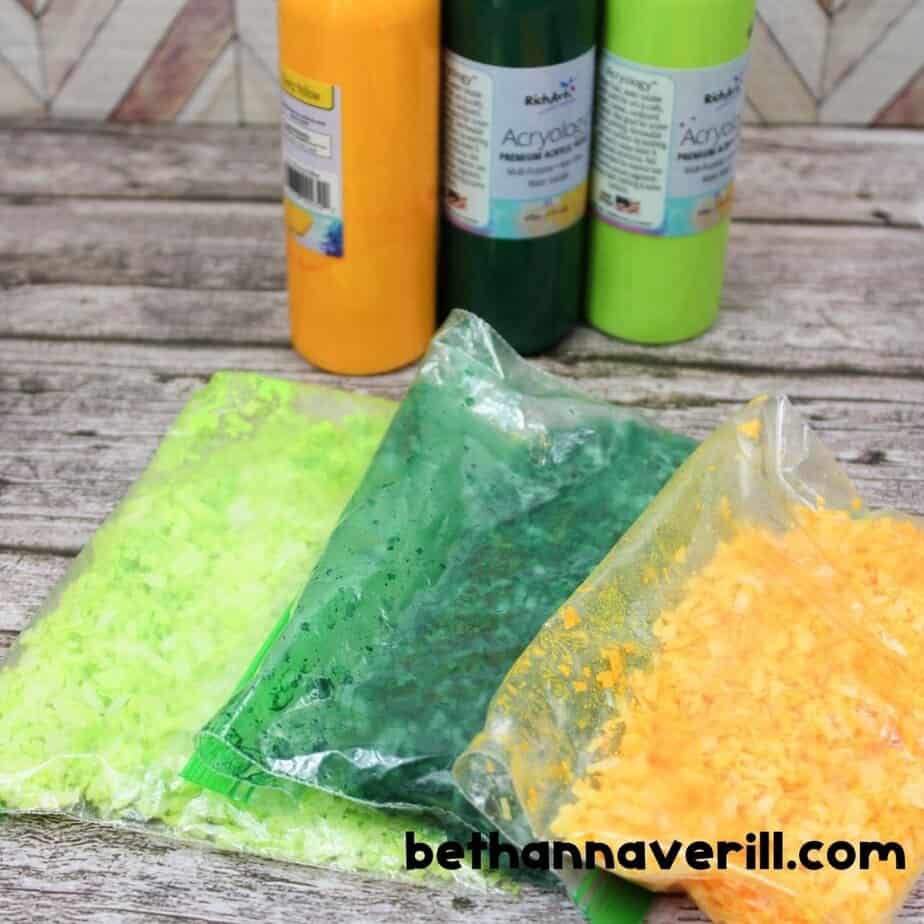
- Remove the air and seal the baggies.
- Shake the baggie to coat the coconut shreds with the paint.
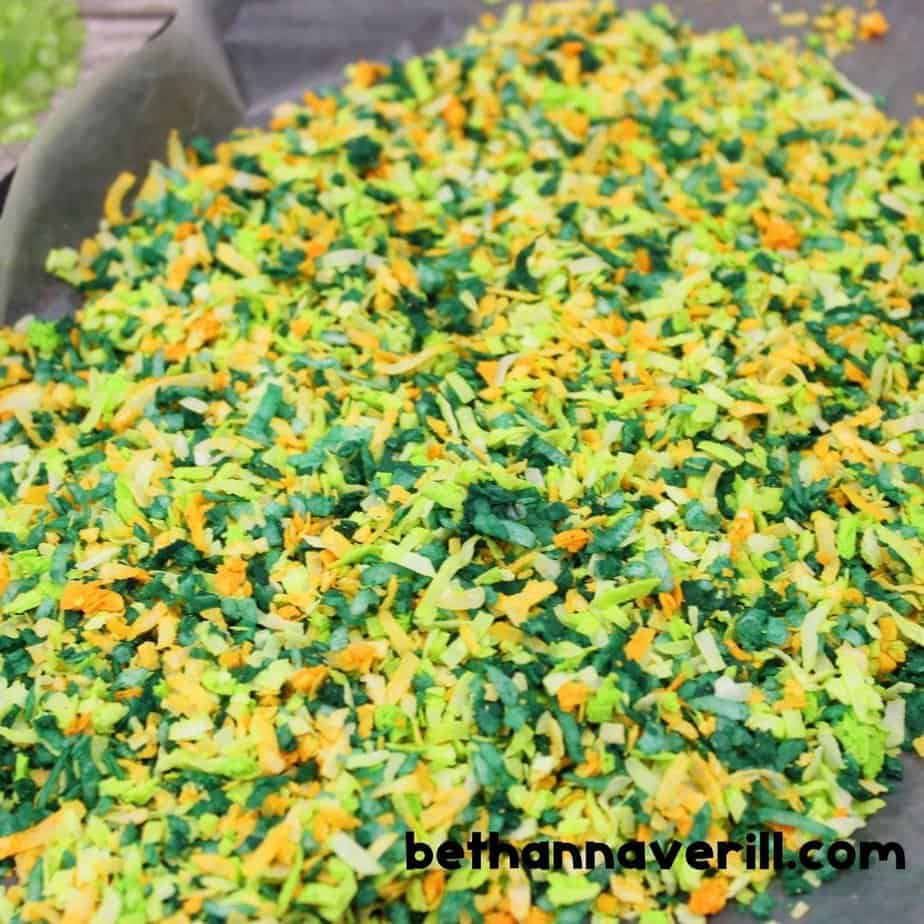
- Carefully pour the colored coconut shreds onto the prepared cooking sheet.
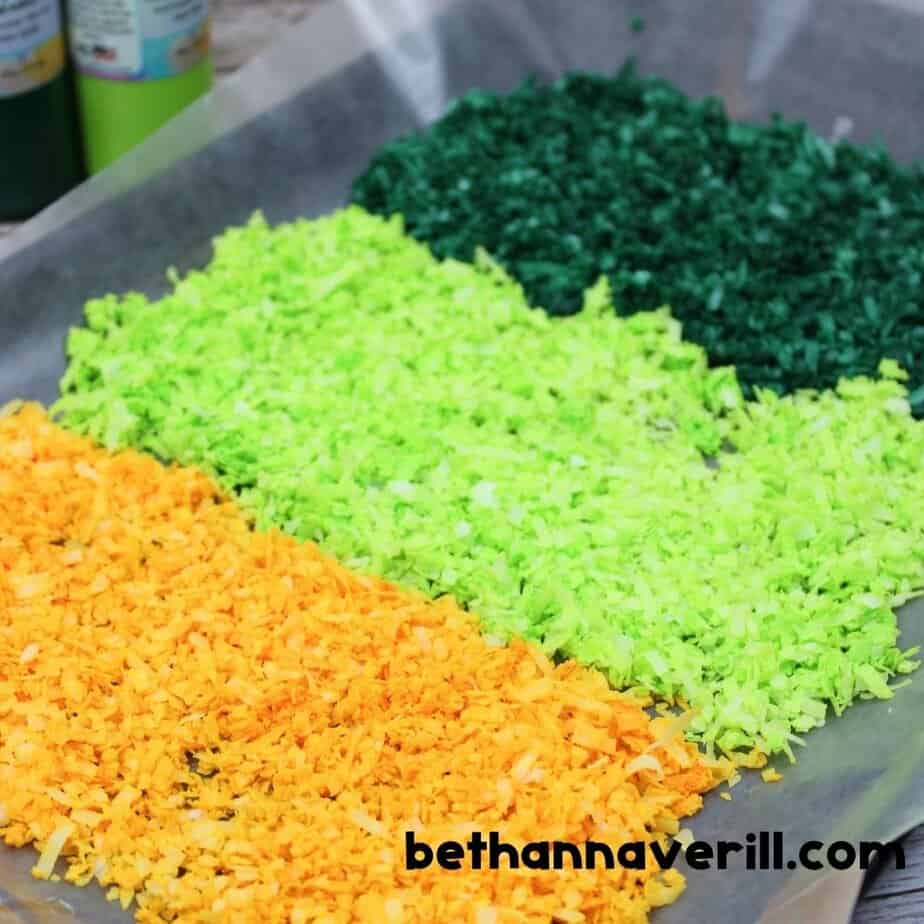
- Allow the coconut shreds to dry for 4-5 hours or overnight.
- Mix the colors together (my favorite part!)
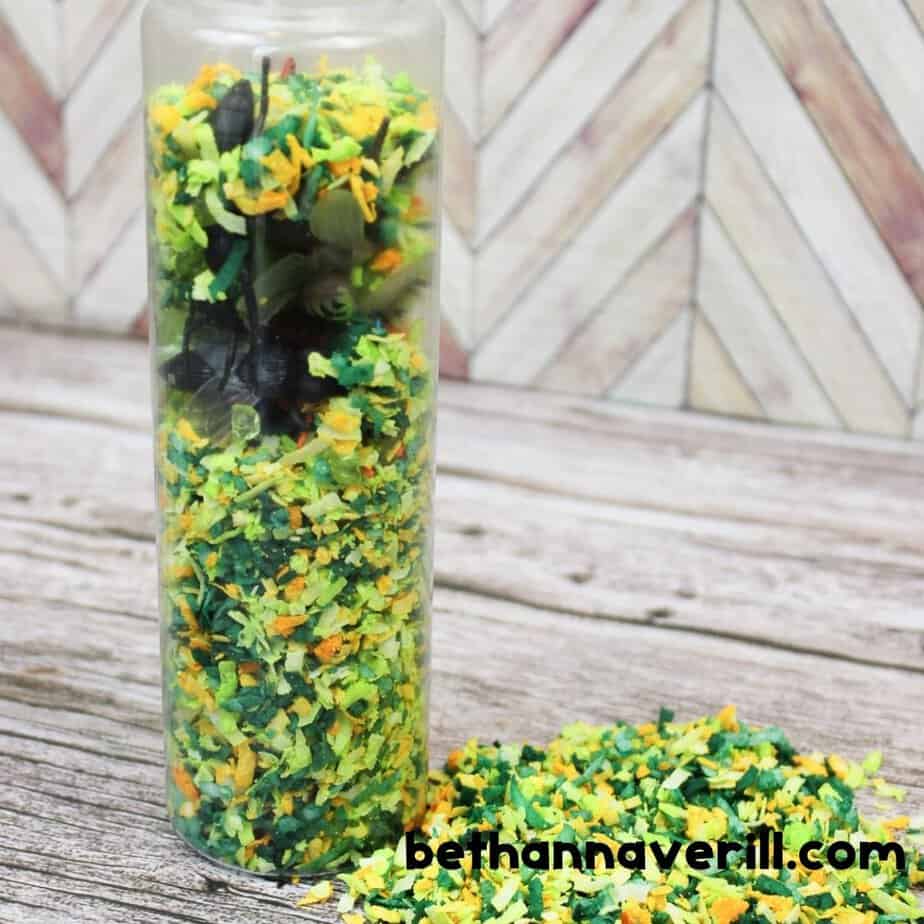
- Use the funnel to add the prepared coconut flakes to the bottle. Fill the bottle ⅔ full.
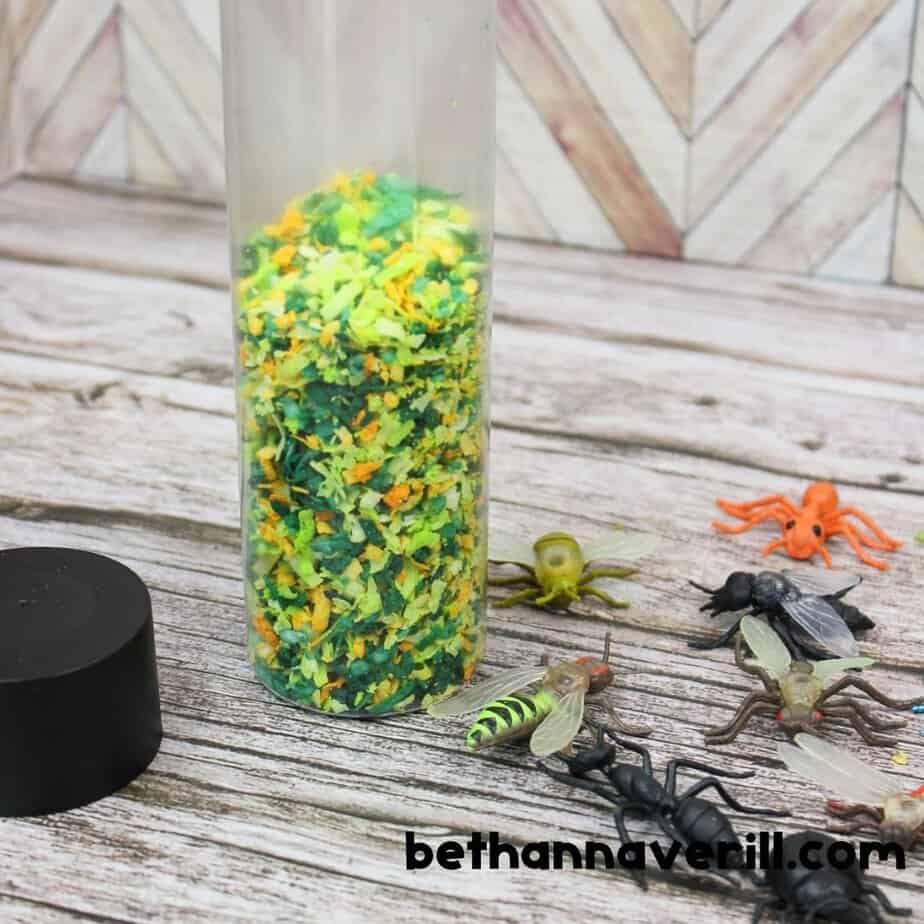
- Add the plastic insects and aquarium stones (if using) to the bottle.
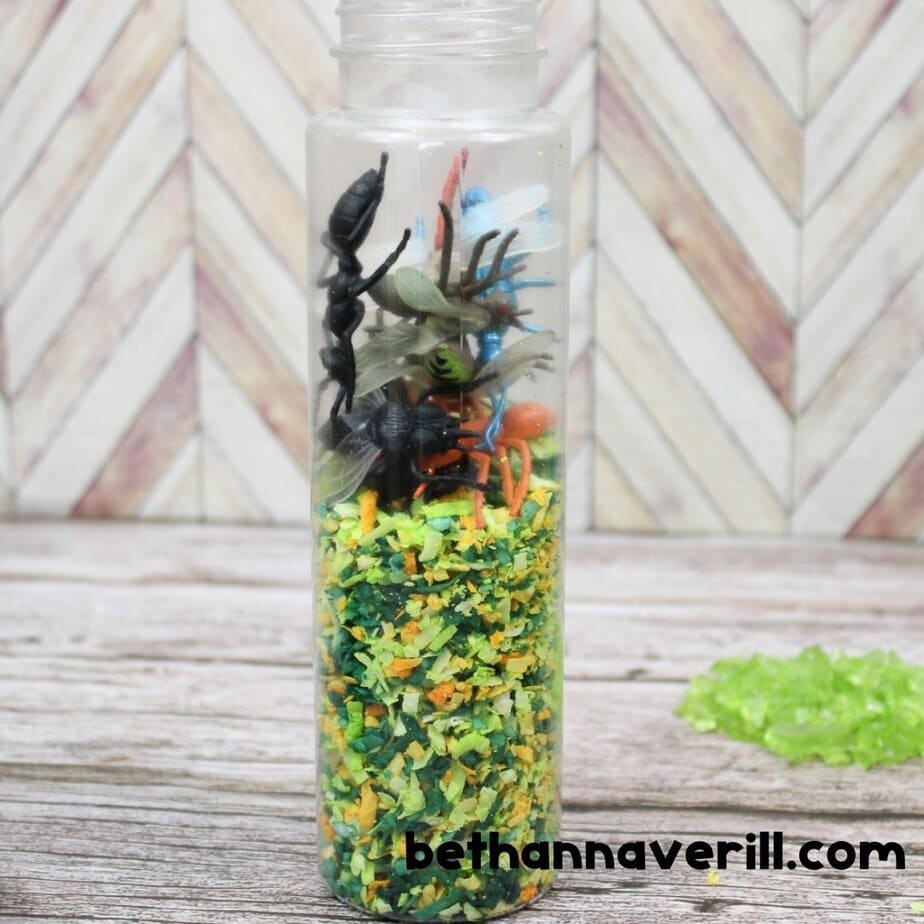
- Add more coconut flakes and fill the bottle to the top.
- Tightly close the cap. If you like, you can use hot glue to seal the bottle closed.
- Shake it up to hide the insects.
Recommended Products
As an Amazon Associate and member of other affiliate programs, I earn from qualifying purchases.
Tips for Success
🥥 Let the coconut dry fully. If it’s even slightly damp, it may clump or mold — let it air out for at least 4–5 hours (or overnight if you're planning ahead).
🐛 Bug variety = more fun. Add insects of different shapes, sizes, and colors for a true bug hunt experience.
🧪 Optional add-ins: Want more texture or sparkle? Toss in some aquarium stones, plastic leaves, or even chunky glitter for a magical touch.
🔒 Seal it tight. If you're using this with toddlers or a classroom full of curious kiddos, hot glue the lid for extra safety.
Educational Extensions
Want to take it a step further? Here are some playful and purposeful ways to incorporate your insect sensory bottle into learning:
Science Talk: Chat about bug life cycles, camouflage, or what insects eat — right there during play!
I Spy Bug Hunt: Have kids spot and count the bugs inside. Ask questions like: Can you find a bug with wings? How many legs does that one have?
Sorting Game: Create picture cards of each insect and have children match what they find in the bottle.
Story Time Prompt: Use the bottle as inspiration for a bug-themed storytelling session. (“A beetle and a butterfly were trapped in a bottle… now what?”)
Safety Tips and Cleanup Advice
Playing with a sensory bottle is as exciting as it sounds, but it’s important to balance all that fun with safety and practicality.
By taking a few precautions and setting up a good plan for cleanup, you can ensure everyone focuses on the fun instead of accidental hiccups.
Ensuring Safe Play
Making and playing with a sensory bottle can be super calming for kids. However, given some of the ingredients (like painted coconut) involved, a little caution goes a long way.
Here’s how you can keep things safe for everyone:
- Supervise Playtime: ALWAYS supervise children while they’re making or playing with sensory materials. The painted coconut can cause issues if handled improperly.
- Designate a Safe Area: Keep the activity in a space that’s easy to clean, like a kitchen table lined with a protective cover or a craft area. It minimizes stress for you and mess for your home.
- Know Ingredients: Review the ingredients list for potential allergens. If your child has sensitive skin or allergies, double-check to ensure nothing will trigger a reaction.
Cleaning and Storage
Once the fun winds down, it’s time to clean up. This bottle is self contained, so there shouldn't be any clean up unless it breaks open. You can store the coconut in ziplock bags if you'd like to save any of the extra. Make sure to store it after it's completely dried though.
Don’t worry—this part doesn’t have to be a chore. A few simple steps can save you a headache later.
The best advice? Don’t let the messiness overshadow the fun. By staying prepared, you can wrap up playtime in the easiest way possible.
Please Share This Insect Sensory Bottle How to
Your shares are how this site grows and I am sincerely grateful. Know a friend who’d like this? Please share it on Facebook or save it to your favorite kids’ activity board on Pinterest.


